

Before starting to work on your prototype, it is important to understand what a prototype is and what it is not. From a product perspective, various things need to be evaluated before a device can be produced in batches, starting with the functionality. Is the device useful? Does it serve a purpose? You also might want to find out how it feels. What material is it made of? Does it feel good when you hold it in your hands? How does it look? Do the buttons have a nice degree of resistance to pressure? Is it fitting in to its environment? Is it easy to use? Does it need a manual? Where can you get all the materials for batch-production?
If your device is supposed to be outside, you also need to find out which materials can be used for it to survive the wind and rain. For all of these questions, you might want to produce one or many prototypes to get closer to a possible product, step by step.
A lot of the areas mentioned previously can be tackled individually—to find a nice form factor, you might design various models in a 3D application, print them out, and iterate upon them. The material used can also have a huge impact. By using online services such as Shapeways (https://www.shapeways.com), you can have a 3D printing service at hand that can print in various materials, such as plastic, aluminum, and gold. That last one might be a bit expensive, but at least you have the option. Combined with other rapid prototyping techniques, such as CNC milling or laser cutting, the possibilities are endless.
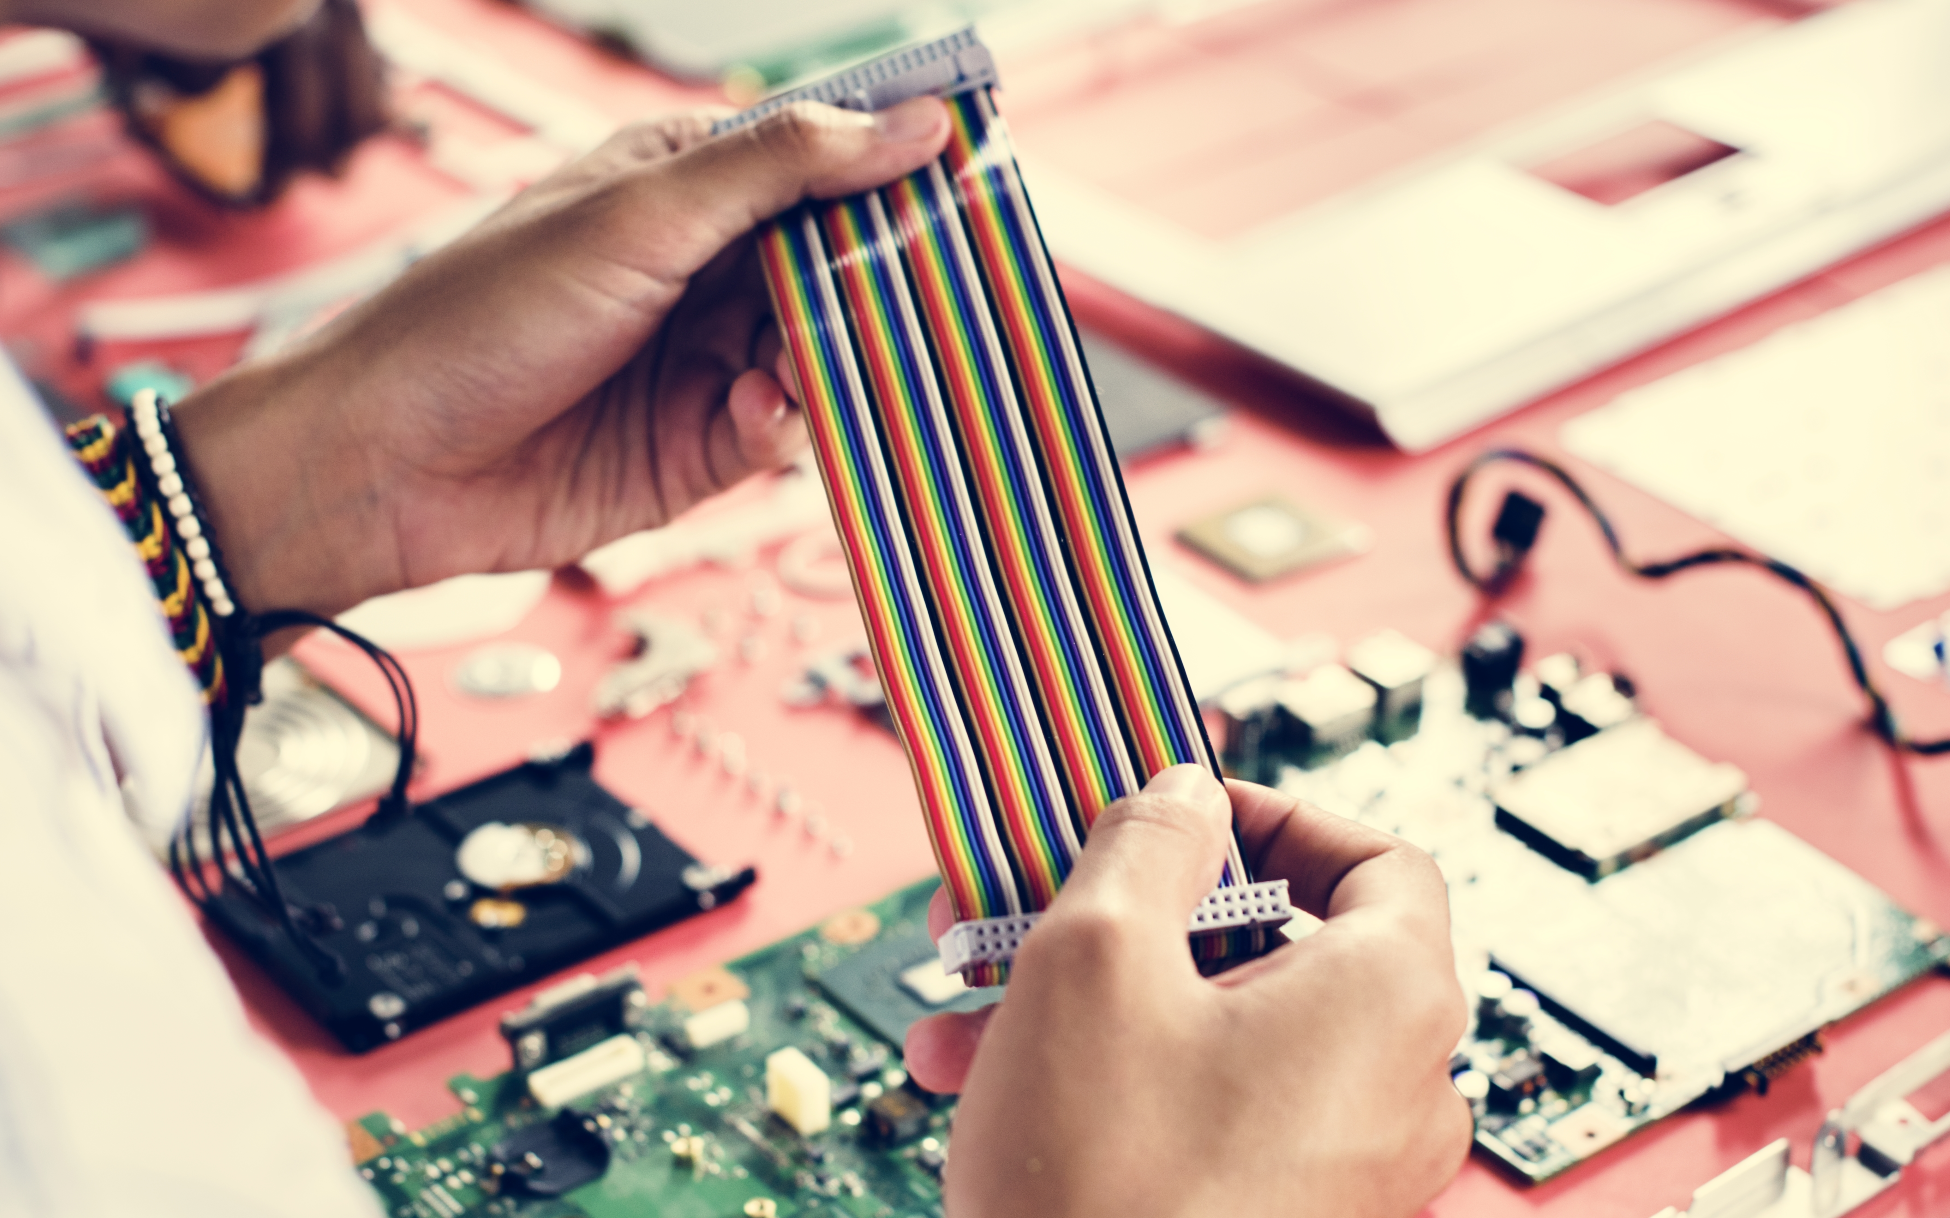
While building the prototype, it is essential to find out quickly whether your idea works, both from a usability perspective and from a technical perspective.
To evaluate the usability and usefulness of the device, you might not need to tinker at all. When developing software interfaces—for example, a design for an application—it is common to create so-called paper prototypes—a piece of paper for each state of the interface:
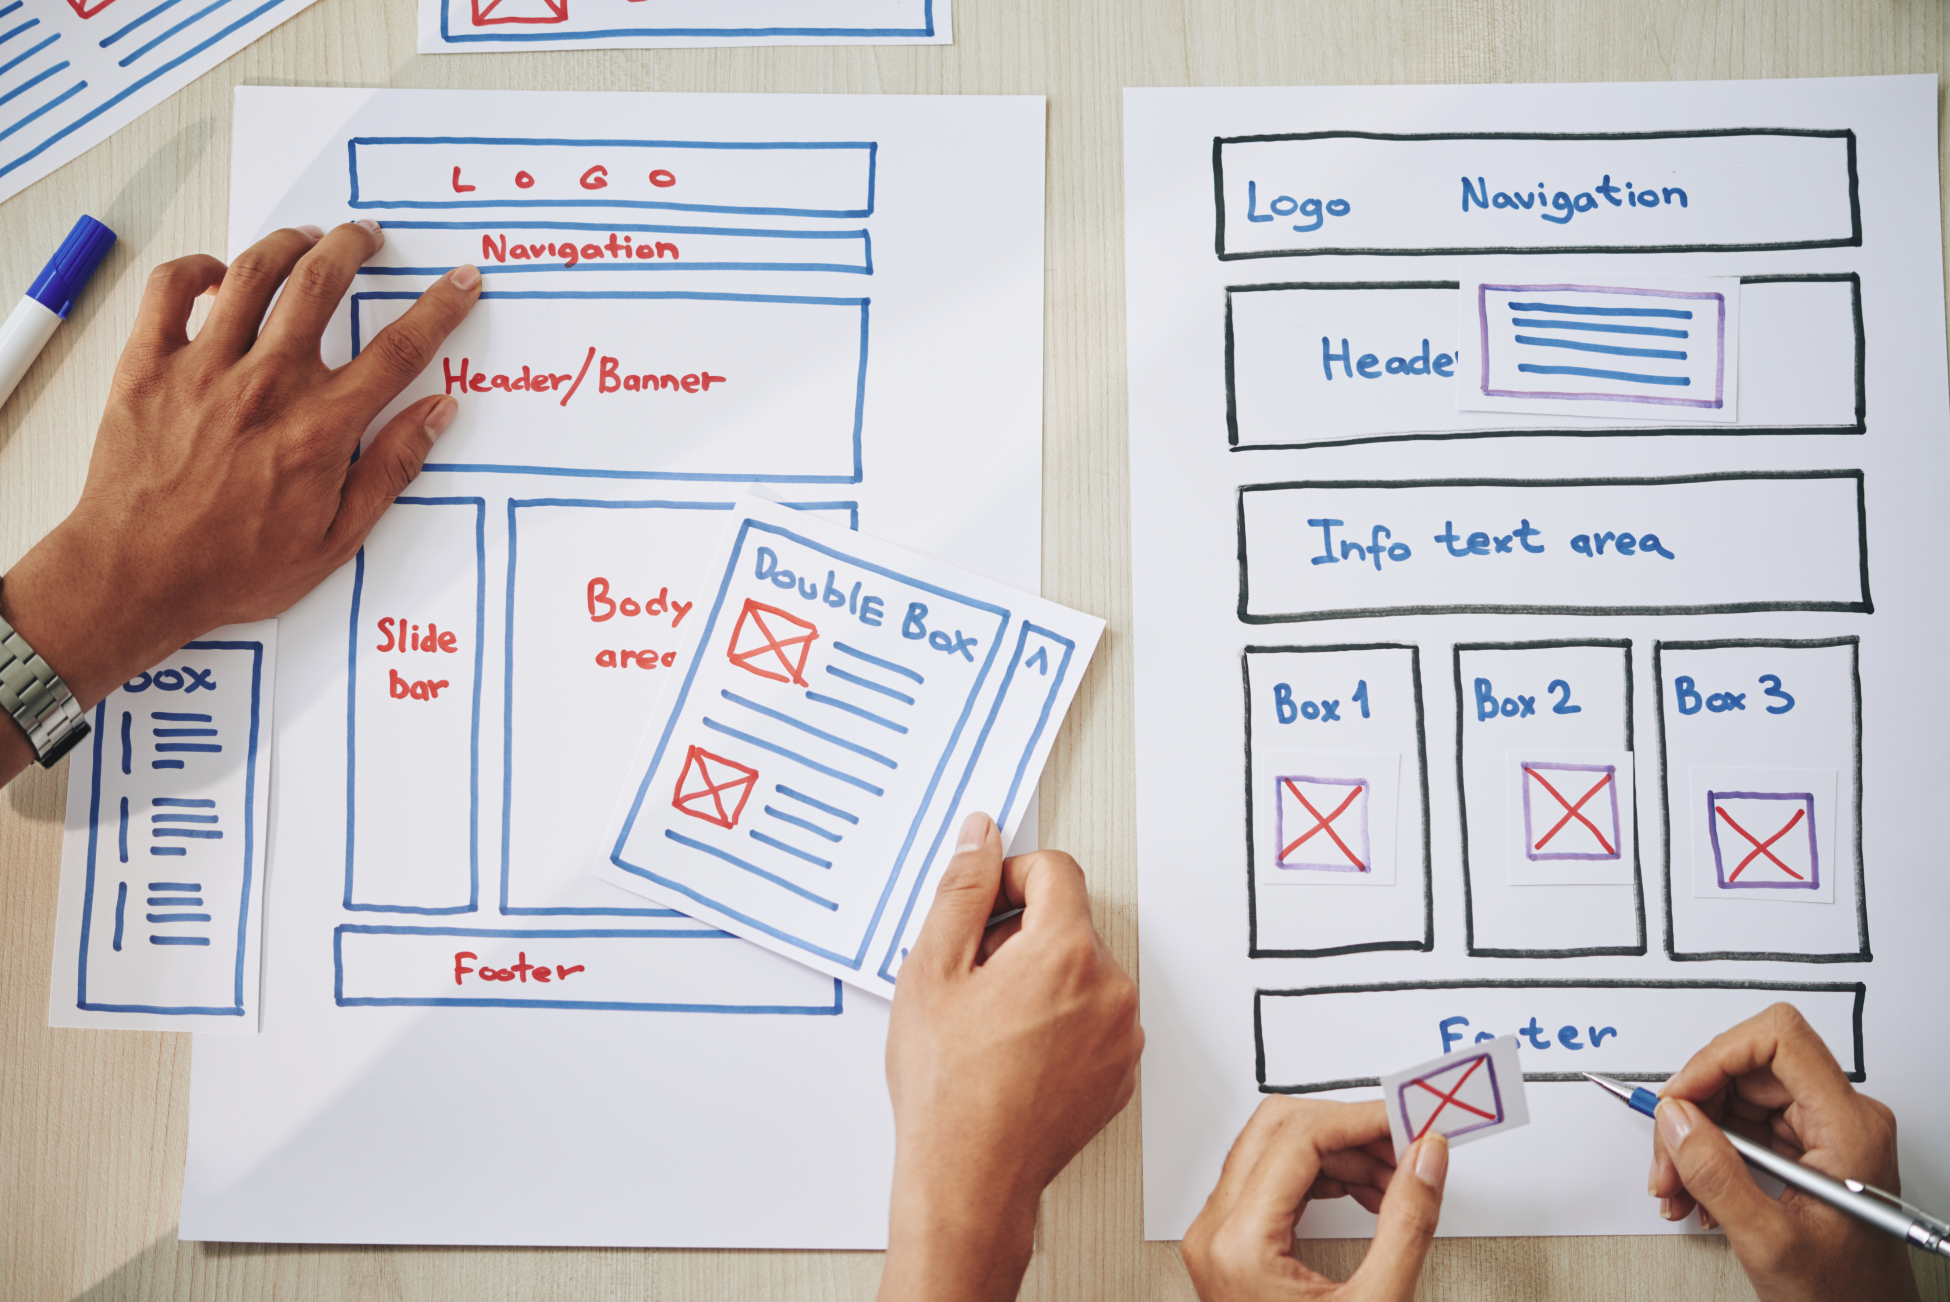
When evaluating whether the interface is working, a guinea pig needs to simulate using the interface, for example, by pointing on the piece of paper and saying "I'm pressing the blue button".
The person testing the interface can then exchange the piece of paper for another one showing the resultant screen, as if a button was clicked on a working prototype on the computer, to show the new state. By doing this, many problems will be uncovered before a line of code is written. The same principle might be used for hardware prototyping. Let's say that you have a device with a button and an LED that can either turn red, green, or blue, depending on how often you press the button. If you actually draw a sketch of this prototype on paper, one page for each state (for example, one page where the LED is red, one where it is green, and one where it is blue) and simulate the usage, you might notice that, when pressing the button, you cannot see the LED anymore because your hand is covering the LED when pressing the button.
Hooray, you just discovered a usability problem that might have cost you hours of work if you had started soldering right away. Prototyping 3D objects with 2D paper is definitely not optimal, but it might save you some time anyway. The key is to evaluate multiple parts of your design fast to find out what works and what needs to be developed.
This is equally true from a technical perspective. Try breaking down your problem into multiple small problems to evaluate each one individually, especially when you don't feel comfortable with electronics. Let's say you want to build a device that reads a sensor value, and, when a button is pressed, tweet its value. You could build three mini sketches here to make sure each of the needed functionalities works individually:
- Sketch #1 might output a button press. With this sketch, you can verify that you connected the button in the right way and that its value is correct (pressed or not pressed).
- Sketch #2 might output the value of the sensor to the console. Interact with the sensor and find out whether the value is what you expected it to be. When using a distance sensor, it might actually only work in a very specific range and would not at all be usable for your idea. Hooray again, you saved yourself some time by failing fast, instead of spending hours on something that was always going to end up in the trash.
- Sketch #3 might just send a tweet.
- Sketch #4 might then combine all of the sketches to create the actual prototype you are after. When working on prototypes, I like to keep loose ends to a minimum. By working this way and validating different parts of your prototype early and in an isolated fashion, you will be more comfortable bringing it all together, and possible problems will be easier to pinpoint.
The beautiful thing about prototyping is that you don't need to be an expert in every area—you will find code snippets and diagrams for most of the common types of sensors and actuators around the internet, especially in the Arduino community. Combining example snippets and adding a little bit of logic to the code might do the job for a first version.
When prototyping for IoT, a main ingredient is connectivity. When starting new projects, making sure that the microcontroller can connect to the internet is one of the first things I do.
One of the areas that clearly goes beyond a prototype for IoT is security. Making sure your device is well protected against hacker attacks is another issue to be tackled once you actually finish your prototype. If you think about batch-producing a device, this is a topic that needs to be addressed and well researched so that your product isn't hacked and doesn't end up on the Twitter account https://twitter.com/internetofshit.