

Preprocessor Directives
We've come across this term a few times now, so let's look at what it means. A preprocessor directive is a statement that runs before our code is compiled. This is incredibly useful for a range of different things, from header files to selective code compilation.
Include
One of the most common directives, #include, we've already looked at; it means "copy here." When the preprocess runs, it will literally copy and paste the contents of the included file in its place. This means that any functions, variables, classes, and so on defined in that header are now also accessible by the class containing the include directive.
There are two variations you'll see with this directive:
// Include example.
// Version 1 - Generally for system files.
#include <headerfile>
// Version 2 - Generally for programmer files.
#include "headerfile"
In Version 1, you're directing the preprocessor to look for the file using pre-defined search paths. This is typically used for system headers, and these paths might be set by your IDE, for example; they're implementation-defined.
In Version 2, you're directing the preprocessor to start its search locally where the file itself sits. This is generally used to include your own project headers. If this search fails, it will then resort to using the same paths as Version 1.
Macros
The #define/#undef directives allow us to define macros in our programs. A macro works similar to the #include statement in that it replaces content. You define a name, follow it with either some data or functionality, and then whenever you want to use that code you can refer to it by its defined name instead. When the pre-compiler runs, it will simply replace the instances of the macro name with this defined content.
A macro is defined as follows:
#define name content
With this in place, any instance of name in the preceding code will be directly replaced with content. Let's take this simple example of defining a word:
// Macro example 1 - Defining a value.
#include <iostream>
#include <string>
#define HELLO_WORLD "Hello World!"
int main()
{
    std::cout << HELLO_WORLD;
}
With our macro in place, our output line is the direct equivalent of the following:
std::cout << "Hello World!";
We can see this if we run this code in the online compiler. As you can see, we get the output Hello World! Anywhere we want to use that string, we can use the macro instead.
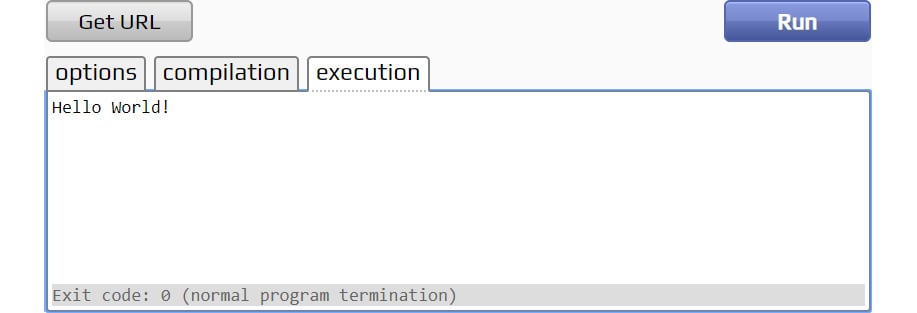
Figure 1.5: Hello World output using macro
As well as defining single values, we can also define functionality as shown in the following snippet:
// Macro example 2 - Defining functionality
#include <iostream>
#define MULTIPLY(a,b) (a * b)
int main()
{
    std::cout << MULTIPLY(3, 4);
}

Figure 1.6: Using a macro to define multiply functionality
Note
A significant benefit of defining functionality through macros is speed, as it reduces the overhead of function calls. There's a better way to achieve this, however, through the use of inline functions.
Once defined, a macro can be undefined using the #undef directive. This will remove the value/functionality assigned to the macro. If this macro is then called anywhere, an error will occur as it no longer holds a valid value.
We can see this using our first example. Let's say we make two calls to std::cout using the macro, but in between them we undefine the macro:
// Macro example 3 – Undefined macro.
#include <iostream>
#include <string>
#define HELLO_WORLD "Hello World!"
int main()
{
    std::cout << HELLO_WORLD;
    #undef HELLO_WORLD
    std::cout << HELLO_WORLD;
}
What behavior would you expect when we run our code this time?
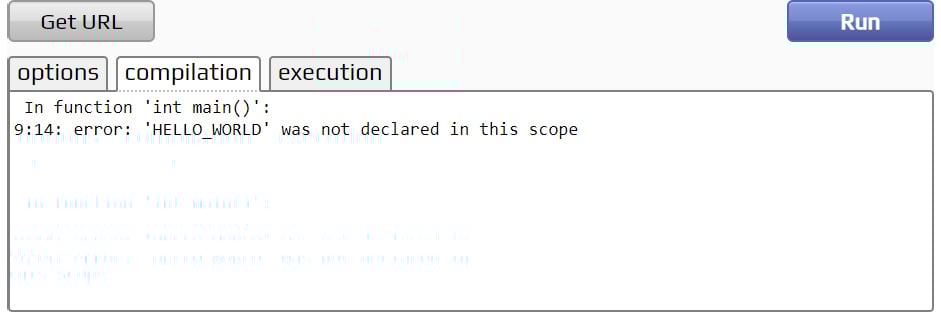
Figure 1.7: Compilation error as 'HELLO_WORLD' is undefined
As we can see, the first call remains fine. At the point the compiler hits that line, HELLO_WORLD is still defined. When we hit the second call, however, HELLO_WORLD has been undefined, so the compiler throws an error. An example of where macros such as this might be used is with debug behavior. You could define a macro, DEBUG, equal to 1, and use this to produce debug code in your application where needed, and #undef it where not.
It's critical that macros are defined when we go to use them, so let's look at how we can ensure that's the case.
Conditional Compilation
We've just seen that if we try to use a macro that isn't defined, the compiler will throw an error. Thankfully, we have the #ifdef/#endif directives to help us guard against this by letting us check whether a given value is currently defined.
If we take the last example where we were getting a compiler error but safeguard against this by using these new statements, we can satisfy the compiler, as shown in the following code:
// Macro example 4 – Ifdef macro.
#include <iostream>
#include <string>
#define HELLO_WORLD "Hello World!"
int main()
{
    #ifdef HELLO_WORLD
        std::cout << HELLO_WORLD;
    #endif
    #undef HELLO_WORLD
    #ifdef HELLO_WORLD
        std::cout << HELLO_WORLD;
    #endif
}
If we modify our program and run the preceding code, we can see that the compiler is now satisfied and will run the program correctly, skipping the second output altogether:
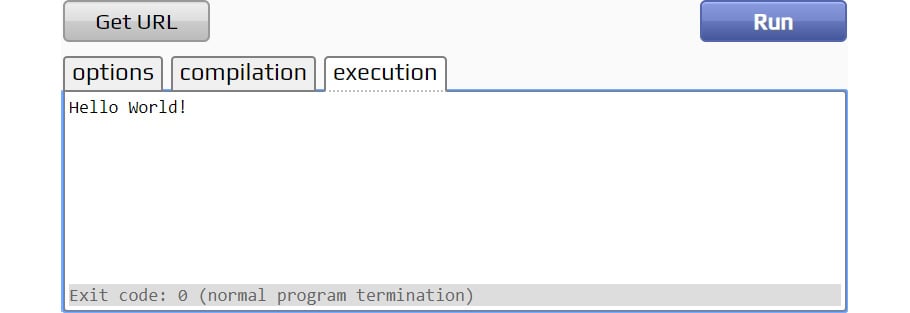
Figure 1.8: Safeguarded against the use of an undefined macro
What happens here is the code inside the #ifdef/else directives isn't compiled into our final program if the macro specified isn't defined at that time. We also have the #ifndef directive available, which checks that the value is not defined. This is used in the same way as #ifdef, but obviously returns the opposite value; true when the value is not defined, false if it is.
As you can imagine, we can use these for lots of things, and there are other directives that allow us to do this with any constant expression, not just checking whether something is defined. These are #if, #else, and #elif.
Note
A constant expression is just an expression where its value can be determined at compile time (before the program is run).
The following program shows an example of how these preprocessor directives can be used to manipulate what code gets compiled into our program:
// Conditional compilation example.
#include <iostream>
#define LEVEL 3
int main()
{
    #if LEVEL == 0
        #define SCORE 0
    #else
    #if LEVEL == 1
        #define SCORE 15
    #endif
    #endif
    #if LEVEL == 2
        #define SCORE 30
    #elif LEVEL == 3
        #define SCORE 45
    #endif
    #ifdef SCORE
        std::cout << SCORE;
    #endif
}
Here, we use the value of our LEVEL macro to determine what value we give our SCORE macro. Let's copy this code into the compiler and see how it behaves. Change the value of LEVEL and see how that affects the output.
Note
If we use #if and #else, each need their own matching call to #endif. This is not the case with #elif.
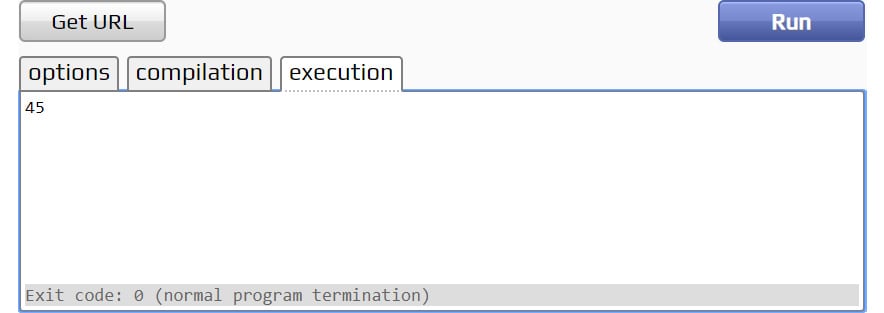
Figure 1.9: We can use macros to determine what code gets compiled
As we can see, by changing the value of LEVEL, we can change what code actually ends up being compiled into our application. One common use of this in practice is to compile platform-specific versions of things.
Let's say you've got a function that needs to do slightly different things between OSX and Windows. One way to solve this is by wrapping each function definition inside a platform define so the correct function gets compiled for each platform. Here is an example of this functionality:
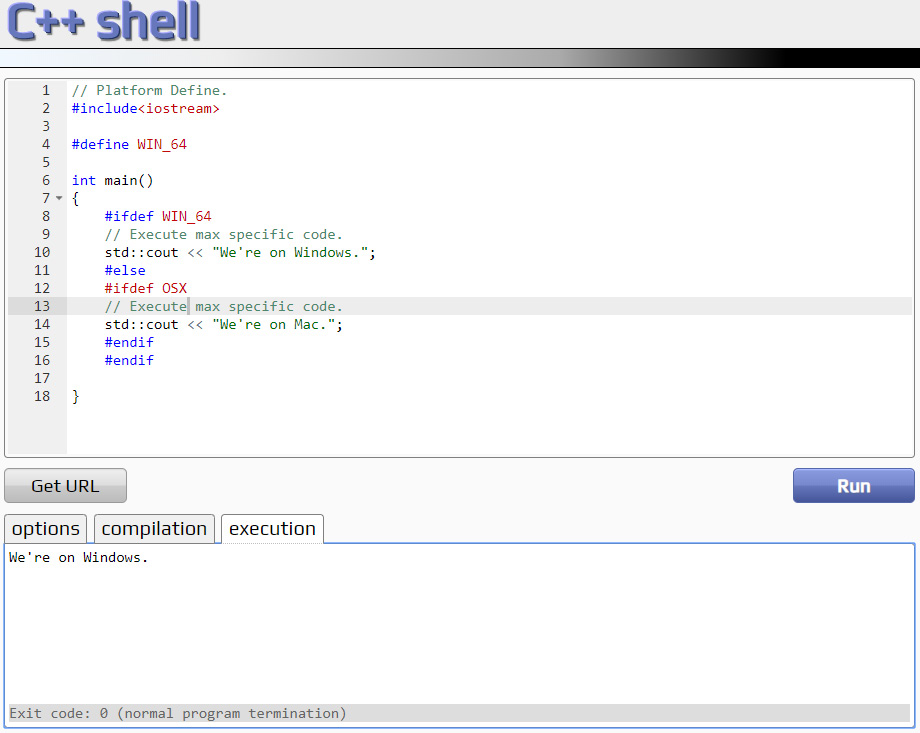
Figure 1.10: Using defines to run certain code based on OS
Note
There is no equivalent of #elif when using #ifdef. Instead, we have to just chain #ifdef/#endif statements.
Now that we have a basic understanding of preprocessor directives, we will apply some of the concepts we've learned by writing a program that defines values through them.
Exercise 2: Defining Values with Preprocessor Directives
In this exercise, we're going to build a small application that will give a test score a letter grade. We'll define score thresholds in macros and use them to assign grades:
Note
The complete code for this exercise can be found here: https://packt.live/2rZFyqB.
- We'll start by including our
iostreamand string headers, and defining our grade macros:// Preprocessor directives activity. #include <iostream> #include <string> #define GRADE_C_THRESHOLD 25 #define GRADE_B_THRESHOLD 50 #define GRADE_A_THRESHOLD 75
Define these thresholds as you see fit.
- Allow the user of the program to input their test score by typing in the following code:
int main() { int value = 0; std::cout << "Please enter test score (0 - 100): "; std:: cin >> value;Don't worry that we've not yet covered the IO statements that we're about to use. We'll be covering them next.
- Output the grade the user got based on their test score.
This is where we use the values we defined earlier. By defining these in macros, we can easily update them at a later date. This is nice as it allows us to modify the thresholds in a single location. Everywhere those macros are used will be updated as a result. Use the following code to do this:
if (value < GRADE_C_THRESHOLD) { std::cout << "Fail"; } else if (value < GRADE_B_THRESHOLD) { std::cout << "Pass: Grade C"; } else if (value < GRADE_A_THRESHOLD) { std::cout << "Pass: Grade B"; } else { std::cout << "Pass: Grade A"; } } - The complete code looks like this:
// Preprocessor directives activity. #include <iostream> #include <string> #define GRADE_C_THRESHOLD 25 #define GRADE_B_THRESHOLD 50 #define GRADE_A_THRESHOLD 75 int main() { int value = 0; std::cout << "Please enter test score (0 - 100): "; std::cin >> value; if (value < GRADE_C_THRESHOLD) { std::cout << "Fail"; } else if (value < GRADE_B_THRESHOLD) { std::cout << "Pass: Grade C"; } else if (value < GRADE_A_THRESHOLD) { std::cout << "Pass: Grade B"; } else { std::cout << "Pass: Grade A"; } } - Now let's run our program. If a user inputs a score between 1-100, we can provide them with a letter grade. For an input of 50, you will obtain the following output:
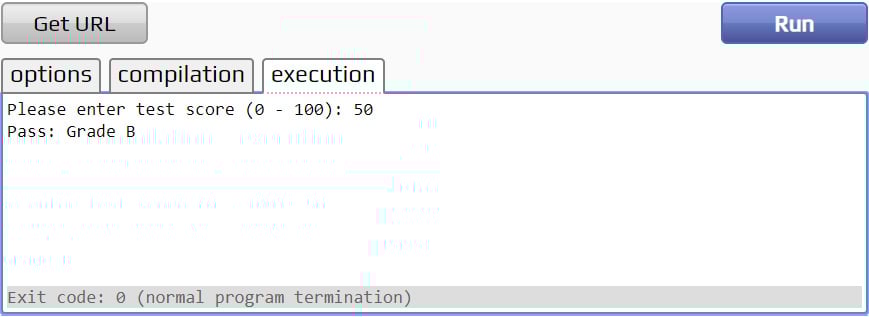
Figure 1.11: Assigning a letter grade to a user's test score