Book Image

Mahara 1.2 E-Portfolios: Beginner's Guide

Book Image

Mahara 1.2 E-Portfolios: Beginner's Guide

Overview of this book

Mahara is a user-centred environment with a permissions framework that enables different views of an e-portfolio to be easily managed. These views helps you display your artefacts – text files, spreadsheets, images, and videos – in a way you choose and to the people you want. You can also create online communities and social networks through groups, blogs, and forums.Being a novice, you will need a quick and easy implementation guide to set up your feature-rich digital portfolio.This book is your step-by-step guide to building an impressive professional e-portfolio using Mahara. It covers the key features of Mahara that will help you set up your customized digital portfolio and display the artefacts in your preferred way allowing contribution from selected users only.This book will introduce to the exciting features of Mahara framework and help you develop a feature-rich e-portfolio for yourself. You will see how easily you can create folders, upload multiple files like journals, project documents, pictures, and videos and share them with your friends. You will learn to set up views of these files, making these visible to your chosen friends only. And then, you will allow people to give their inputs.You will learn to create blogs and forums and get connected to the rest of the world. Customization and administration of your Mahara site will become easy after you have gone through this book. Imagine how good you will feel when you will see your knowledge, success, and ideas going live and available to your chosen audiences for their inputs.
Table of Contents (15 chapters)
Mahara 1.2 ePortfolios
Credits
About the Authors
About the Reviewers
Preface

Time for action - linking Views together to make a multi-page View


  1. 1. Insert a Text Box into one of the Views. Choose carefully where you would like this to be because it is going to contain the navigation for your site—either the top left or top right is a good place to choose.

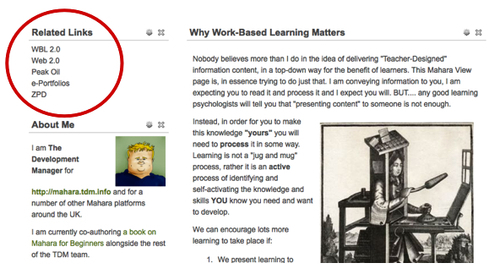
  2. 2. Give your Text Box a relevant title (for example, Main Menu or Related Links) and in the body of the text enter the names of each View that you wish to link to. Put each name on a new line. Save the changes. Derrin called his menu Related Links and put it in the top left-hand side of his View. This is what it looks like on his View so far:

  1. 3. Now we need to link each line of text to the View it relates to. To do this, you will first need to visit the My Views section of My Portfolio. Find one of the other Views that you would like to link to and copy its URL (address link). You can do this by right-clicking on the title of the view and clicking on Copy Link Location. A more long-winded way of doing this is...