
As we've already discussed, the great thing about Moodle is that it has a consistent user interface. What do I mean by that? One way to think about Moodle is as a suite of teaching tools, a forum, a wiki, a chat facility, and so on. Because the user interface is consistent you can learn how to interact with one tool and you'll easily be able to pick up on how to use the others. You'll find that all Moodle sites have a familiar feel to them: they look different but they are all used in the same way. How do you make them look different?
You can theme Moodle, that means you can apply your own custom colors and page designs (almost like a new skin). You can specify your own banner across the top of the page and your own footer at the bottom. You can rearrange items on the page. But you can't change the behavior of a Moodle site. A Moodle will behave like a Moodle, and you'll get to recognize a Moodle site when you see one.
The Moodle theme you'll see in the pictures in this book (the theme of my Moodle) is called "standard". Your admin may well be using a different theme. Don't let that put you off. Remember that the theme just changes the way Moodle looks and not the way it behaves.
All Moodle pages, regardless of theme, contain certain "standard" elements. In the next section we learn all about them.
What are the parts that make up a Moodle page? Let's start at the top of the page and work our way down.
At the top of the page you'll find a trail of links telling you where you are in the Moodle site:
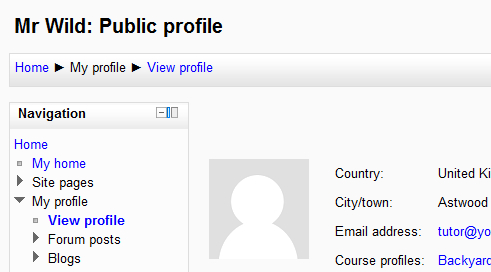
It's called a breadcrumb trail (also referred to as the "navigation bar") and it's a convenient way of getting back to a known point. For example, if I click on View Profile in the breadcrumb trail then I am taken to my Profile page. If I click on Home in the breadcrumb trail then I am taken back to the site front page.
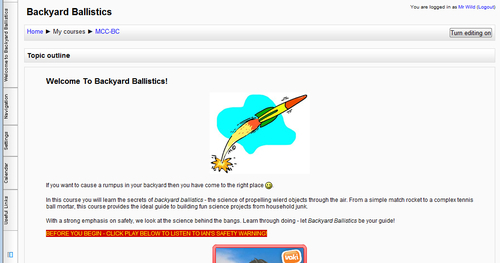
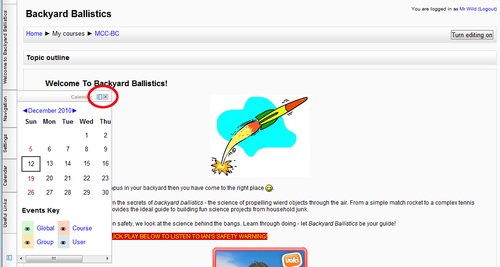
Let's take a look around a Moodle course front page:
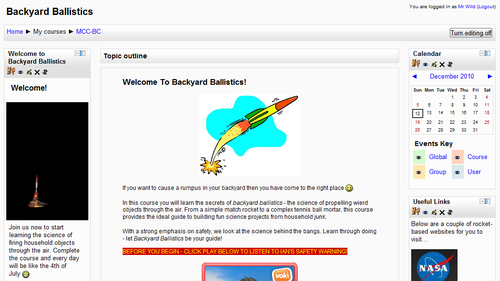
On the left and right of the page you can see blocks, such as the Calendar block on the top-right. There are a number of standard blocks you can include on your course front page. There are also custom blocks that your admin can install. A block you'll commonly find used in Moodle is the HTML block. This type of block allows us to include our own web-based content on the left and/or the right of the page. The Welcome and Useful Links blocks in the previous screenshot are HTML blocks.
In the middle is the main course area and this is where you'll find the main resources and activities (blocks are usually for supplementary information or support).
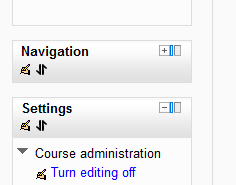
If you are using a notebook or a laptop with a small screen then you might find the course page a bit cramped. Each block has a hide icon:
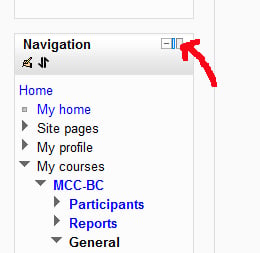
For example, clicking on the hide Navigation block icon collapses the block:
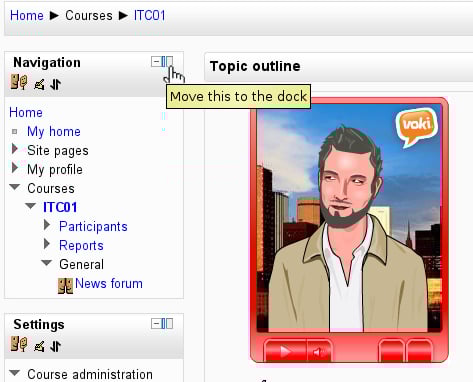
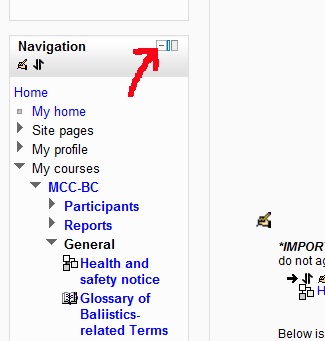
Next to each hide icon is the move this to the dock icon:
The dock bar is ideal for notebooks or laptops with a smaller screen size as it moves side blocks out of the way without hiding them completely:
Hold the mouse over the name of a block listed in the dock bar and the block is displayed (and the undock this item and delete icons are also displayed):
At the bottom of the page is the footer:
At the bottom of the footer you will find a button. In the previous screenshot you will see that the button is marked Home, and pressing it will take you back to the site front page. You will also see a note telling me who I am logged in as, and in brackets after the name is the Logout link, which we met earlier in this chapter.
The icons you see on your Moodle pages may well be different from the icons we refer to in this book (although I doubt they will be radically different). If you are not sure what an icon is for (if it isn't obvious from its context) then hovering the mouse pointer over it will reveal some short descriptive text (called a tooltip):