Book Image

Microsoft Windows Intune 2.0: Quickstart Administration

By : David Overton
Book Image

Microsoft Windows Intune 2.0: Quickstart Administration

By: David Overton

Overview of this book

Microsoft Windows Intune is a cloud service solution that simplifies how small and mid-sized businesses manage and secure PCs using Microsoft cloud services and Windows 7óso your computers and users can operate at peak performance all the time.This step-by-step guide will show you how to plan, set up and maintain Windows Intune, showing you how to manage a group of PCs (either 1 business or several if a partner) from the base operating system, through to the patches, anti-malware solution and deployed software and policies from a central console, using the Windows Intune service. This book takes you through all the steps to plan, set up and maintain Windows Intune and how to manage a group of PCs. The book starts by providing an overview of Cloud Computing and PC Management. The book then dives into topics such as Windows Intune features, signing up for Windows Intune and installing the client software, configuring Windows Intune, proactive management, and monitoring and dealing with alerts, including remote assistance amongst others. As Windows 7 is part of Windows Intune, the book will also cover the minimum steps required to move from Windows XP to Windows 7 while keeping user settings and preferences.
Table of Contents (19 chapters)
Microsoft Windows Intune 2.0: Quickstart Administration
Credits
About the Author
Acknowledgement
About the Reviewers
www.PacktPub.com
Preface

Backing up settings for migration


We need to create a secure backup of the settings in the previous version of Windows. This can be used to transfer the user to a new computer or for Windows 7 when installed on the same computer. To do this, follow these steps:

  1. 1. Insert the Windows DVD or USB stick. Navigate to \support\migwiz and find the file migsetup.exe. This is the Windows Easy Transfer wizard. Start the program.

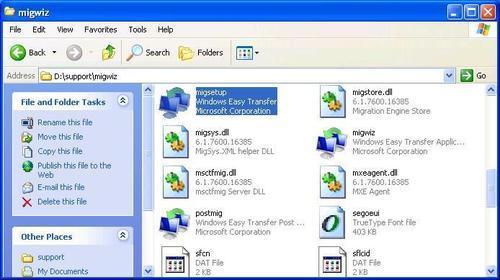
  2. 2. We will see the welcome screen for the wizard. Press Next to continue through the wizard.

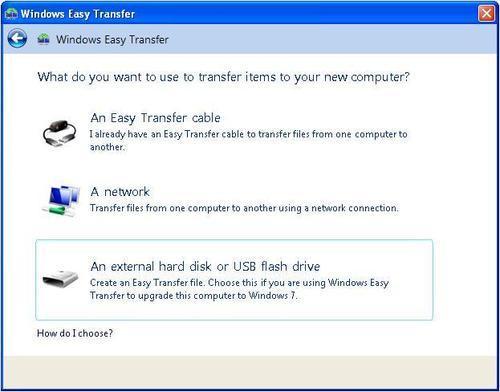
  3. 3. Unless we have two machines set side-by-side that we are migrating between, select to transfer using An external hard disk or USB flash drive. Ensure the drive is connected and recognized by the computer before continuing.

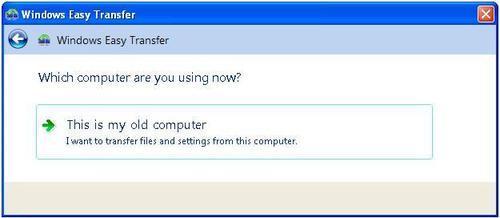
  4. 4. We need to tell the wizard that we are on the old computer—the one running Windows XP. Do this by pressing the This is my old computer option.

  5. 5. We can now see a selection of users that can be migrated as well as any shared resource. Ensure that each user we...