

Pop-up and view menus are defined declaratively in the Application.e4xmi file. These are specific to a part, so the option is defined underneath the part declaration.
Open the
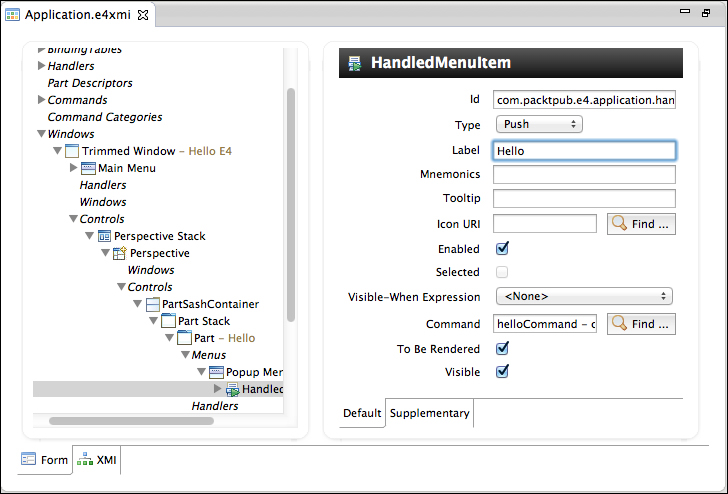
Application.e4xmifile.Navigate to Application | Windows | Trimmed Window | Controls | Perspective Stack | Perspective | Controls | PartSashContainer | Part Stack | Part (Hello) | Menus.
Right-click on the Menus node and go to Add child | Popup Menu. Now right-click on the Popup Menu and do Add child | HandledMenuItem. This is exactly the same as for other menus; fill in the details as follows:
Label:
HelloCommand:
helloCommand - com.packtpub.e4.application.command.hello
Right-click on the Menus node again, and go to Add child | View Menu. Give the menu a label View Menu and right-click to Add child | Handled MenuItem. Use the same label and command as for the pop-up menu.
Run the application. On the top-right, there will be a triangular drop-down icon which should...