Book Image

Swift 2 Blueprints

By : Cecil Costa
Book Image

Swift 2 Blueprints

By: Cecil Costa

Overview of this book

In this book, you will work through seven different projects to get you hands-on with developing amazing applications for iOS devices. We start off with a project that teaches you how to build a utility app using Swift. Moving on, we cover the concepts behind developing an entertainment or social networking related application, for example, a small application that helps you to share images, audio, and video files from one device to another. You’ll also be guided through create a city information app with customized table views, a reminder app for the Apple Watch, and a game app using SpriteKit. By the end of this book, you will have the required skillset to develop various types of iOS applications with Swift that can run on different iOS devices. You will also be well versed with complex techniques that can be used to enhance the performance of your applications.
Table of Contents (15 chapters)
Swift 2 Blueprints
Credits
About the Author
About the Reviewers
www.PacktPub.com
Preface
Index

Communicating with the iOS app


Once the user has chosen the supply type, the app should display the supply status. However, this information is not on the watch, it is on the phone; it must be requested using a framework called WatchConnectivity.

This new scene will display the current supply status of the supply. If the user has set the supermarket address, a button will appear to display the map with the supermarket address.

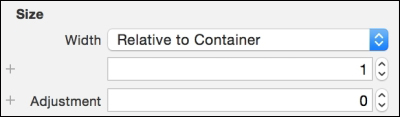
Go to the WatchApp storyboard and add a new interface controller next to the first one. Drag a label, an image, and a button to this interface controller. Select the label and change its text alignment to center and its width size to Relative to Container with its value as 1, as shown in the following screenshot:

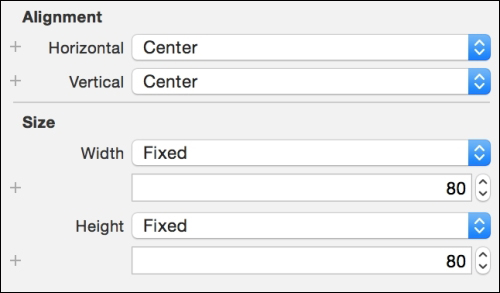
Now, click on the image and set its Horizontal and Vertical alignment to Center. Change the Width and Height size to Fixed and set their values to 80, as it is displayed in the following screenshot:

Now, click on the button, set its text to Supermarket, its Vertical...