

Now that you have installed ArcGIS Pro and have a license, it is time to launch ArcGIS Pro for the first time. You need to ensure that you are connected to the Internet because when you launch ArcGIS Pro, it will need to connect to ArcGIS Online or Portal for ArcGIS to make sure that you have a valid license.
Let's open ArcGIS Pro:
Open ArcGIS Pro. How you do this will depend on your OS and whether you have added shortcuts to your desktop or taskbar.
Once you start ArcGIS Pro, you will need to sign in to your ArcGIS Online or Portal account. This allows ArcGIS Pro to verify your license. You do have the option to allow ArcGIS Pro to remember your login credentials for ArcGIS Online, so you will not have to log in every time you launch ArcGIS Pro.

After ArcGIS Pro verifies your login and license, it will take you to the window that allows you to start a new project or open an existing project. You will now open an existing project.
Before you can proceed further in the book and complete the exercises, you will need to download and install the exercise data. To do this, follow these steps:
Download the exercise data from Packt Publishing. In most cases, this will be downloaded to your
Downloadsfolder unless you specify a different location.Open Windows Explorer or File Explorer depending on which OS you are using. If you are using Windows 7 or 8.1, you will see an icon located on your task bar, which looks like a small file folder in a holder. This will open File Explorer.
Navigate to the location you downloaded the exercise data to. If you downloaded the data to the standard windows default location, you should be able to click on the Downloads option under Favorites in the tree located in the left-hand side of the File Explorer interface.
Double-click on the
LearningArcGISPro.zipfile.
Right-click on the IntroArcGISPro folder. Then, select Copy.
In File Explorer, now navigate to your
C:\ driveoften named Local Disk or OS. TheC:\ drivemay be found under this PC in the tree on the left-hand side of the File Explorer interface.Right-click on the
C:\ driveand select New | Folder.Name the new folder
Student.Right-click on the
Studentfolder you just created and select Paste. This will copy the IntroArcGISPro folder to theStudentfolder you just created.Close File Explorer once the copy is complete.
ArcGIS Pro makes use of projects that can contain 2D and 3D data. You will now open an existing project and begin your first journey into ArcGIS Pro to help verify the successful install of ArcGIS Pro. You will get an opportunity to explore 2D and 3D maps, a layout, and more:
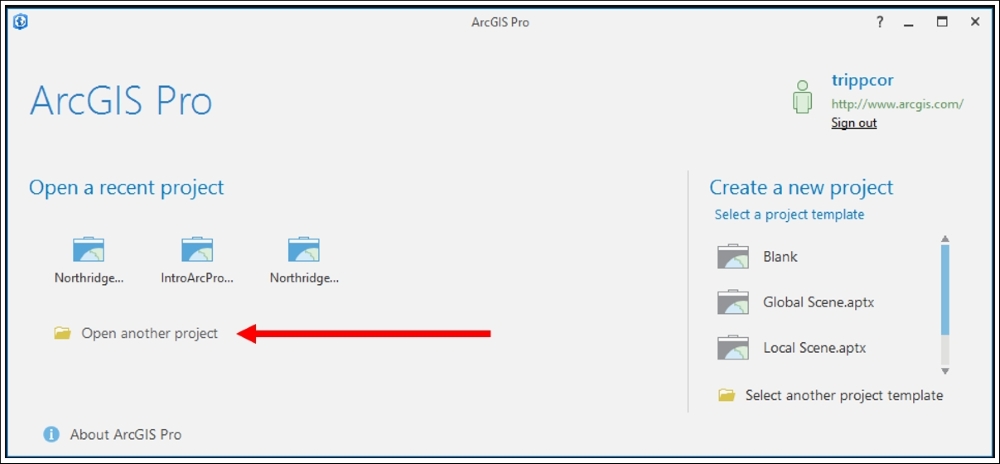
In the ArcGIS Pro Open Project window, click on Open another project option as shown in the following screenshot:
Click on Computer under the Open pane. Then, select Browse under the Computer pane.
Navigate to
C:\Student\IntroArcPro\Chapter1\IntroArcPro_Chapter1or the location you installed the exercise data and selectIntroArcPro_Chapter1.aprx.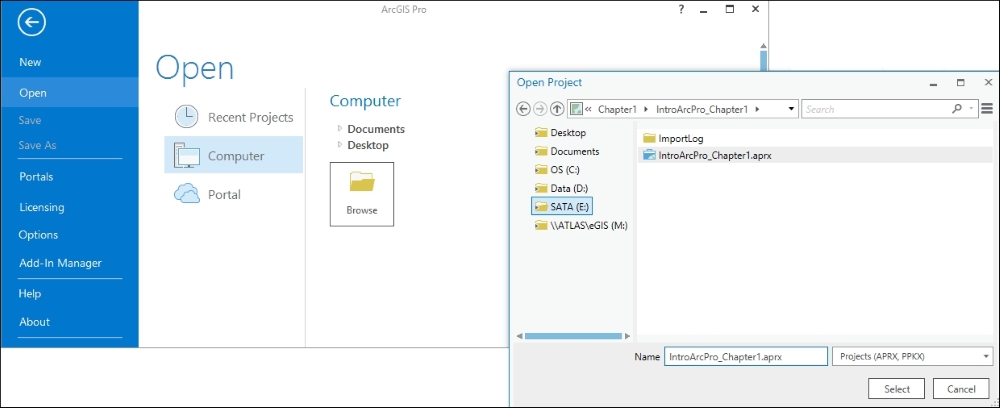
If the project opens successfully, you will see two map views located side by side showing a granite quarry. One is a traditional 2D map, and the other is a 3D map. These two views have been linked together, so when you zoom or pan in one, the other updates to match.

Click on the Explore tool.
Move your mouse pointer to one of the two map views and click your left mouse button and drag it to pan within the view. As you pan in one view, watch what happens in the other view.
Note
Question: What happens when you use the Explore tool within the views?
_________________________________________________________
_________________________________________________________
As you can see, the two views are linked together. This keeps them in sync with one another as you move between them. This is one of the functions you will find in ArcGIS Pro. You do not have to link views, but it can be useful. You will learn how to configure view linking in a later chapter.
Using the Explore tool once again, click on a parcel in either view.
As you have now experienced, the Explore tool not only pans and zooms within the map views but will also retrieve information about the features in the map. Feel free to continue to investigate the ArcGIS Pro project and some of its functionality. When you are finished, close ArcGIS Pro without saving the project.