Book Image

Learning Modular Java Programming

By : Tejaswini Mandar Jog
Book Image

Learning Modular Java Programming

By: Tejaswini Mandar Jog

Overview of this book

Modular programming means dividing an application into small parts and then developing it. It is an approach taken by developers to build applications and helps them add efficiency in their development process, thus making it more effective. The book starts with the fundamentals of Modular Programming. Then we move on to the actual implementation, where we teach developers how to divide an application into different modules or layers (such as presentation, execution, security, lifecycle, services, and so on) for better management. Once readers are well-versed in these modules and their development, the book shows how to create bindings in order to join these different modules and form a complete application. Next, the readers will learn how to manage these modules through dependency injection. Later, we move on to testing; readers will learn how to test the different modules of an application. The book ends by teaching readers how to maintain different versions of their application and how to modify it. By the end of the book, readers will have a good understanding of modular programming and will be able to use it to build applications with Java.
Table of Contents (15 chapters)

Visual SVN server


It's time to create new users with the help of the following steps in Visual SVN.

Get the setup Visual SVN from https://www.visualsvn.com/downloads/ and complete the setup with default settings.

  1. Let's start the Windows-based VisualSVN server and explore its power to manage repositories.

  2. Start the VisualSVN server from the Start menu. We will get the following window:

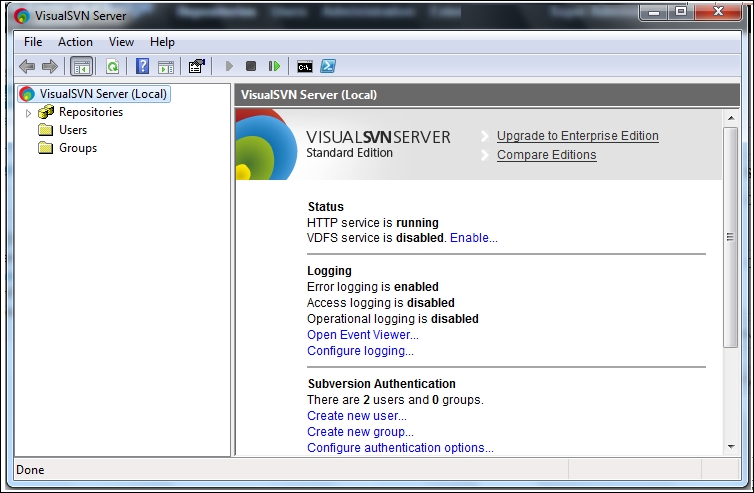
  3. Now there are no repositories or users. We will now add them one by one. A new repository can be created in two ways:

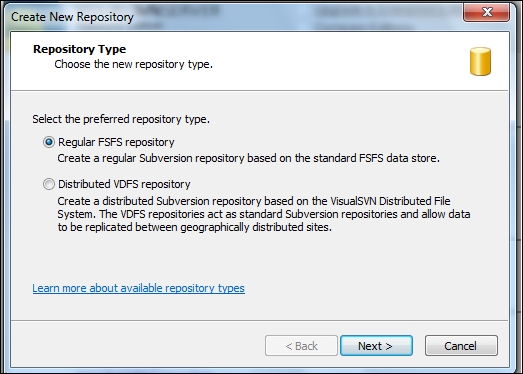
    1. Right-click on the Repositories folder and select the Create New Repository... option:

    2. Click on Create new repository from the home page as shown in the following screenshot:

  4. Select the default option to create Regular FSFS repository and click on Next:

  5. Give the repository the name visual_repo1 and click on Next as shown in the following screenshot:

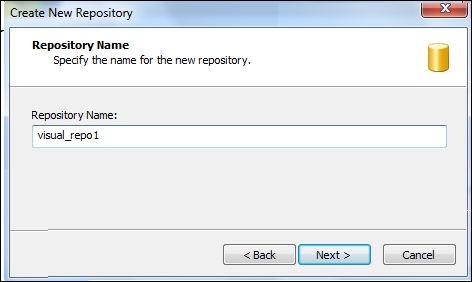
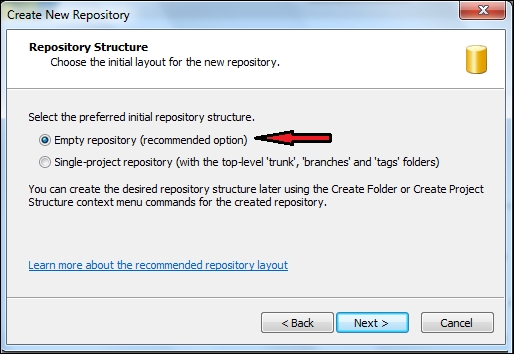
  6. Select Empty repository and click on Next as shown:

  7. Select Custom permissions and click on the Custom button to set access rules if we have users already...