Book Image

Building Bots with Microsoft Bot Framework

By : Kishore Gaddam
Book Image

Building Bots with Microsoft Bot Framework

By: Kishore Gaddam

Overview of this book

Bots help users to use the language as a UI and interact with the applications from any platform. This book teaches you how to develop real-world bots using Microsoft Bot Framework. The book starts with setting up the Microsoft Bot Framework development environment and emulator, and moves on to building the first bot using Connector and Builder SDK. Explore how to register, connect, test, and publish your bot to the Slack, Skype, and Facebook Messenger platforms. Throughout this book, you will build different types of bots from simple to complex, such as a weather bot, a natural speech and intent processing bot, an Interactive Voice Response (IVR) bot for a bank, a facial expression recognition bot, and more from scratch. These bots were designed and developed to teach you concepts such as text detection, implementing LUIS dialogs, Cortana Intelligence Services, third-party authentication, Rich Text format, Bot State Service, and microServices so you can practice working with the standard development tools such as Visual Studio, Bot Emulator, and Azure.
Table of Contents (10 chapters)

Identifying the name of a person, place, and company using LUIS

Now we will create a custom LUIS app to return all the identified Intents that are created and trained. For example, if you say Hi John, am going to New York tonight, the LUIS app will return natural speech and intent processing to know the name, location, and other things, such as John as name and New York as place:

  1. After logging into LUIS in luis.ai, create an app for your IntentProcessing. To do that, click on New App and select New Application:
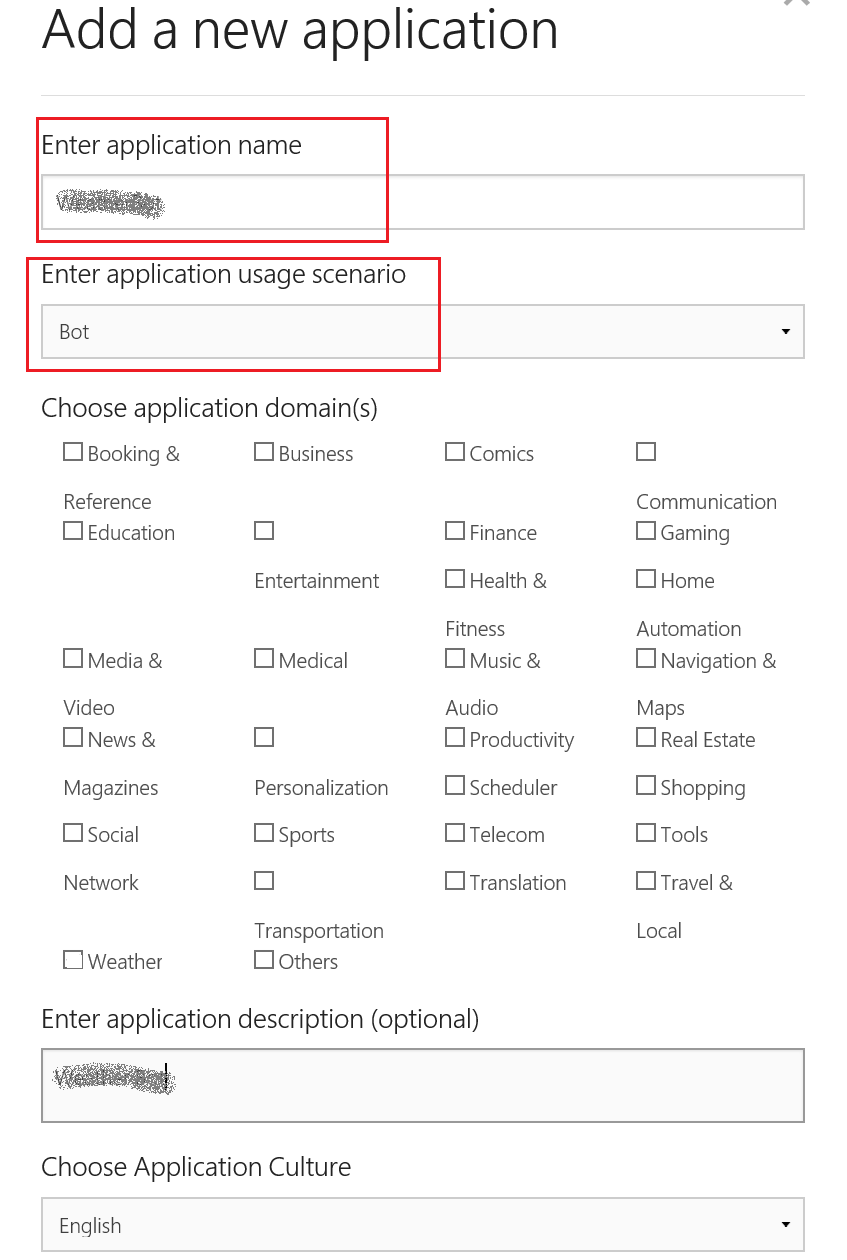
  1. Enter the application's name, the usage as Bot, and select the category. Finally, click on the Add App button:
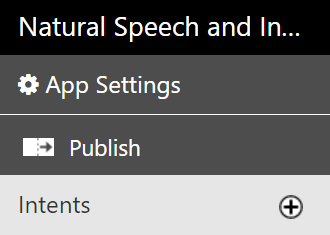
  1. After successful creation of the app, open it and click on the + icon of the Intents section from the left-hand side of the menu:
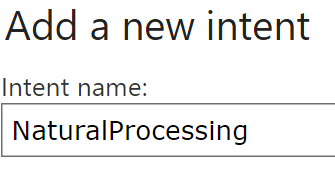
  1. Enter the name for your Intent and click on the Save button:
  1. Now add a custom entity from the left-hand side menu, click on the + icon of the Entity...