

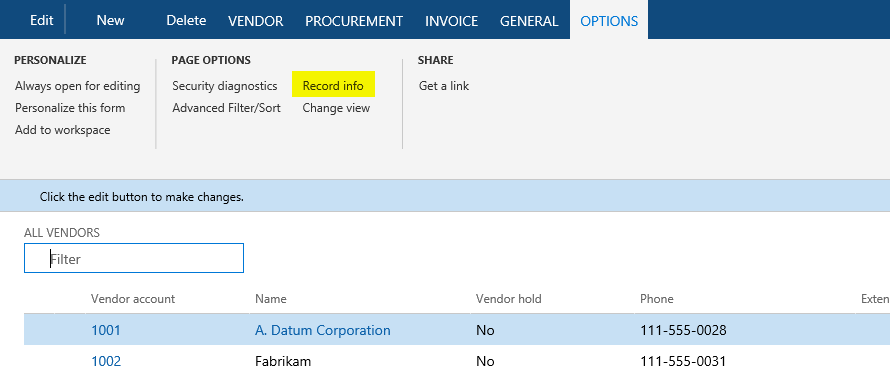
Most of you who are familiar with the Dynamics 365 for Finance and Operations application, have probably used the standard Rename function. This function allows you to rename the primary key of almost any record. With this function, you can fix records that were saved or created by mistake. This function ensures data consistency, that is, all the related records are renamed as well. It can be accessed from the Record information form (shown in the following screenshot), which can be opened by selecting Record info from the right-click menu on any record:
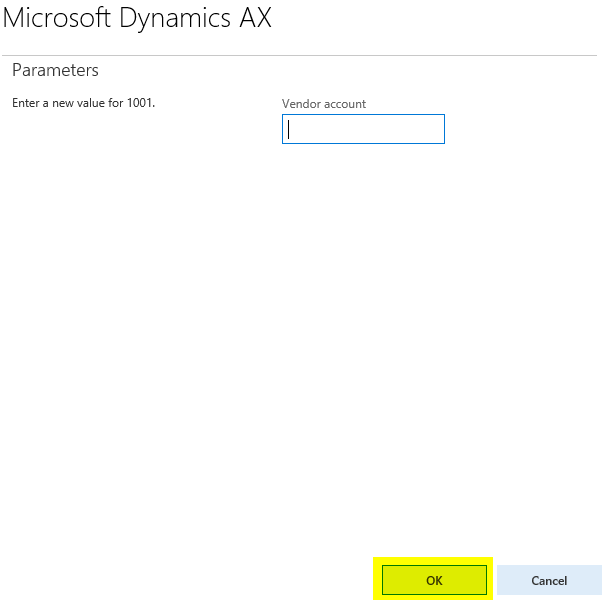
A new form will open as follows:

Click on the Rename button to rename the Vendor Account field value.
When it comes to mass renaming, this function might be very time-consuming as you need to run it on every record. An alternative way of doing this is to create a job that automatically runs through all the required records and calls this function automatically.
This recipe will explain how the record's primary key can be renamed through the code. As an example, we will create a job that renames a vendor account.
Carry out the following steps in order to complete this recipe:
- Navigate to
Accounts payable|Vendors|All vendorsand find the account that has to be renamed, as shown in the following screenshot:
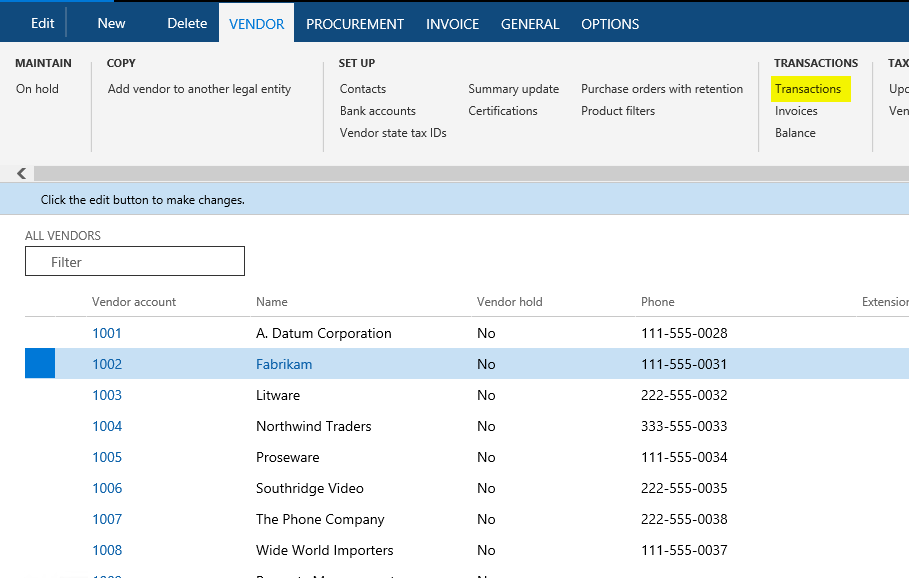
- Click on
Transactionsin theActionpane to check the existing transactions, as shown in the following screenshot:

- Create a new project, create a runnable class named
VendAccountRename, and enter the following code snippet. Use the previously selected account:
        class VendAccountRename
       {
         /// <summary>
         /// Runs the class with the specified arguments.
         /// </summary>
         /// <param name = "_args">The specified arguments.</param>
         public static void main(Args _args)
        {
          VendTable vendTable;

          ttsBegin;

          select firstOnly vendTable
          where vendTable.AccountNum == '1002';

          if (vendTable)
         {
           vendTable.AccountNum = 'US-1002';
           vendTable.renamePrimaryKey();
         }

          ttsCommit;
        }

} - Select class
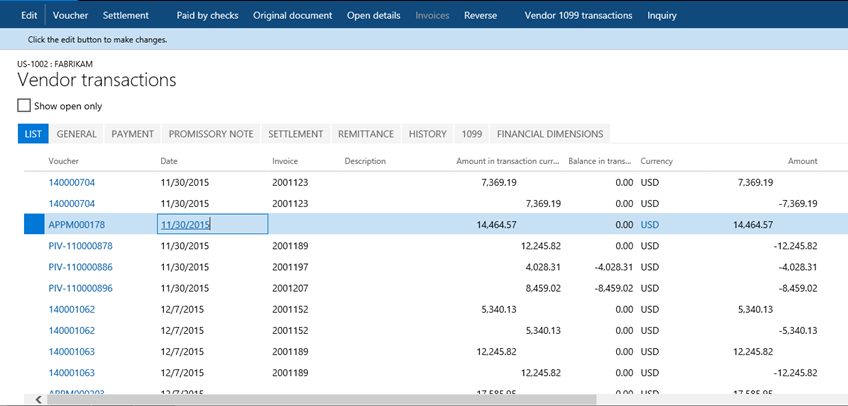
VendAccountRenameand right-click and then selectSet as startup object. Execute the class by clickingStartin Visual Studio and check whether the renaming was successful, by navigating toAccounts payable|Vendors|All vendorsagain and finding the new account. The new account should have retained all its transactions and other related records, as shown in the following screenshot:
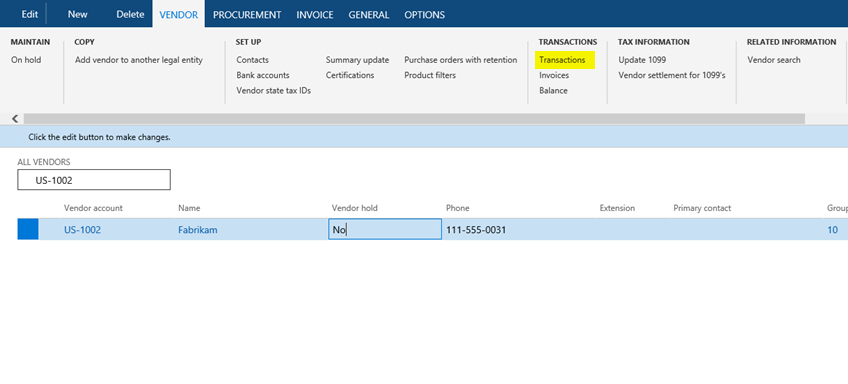
- Click on
Transactionsin theActionpane in order to see whether the existing transactions are still in place, as shown in the following screenshot:
In this recipe, we first select the desired vendor record and set its account number to the new value. Note that only the fields belonging to the table's primary key can be renamed in this way.
Then, we call the table's renamePrimaryKey() method, which does the actual renaming. The method finds all the related records for the selected vendor account and updates them with the new value. The operation might take a while, depending on the volume of data, as the system has to update multiple records located in multiple tables.