

Document handling in Dynamics 365 for Finance and Operations is a feature that allows you to add notes, links, documents, images, files, and other related information to almost any record in the system. For example, we can track all the correspondence sent out to our customers by attaching the documents to their records in Dynamics 365 for Finance and Operations. Document handling on most of the forms can be accessed either from the Action pane by clicking on the Attachments button and selecting Document handling from the Command menu under File or selecting the Document handling icon from the status bar.
Document handling has a number of configuration parameters that you can find by navigating to Organizationadministration | Setup | Documentmanagement. Please refer to Dynamics 365 for Operations Manuals to find out more.
Dynamics 365 for Finance and Operations also allows you to add document handling notes from the code. This can come in handy when you need to automate the document handling process. In this recipe, we will demonstrate this by adding a note to a vendor account.
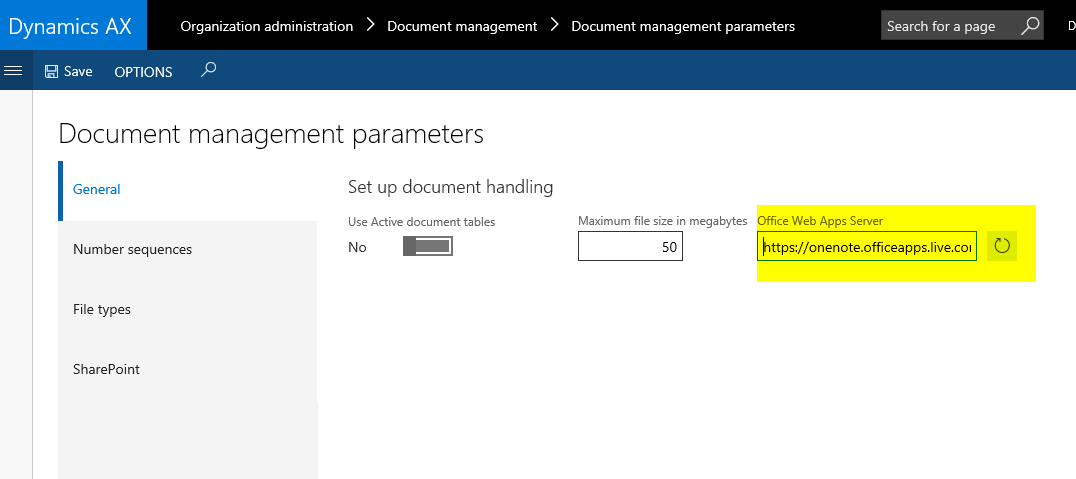
Before you start, ensure that document handling is enabled on the user interface. Open Document management parameters by navigating to Organization administration | Setup | Document management and make sure that Use Active document tables is not marked, as shown in the following screenshot:
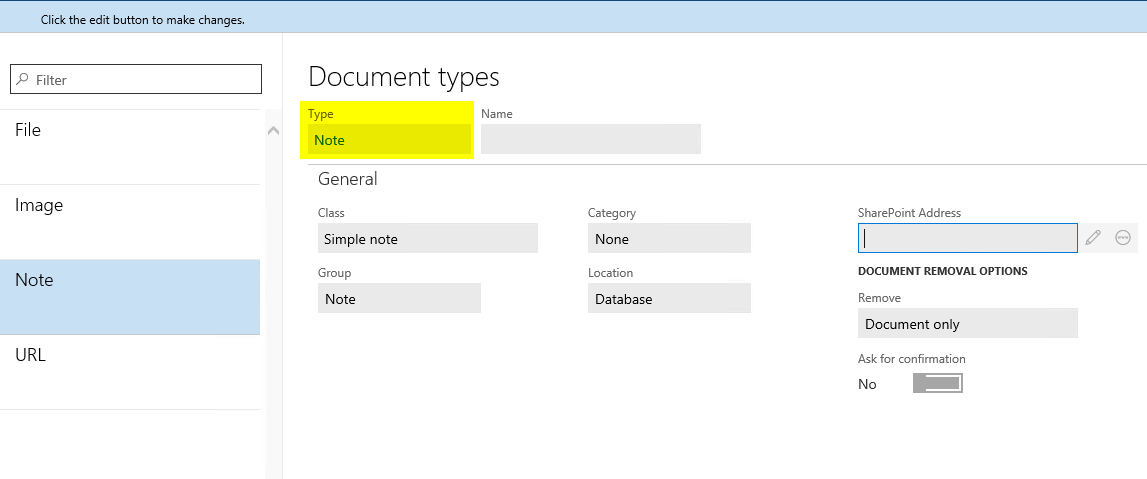
Then, open the Document types form from the same location and pick or create a new document type with its Group set to Note, as shown in the following screenshot. In our demonstration, we will use Note.
Carry out the following steps in order to complete this recipe:
- Navigate to
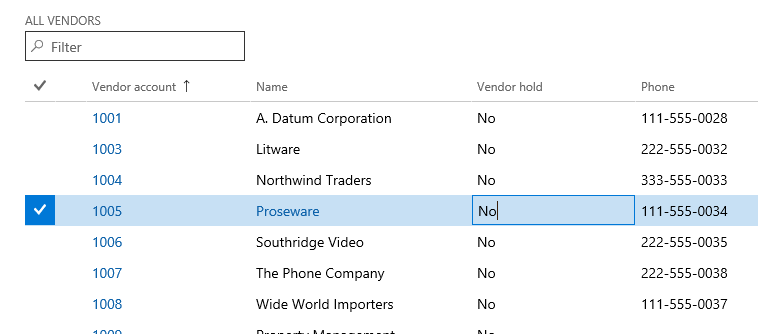
Accountspayable|Vendors|Allvendorsand locate any vendor account to be updated, as shown in the following screenshot:
- Create a Dynamics 365 for Operations Project, create a new runnable class named
VendAccountDocument, and enter the following code snippet. Use the previously selected vendor account and document type:
        class VendAccountDocument
       {
         static void main(Args _args)
        {
          VendTable vendTable;
          DocuType  docuType;
          DocuRef   docuRef;

          vendTable = VendTable::find('1005');
          docuType  = DocuType::find('Note');

          if (!docuType ||
           docuType.TypeGroup != DocuTypeGroup::Note)
         {
           throw error("Invalid document type");
         }


          docuRef.RefCompanyId = vendTable.dataAreaId;
          docuRef.RefTableId   = vendTable.TableId;
          docuRef.RefRecId     = vendTable.RecId;
          docuRef.TypeId       = docuType.TypeId;
          docuRef.Name         = 'Automatic note';
          docuRef.Notes        = 'Added from X++';
          docuRef.insert();

          info("Document note has been added successfully");
        }

} - Run the class to create the note.
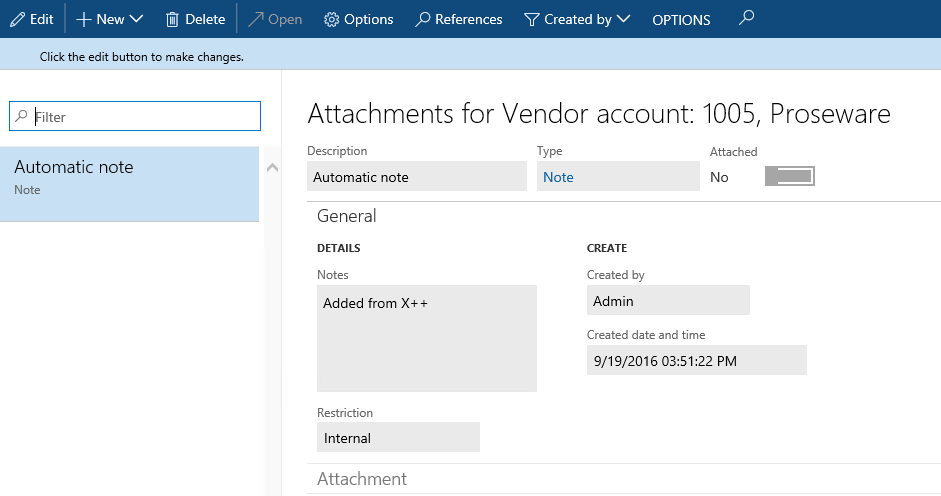
- Go back to the vendor list and click on the
Attachmentsbutton in the form'sActionpane or selectDocument handlingfrom theCommandmenu underFileto view the note added by our code, as shown in the following screenshot:
All the document handling notes are stored in the DocuRef table, where three fields, RefCompanyId, RefTableId, and RefRecId, are used to identify the parent record. In this recipe, we set these fields to the vendor company ID, vendor table ID, and vendor account record ID, respectively. Then, we set the type, name, and description and inserted the document handling record. Notice that we have validated the document type before using it. In this way, we added a note to the record.