

When using the default Java Project project type in Eclipse IDE, Eclipse internally generates an XML build script based on Apache's Ant build tool and executes its tasks when the user chooses Eclipse's Compile and Build options. For small projects, this works fine, but for bigger projects, you normally need more control. In this particular case, we want Eclipse to download add-on dependencies. We have chosen the very popular Gradle build tool for this chapter's project.
As Eclipse IDE has no built-in support for Gradle out-of-the-box, we will need to install a plugin that will add this feature to Eclipse IDE. There are different plugins available that aim to do this. We will use the plugin created by the Gradle team in this case. To install it, follow these instructions:
- From the
Helpmenu, choose theEclipse Marketplace...option: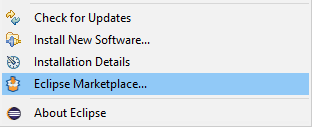
- Enter
gradlein theFindtextbox and press Enter. In the list of plugins that are found, scroll down until you see the following entry:...