Book Image

ArcPy and ArcGIS - Second Edition

By : Silas Toms, Dara OBeirne
Book Image

ArcPy and ArcGIS - Second Edition

By: Silas Toms, Dara OBeirne

Overview of this book

ArcGIS allows for complex analyses of geographic information. The ArcPy module is used to script these ArcGIS analyses, providing a productive way to perform geo-analyses and automate map production. The second edition of the book focuses on new Python tools, such as the ArcGIS API for Python. Using Python, this book will guide you from basic Python scripting to advanced ArcPy script tools. This book starts off with setting up your Python environment for ArcGIS automation. Then you will learn how to output maps using ArcPy in MXD and update feature class in a geodatabase using arcpy and ArcGIS Online. Next, you will be introduced to ArcREST library followed by examples on querying, updating and manipulating ArcGIS Online feature services. Further, you will be enabling your scripts in the browser and directly interacting with ArcGIS Online using Jupyter notebook. Finally, you can learn ways to use of ArcPy to control ArcGIS Enterprise and explore topics on deployments, data quality assurances, data updates, version control, and editing safeguards. By the end of the book, you will be equipped with the knowledge required to create automated analysis with administration reducing the time-consuming nature of GIS.
Table of Contents (13 chapters)
8
Introduction to ArcGIS Online

Creating a Jupyter Notebook

Jupyter Notebook is an open source browser-based application that allows you to execute Python code and thereby easily share it, along with any visualizations you might create with the code. If you have ever heard of IPython Notebook, it is very similar to that. In this section, I will discuss how to create a notebook and some of the basic functions you will need to know in order to work with it.

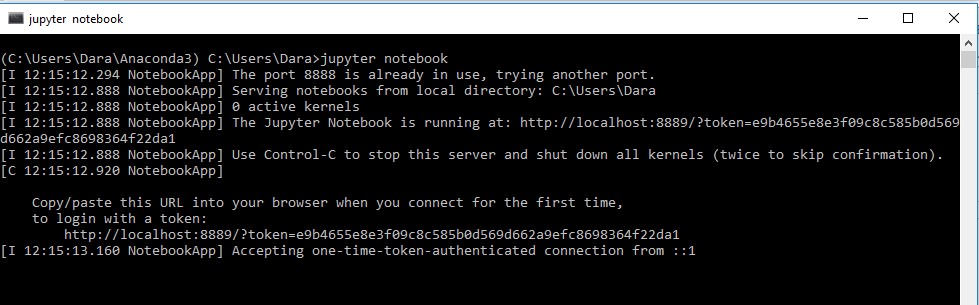
To get started, let’s launch that Anaconda Prompt again, from your start menu. Then, type the jupyter notebook command, and if everything is installed correctly, it should launch in your default browser automatically:

When opened, you should see a browser page open that looks like this:

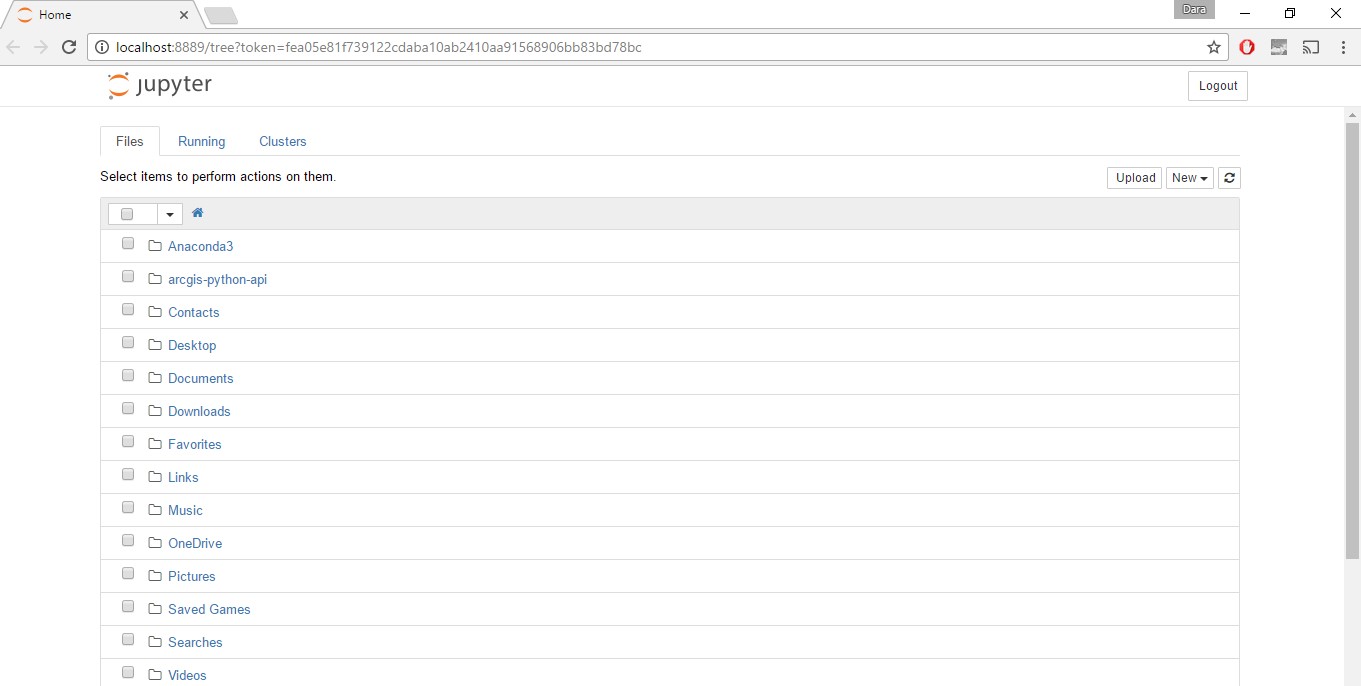
You should notice that this directory is in the same location you were in when you launched the notebook from Command Prompt. In my case, this is my C:\Users\Dara directory...