

Once we have SQL server downloaded and installed, let's take a look at it inside Visual Studio. Go to View and then select SQL Server Object Explorer; it opens a little pane on the left-hand side, as shown in Figure 16.1.4:

Figure 16.1.4: The SQL Server Object Explorer pane in Visual Studio
Next, click on the Add SQL Server Button, as shown in Figure 16.1.5:

Figure 16.1.5: The Add SQL Server Button
Now, the dialog box shown in Figure 16.1.6 appears. Notice where it says Windows Authentication. This is known as integrated security. You don't have to specify a different username and password. Just fill the Server Name field, click on Connect, and you'll be logged in to it:
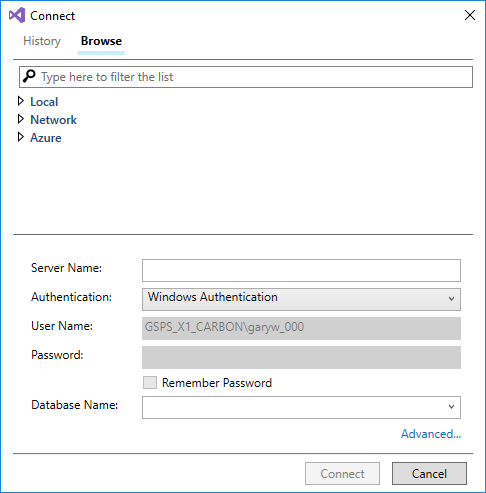
Figure 16.1.6: The Connect dialog box
The specific version that you have will be different than the one shown in Figure 16.1.7, but these are the basic things that will apply to many different versions:
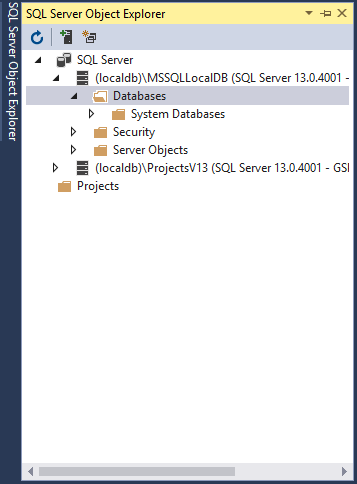
Figure 16.1.7: The Databases folder specific to this version of SQL Server 2017 Express...