

In this chapter, we're going to take a look at how to get Visual Studio 2017. You can either go directly to www.visualstudio.com/downloads or just do a search for Visual Studio 2017 download. This should bring you to a page similar to this one:
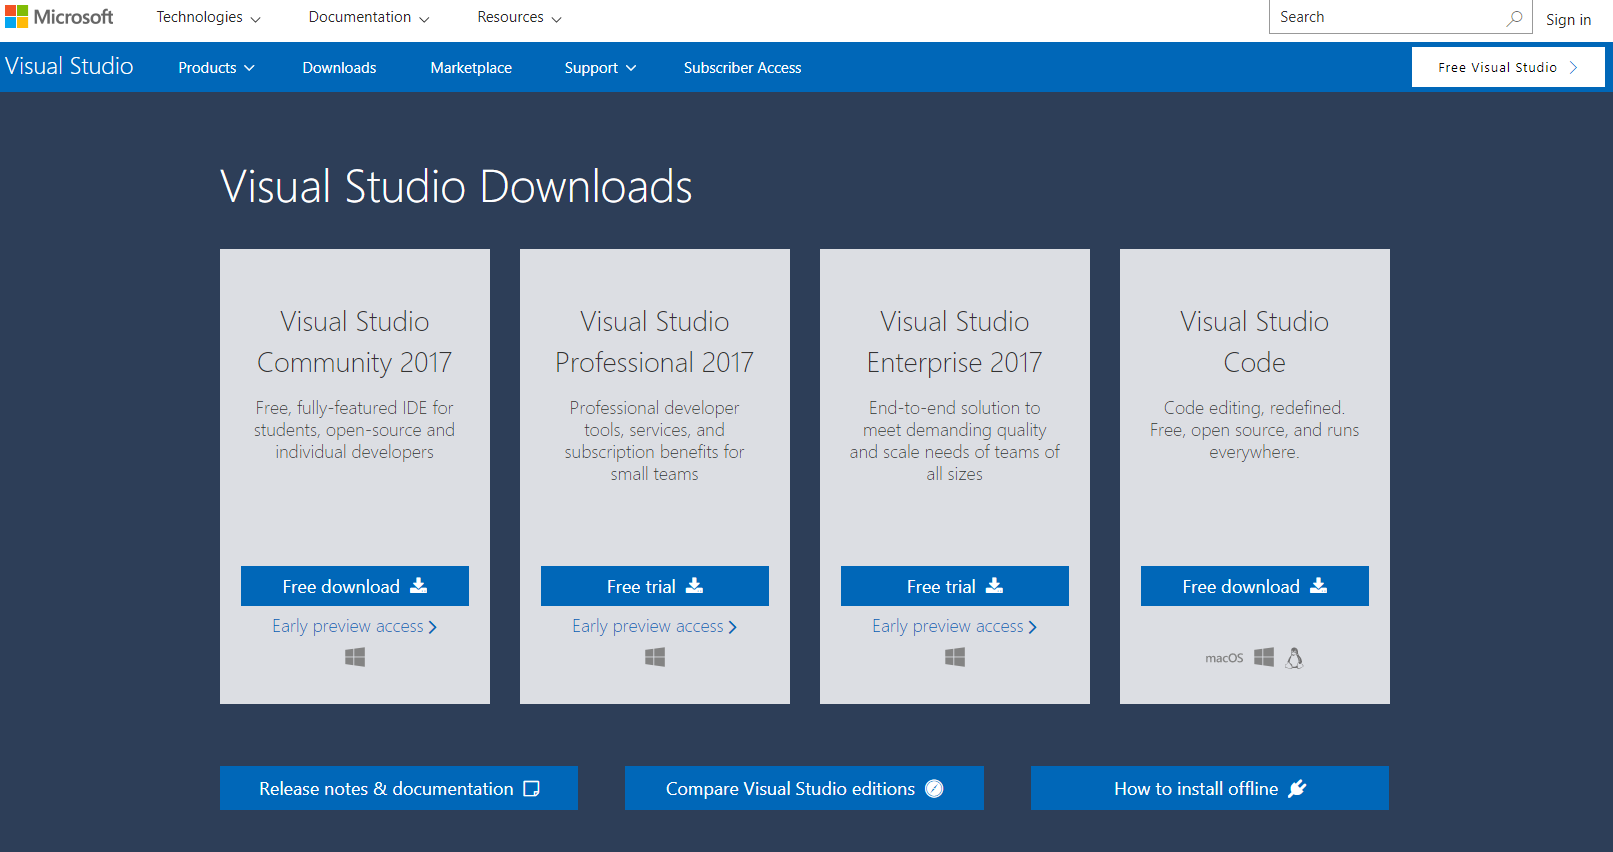
Keep in mind that these pages are updated regularly. In the preceding screenshot, you will see that there are several versions. The one that interests us, of course, is Visual Studio Community 2017, the free version.
Click on Free download. This should automatically download a small installer. Depending on how your system is set up, it will either download it directly to the Downloads folder, or prompt you for where you want to save it. I've created a VS_Community folder inside My Downloads folder and saved it there. Of course, you can save it wherever you want to. Once this is done--it won't take long as it's just a small file--locate the downloaded VS_Community.EXE file and open it up.
Once you open it, you should see this screen.
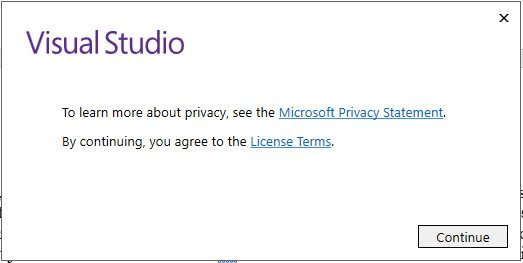
Click on Continue, which should take you through to the next screen:
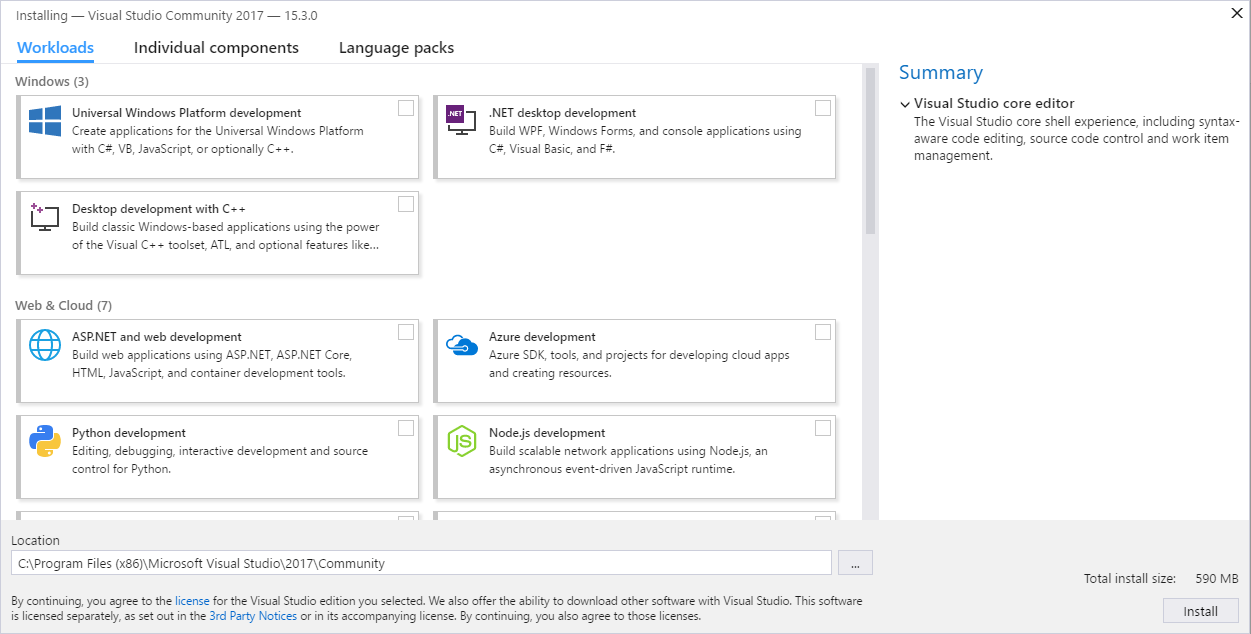
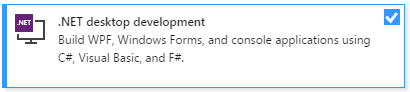
From here, you can select the set of features you want to install on your system. For our purposes, I've chosen.NET desktop development at the top. If you click on it, you should see a check mark appear in the top corner to show that it's been selected:
Down at the bottom of the window, there's a location bar. If you click on the three little dots, you can select where you want the Visual Studio program to be installed on your system. On the right-hand side, you have a summary field:
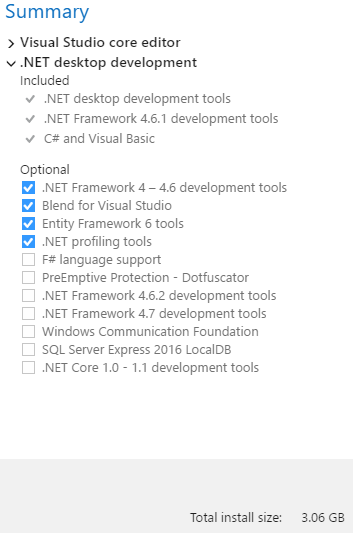
This tells you what's going to be installed; also, down at the bottom, it says Total install size, 3.06 GB, so that's how much minimum free space you need wherever you're going to install this. Then, of course, click on the Install button in the lower right-hand corner. This should bring you to a page similar to this one:

Now, it's just a matter of waiting for everything to be downloaded and then applied to your system. One thing that I recommend you do at this point is temporarily disable your antivirus software while this is being installed because it could interfere with the installation process. I got to about 90 percent and my system hung when I installed it. I went back and disabled my anti-virus software and it installed fine. You may have to do the same.
Once it's downloaded and installed, you should see a screen similar to this one:
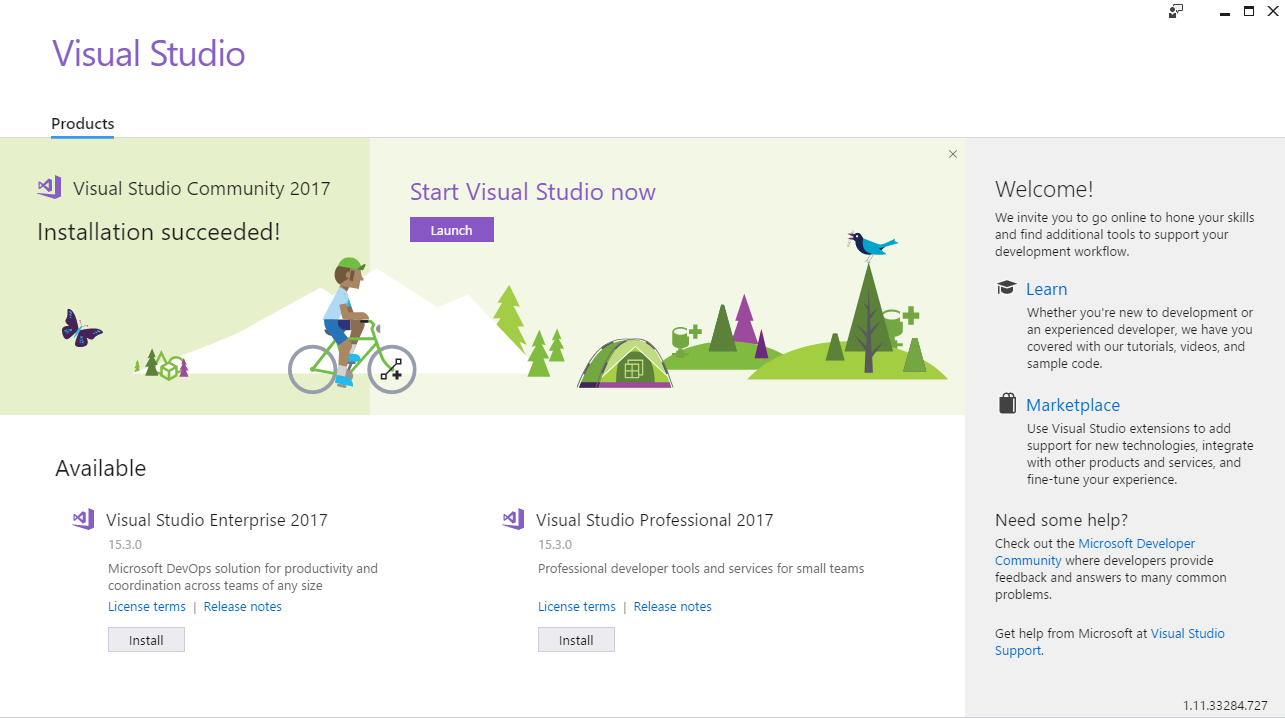
From here on, of course, you can either look at the release notes if you want, or just click on the Launch button. Go ahead and click on the Launch button. This should bring you to a screen similar to this one:
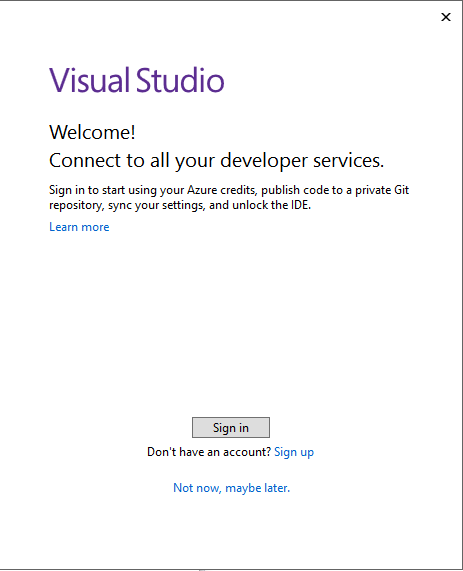
If you want, you can sign in with your Microsoft account,if you remember. I chose Not now, maybe later. The next step is to choose the interface:
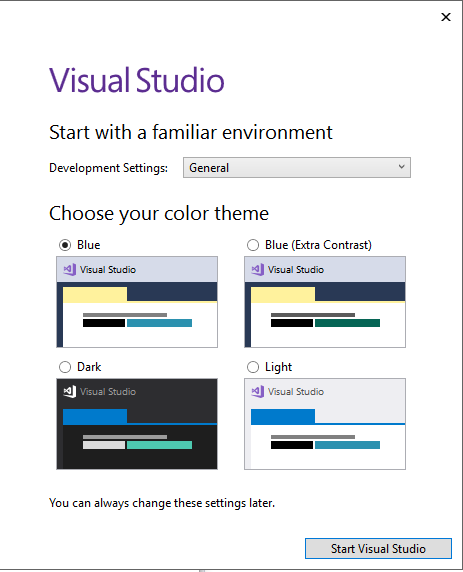
I like the standard Blue one. Of course, you can use the Dark one or the Light one, whichever one you like, and then click on Start Visual Studio. Once it's loaded, it should look very similar to the one that you see right here:
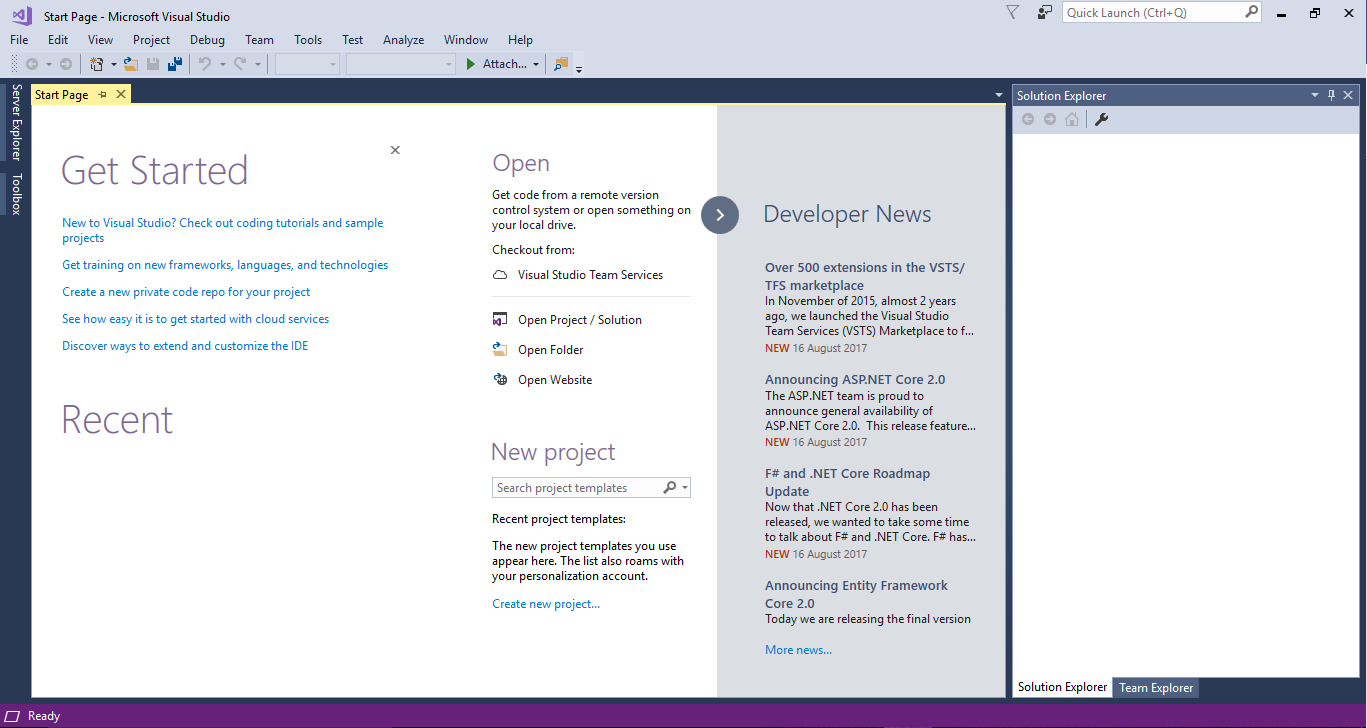
Now Go to Help > About Microsoft Visual Studio; you'll see the version that you have installed. Mine is 15.3.0, which is the latest version at the time of this writing. Make sure that yours is the same or above (it should be, as you just downloaded the latest version from Microsoft); otherwise, the code samples that we create will not work because they rely on the features of C# available in this version. Okay, close the About box. That's it! You're now ready to start learning C# 7.