
Now that you know how to open an existing project, it is time to learn how to open a map stored within the project. Projects can contain 2D maps, 3D scenes, data connections, layouts, styles, toolboxes, and more. However, 2D maps are still the primary canvas that GIS professionals work with.
In this recipe, you will learn how to open existing 2D maps. Once open, you will learn how to navigate within the map.
If you have successfully completed all the previous recipes, you should not need to do anything more to continue with this recipe. If you have not completed the other recipes in this chapter, you will need to do so before starting this one.
- Start ArcGIS Pro if you closed it at the end of the last recipe and open the
Chapter 1 Ex 1Aproject located inC:\Student\ArcGISProCookbook\Chapter1.
Note
If you don’t remember how, you should refer back to the previous recipe or click the project name in the list of recently opened projects.
- In the
Catalogpane located on the right of the ArcGIS Pro interface, expand theMapsfolder by clicking the small arrowhead to the left of the wordMaps.
Note
If the Catalog pane is not open, check that it is not set to autohide. If it is, you will see a small tab located on the right side, named Catalog. Simply click the tab to make the Catalog pane open. If you have closed the Catalog pane, click the View tab in the ribbon. Then click the small arrowhead located below Catalog and select Catalog Pane.
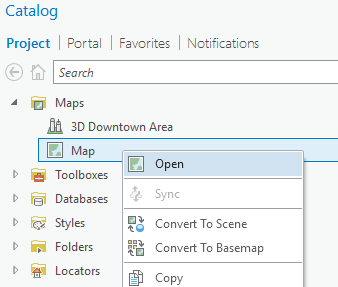
- Right-click on
Mapand selectOpen, as shown here:
You have just opened an existing project map. A project can contain multiple maps that can be either 2D or 3D. 3D maps are referred to as scenes. Now you will learn how to navigate within the maps.
- Click the
Maptab in the ribbon. - Click the
Exploretool located on theMaptab in theNavigatetool group.
Note
The Explore tool is a jack of all trades. It allows you to pan, zoom, and access data about features in your map. For those that have used ArcMap, the Explore tool replaces the identify, zoom in, zoom out, and pan tools.
- Move your mouse pointer into the map and roll the scroll wheel on your mouse away from you to zoom into the map. Stop whenever you are zoomed in to a desired scale.
- Now roll the scroll wheel back toward you in the opposite direction to zoom out. Stop whenever you are zoomed out to a desired scale.
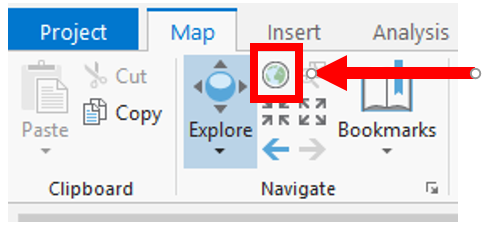
- To return to the full extent of the map, click the
Full Extentbutton located in theNavigategroup on theMaptab in the ribbon, as shown here:
- Click
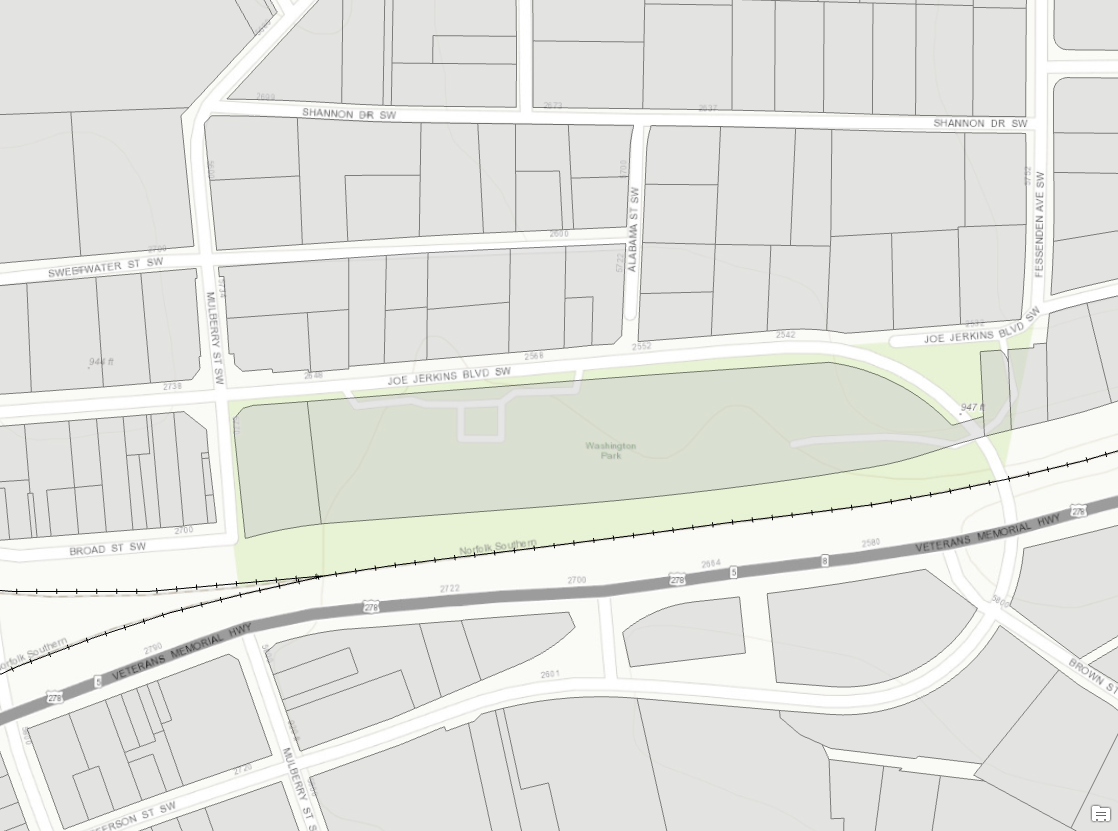
Bookmarksin theNavigategroup on theMaptab in the ribbon. - Select
Washington Parkfrom the window that appears. This will zoom you to a predefined area in your map that focuses on Washington Park. Your map should now look similar to this:
- Now you want to zoom in closer to the block just to the north of Washington Park. Select the
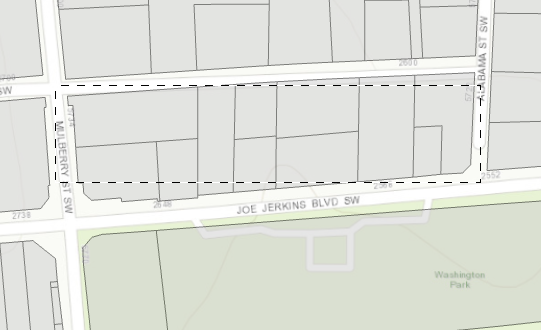
Exploretool again. - Hold your Shift key down and click near the intersection of
Mulberry ST SWandSweetwater ST SW. Continue holding down the Shift key and drag your mouse pointer to the southeast until you reach the intersection ofAlabama St SWandJoe Jerkins Blvd SW. As you are dragging your mouse, you should see a dashed rectangular box appear in the map. This represents the area you want to zoom into. Once you have created a box that looks similar to the following image, release both the Shift key and your mouse button:
- Ensure the
Exploretool is still active in theMaptab. - In the map, click the northwesternmost parcel in the block you just zoomed into.
If you look closely at the information window that appears, you will notice it shows the information for the City Limits and not the parcel. You need to adjust the settings for the Explore tool.
- Close the information window by clicking the small
Xlocated in the upper right corner. - Click the arrowhead located below the
Exploretool and selectVisible Layers. - Click the same parcel once again.
- On the bottom left of the information window, look at the number of features which are being identified. It should say 1 of 2.
- Click the small arrowhead located next to the number 2. This will display the information for the parcel you clicked in place of the
City Limit. - Close the information window once you are done.
- Try clicking other features in the map and using some of the other options associated with the
Exploretool to see how they work. - Click the
Full Extentbutton to return to the full extents of the map. - Save your project by clicking the
Save Projectbutton located in the Quick Access toolbar.
In this recipe, you began exploring the contents of a project by opening an existing map that was contained in a project that you opened in the last recipe. Once you opened the map from that Catalog pane, you began to navigate within it using the Explore tool. You used the Explore tool to first zoom in and out within the map. Then, you used the Full Extent button to return to the full extent of the map view. Next, you used a book mark to zoom to Washington Park in the map. From there, you zoomed into an even more specific area, using a combination of the Explore tool and the Shift key along with your mouse.
Once you zoomed into a block of parcels you were interested in, you used the Explore tool to retrieve information about a specific parcel.