
In this section, we will discuss shifting an image. Let's say we want to move the image within our frame of reference. In computer vision terminology, this is referred to as translation. Let's go ahead and see how we can do that:
import cv2
import numpy as np
img = cv2.imread('images/input.jpg')
num_rows, num_cols = img.shape[:2]
translation_matrix = np.float32([ [1,0,70], [0,1,110] ])
img_translation = cv2.warpAffine(img, translation_matrix, (num_cols, num_rows), cv2.INTER_LINEAR)
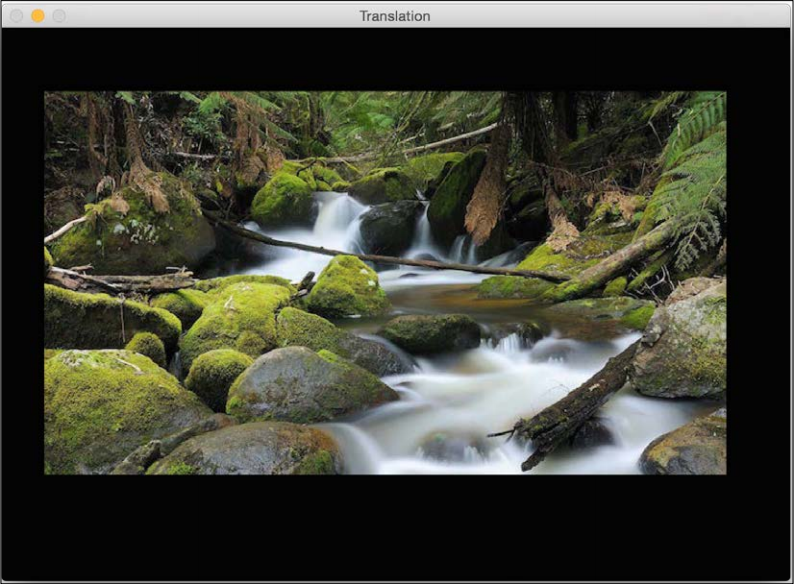
cv2.imshow('Translation', img_translation)
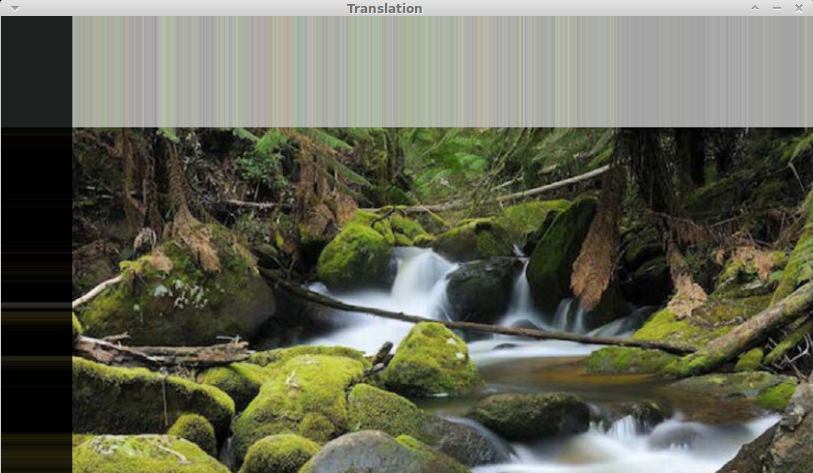
cv2.waitKey()If you run the preceding code, you will see something like the following:
To understand the preceding code, we need to understand how warping works. Translation basically means that we are shifting the image by adding/subtracting the x and y coordinates. In order to do this, we need to create a transformation matrix, as follows:
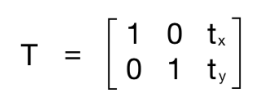
Here, the tx and ty values are the x and y translation values; that is, the image will be moved by x units to the right, and by y units downwards. So once we create a matrix like this, we can use the function, warpAffine, to apply it to our image. The third argument in warpAffine refers to the number of rows and columns in the resulting image. As follows, it passes InterpolationFlags which defines combination of interpolation methods.
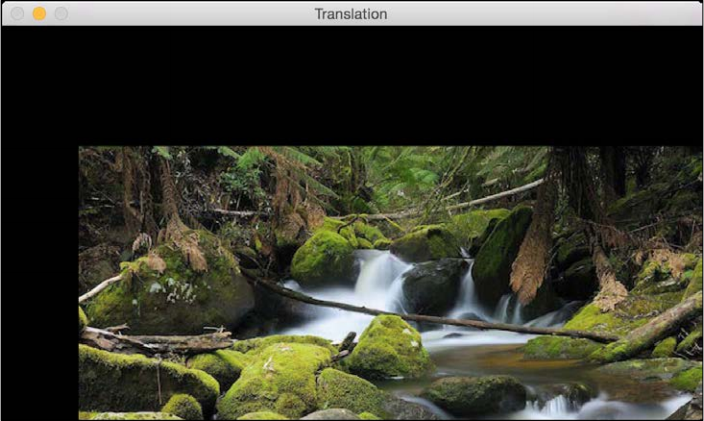
Since the number of rows and columns is the same as the original image, the resultant image is going to get cropped. The reason for this is we didn't have enough space in the output when we applied the translation matrix. To avoid cropping, we can do something like this:
img_translation = cv2.warpAffine(img, translation_matrix,
 (num_cols + 70, num_rows + 110))
If you replace the corresponding line in our program with the preceding line, you will see the following image:
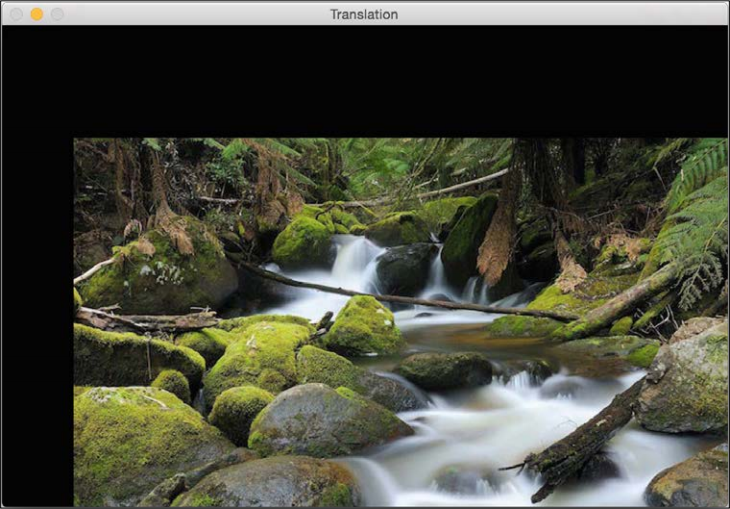
Let's say you want to move the image to the middle of a bigger image frame; we can do something like this by carrying out the following:
import cv2
import numpy as np
img = cv2.imread('images/input.jpg')
num_rows, num_cols = img.shape[:2]
translation_matrix = np.float32([ [1,0,70], [0,1,110] ])
img_translation = cv2.warpAffine(img, translation_matrix, (num_cols + 70, num_rows + 110))
translation_matrix = np.float32([ [1,0,-30], [0,1,-50] ])
img_translation = cv2.warpAffine(img_translation, translation_matrix, (num_cols + 70 + 30, num_rows + 110 + 50))
cv2.imshow('Translation', img_translation)
cv2.waitKey()
If you run the preceding code, you will see an image like the following:
Moreover, there are two more arguments, borderMode and borderValue, that allow you to fill up the empty borders of the translation with a pixel extrapolation method:
import cv2
import numpy as np
img = cv2.imread('./images/input.jpg')
num_rows, num_cols = img.shape[:2]
translation_matrix = np.float32([ [1,0,70], [0,1,110] ])
img_translation = cv2.warpAffine(img, translation_matrix, (num_cols, num_rows), cv2.INTER_LINEAR, cv2.BORDER_WRAP, 1)
cv2.imshow('Translation', img_translation)
cv2.waitKey()