Book Image

iOS 12 Programming for Beginners - Third Edition

By : Craig Clayton
Book Image

iOS 12 Programming for Beginners - Third Edition

By: Craig Clayton

Overview of this book

Want to build iOS 12 applications from scratch with the latest Swift 4.2 language and Xcode 10 by your side? Forget sifting through tutorials and blog posts; this book is a direct route to iOS development, taking you through the basics and showing you how to put principles into practice. Take advantage of this developer-friendly guide and start building applications that may just take the App Store by storm! If you’re already an experienced programmer, you can jump right in and learn the latest iOS 12 features. For beginners, this book starts by introducing you to iOS development as you learn Xcode and Swift. You'll also study advanced iOS design topics, such as gestures and animations, to give your app the edge. You’ll explore the latest Swift 4.2 and iOS 12 developments by incorporating new features, such as the latest in notifications, custom-UI notifications, maps, and the recent additions in Sirikit. The book will guide you in using TestFlight to quickly get to grips with everything you need to get your project on the App Store. By the end of this book, you'll be ready to start building your own cool iOS applications confidently.
Table of Contents (27 chapters)
Free Chapter
1
Getting Familiar with Xcode

Map Kit View

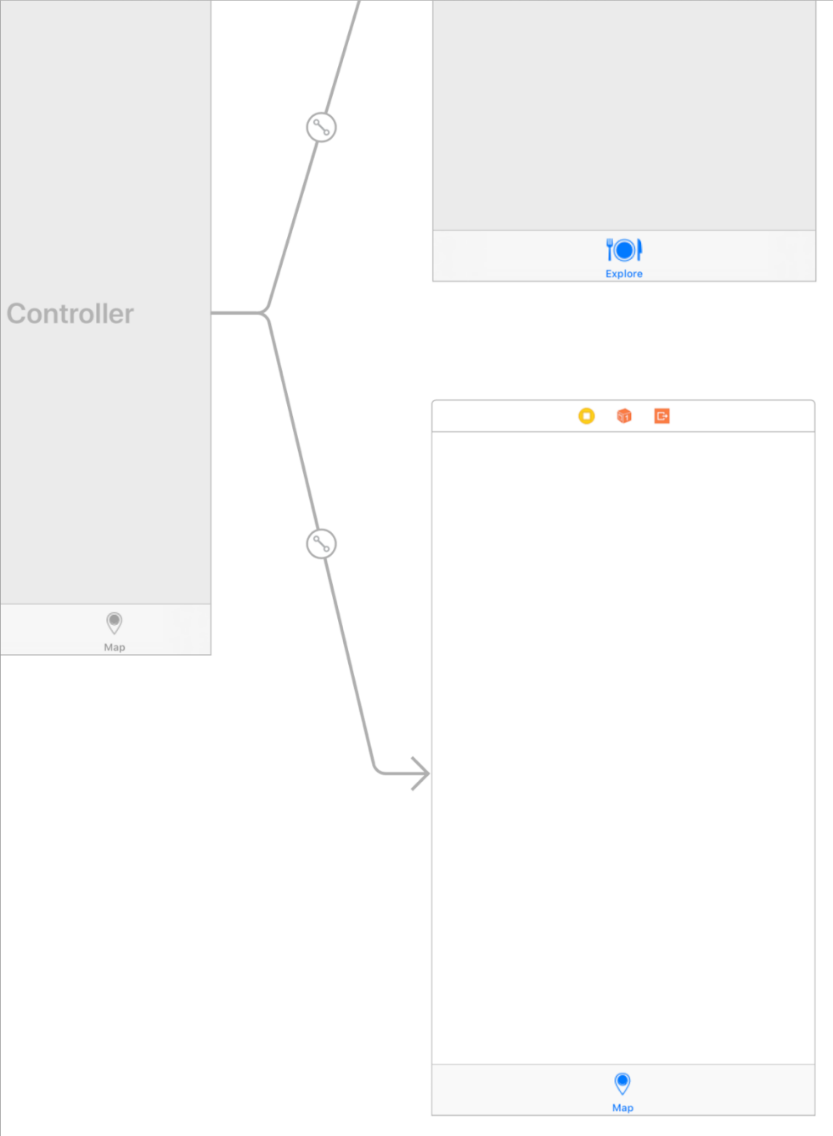
The last thing we need to do is to set up our Map tab. Select the Main.storyboard file and find the View Controller connected to the Map tab:

Let's get started:

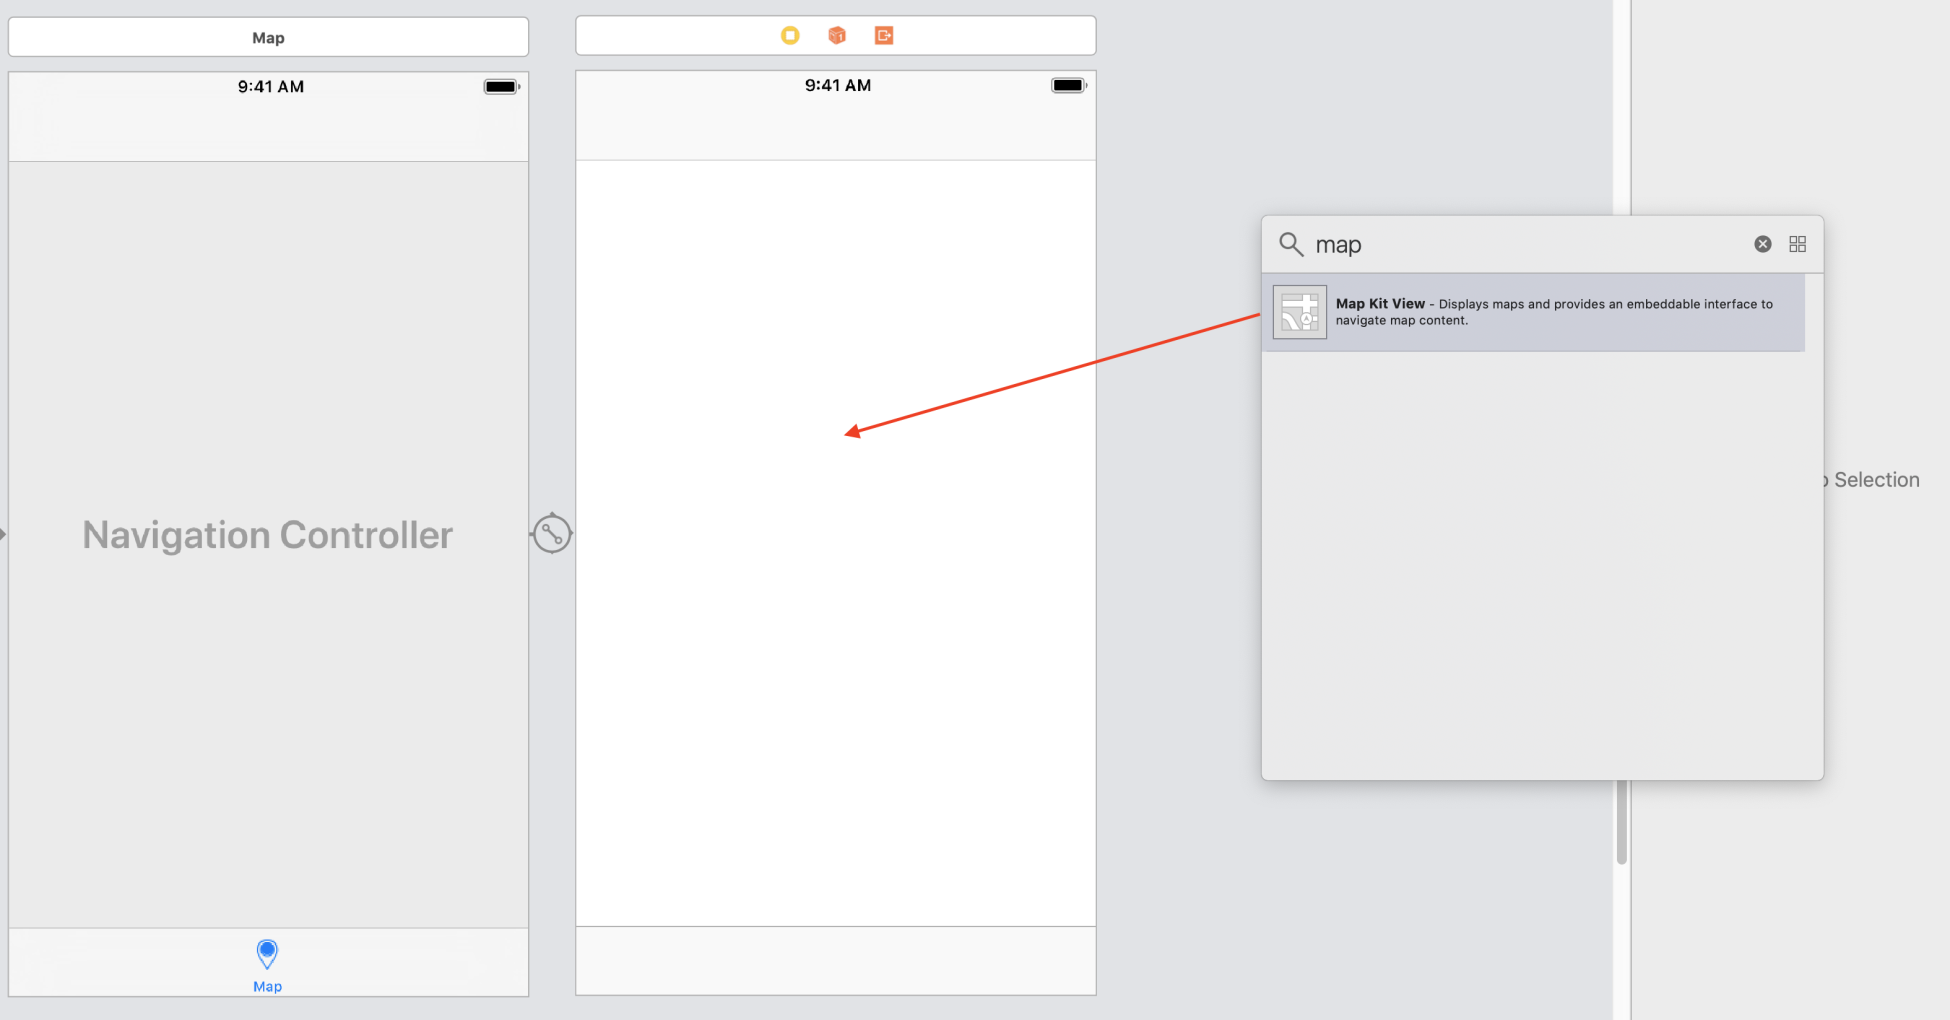
  1. Open the Object Library (Command + shift + L), then type map.
  2. Drag and drop Map Kit View onto the Map View Controller:
  1. Select the Pin icon and enter the following values:
    • All values under Add New Constraints are set to 0.
    • Uncheck the Constrain to margins checkbox.
    • Click on Add 4 Constraints.
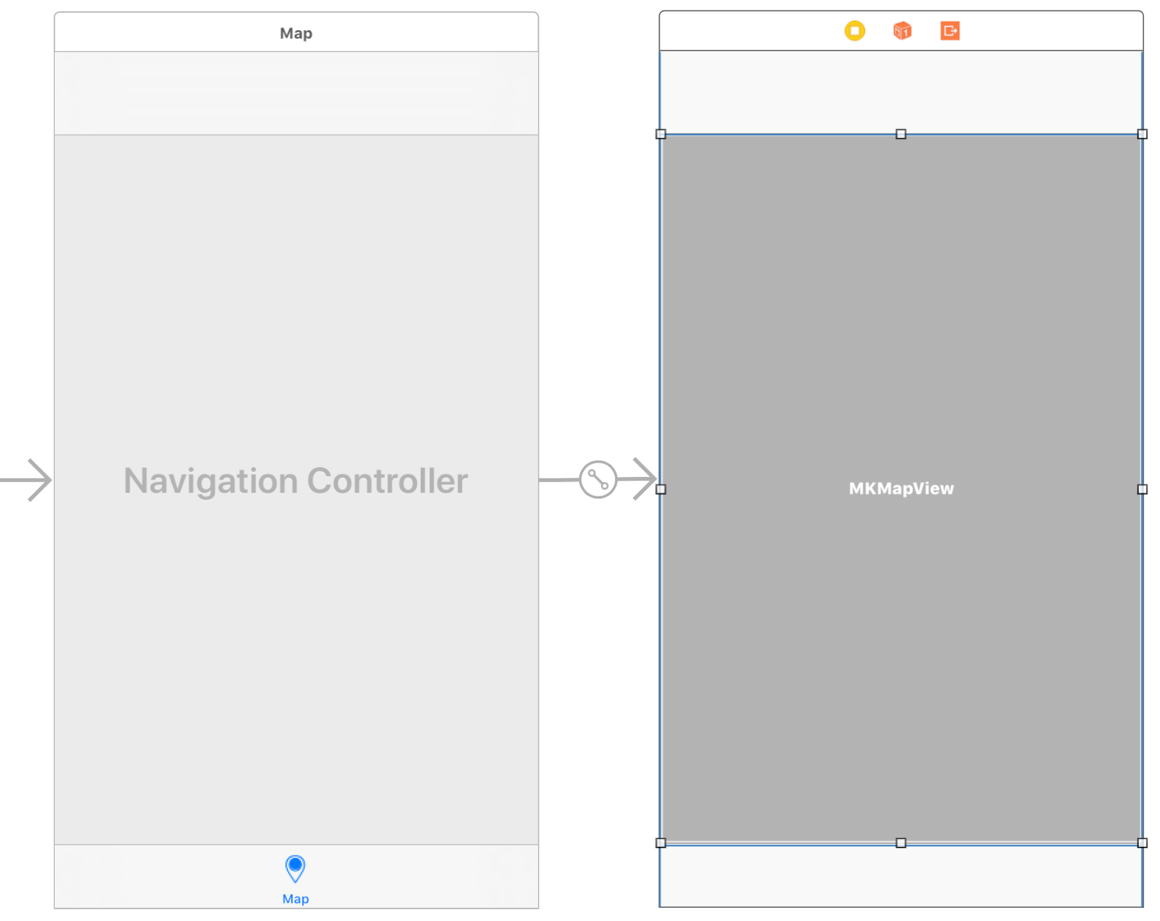
  2. Your View Controller should look like the following when you are done:
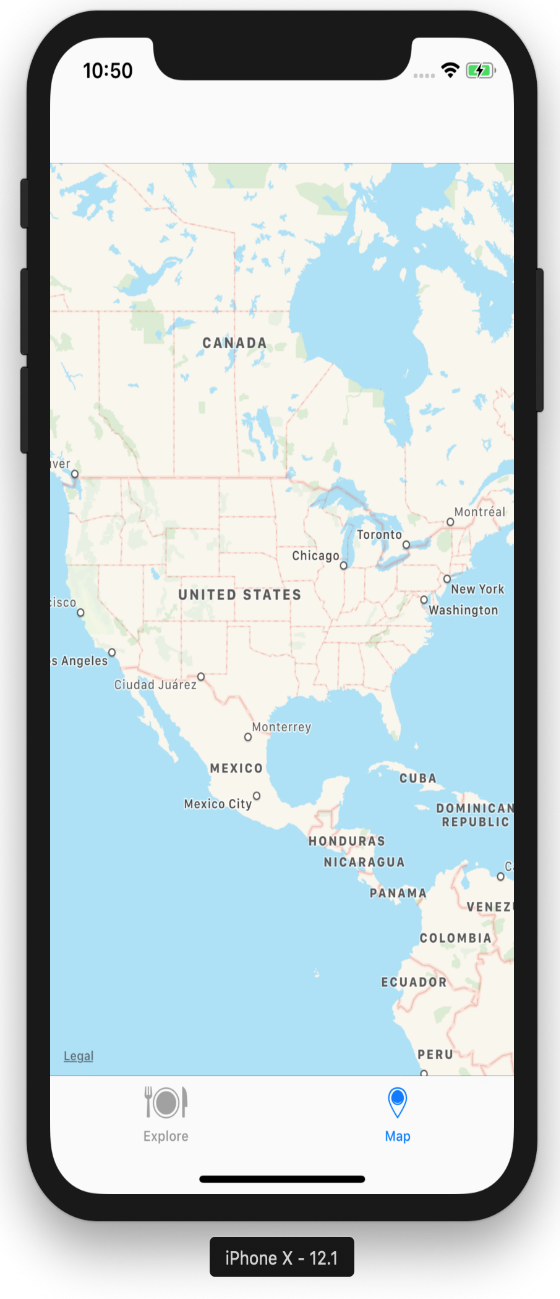
  1. Run the project by hitting the Play button (or using Command + R) and selecting the Map tab:

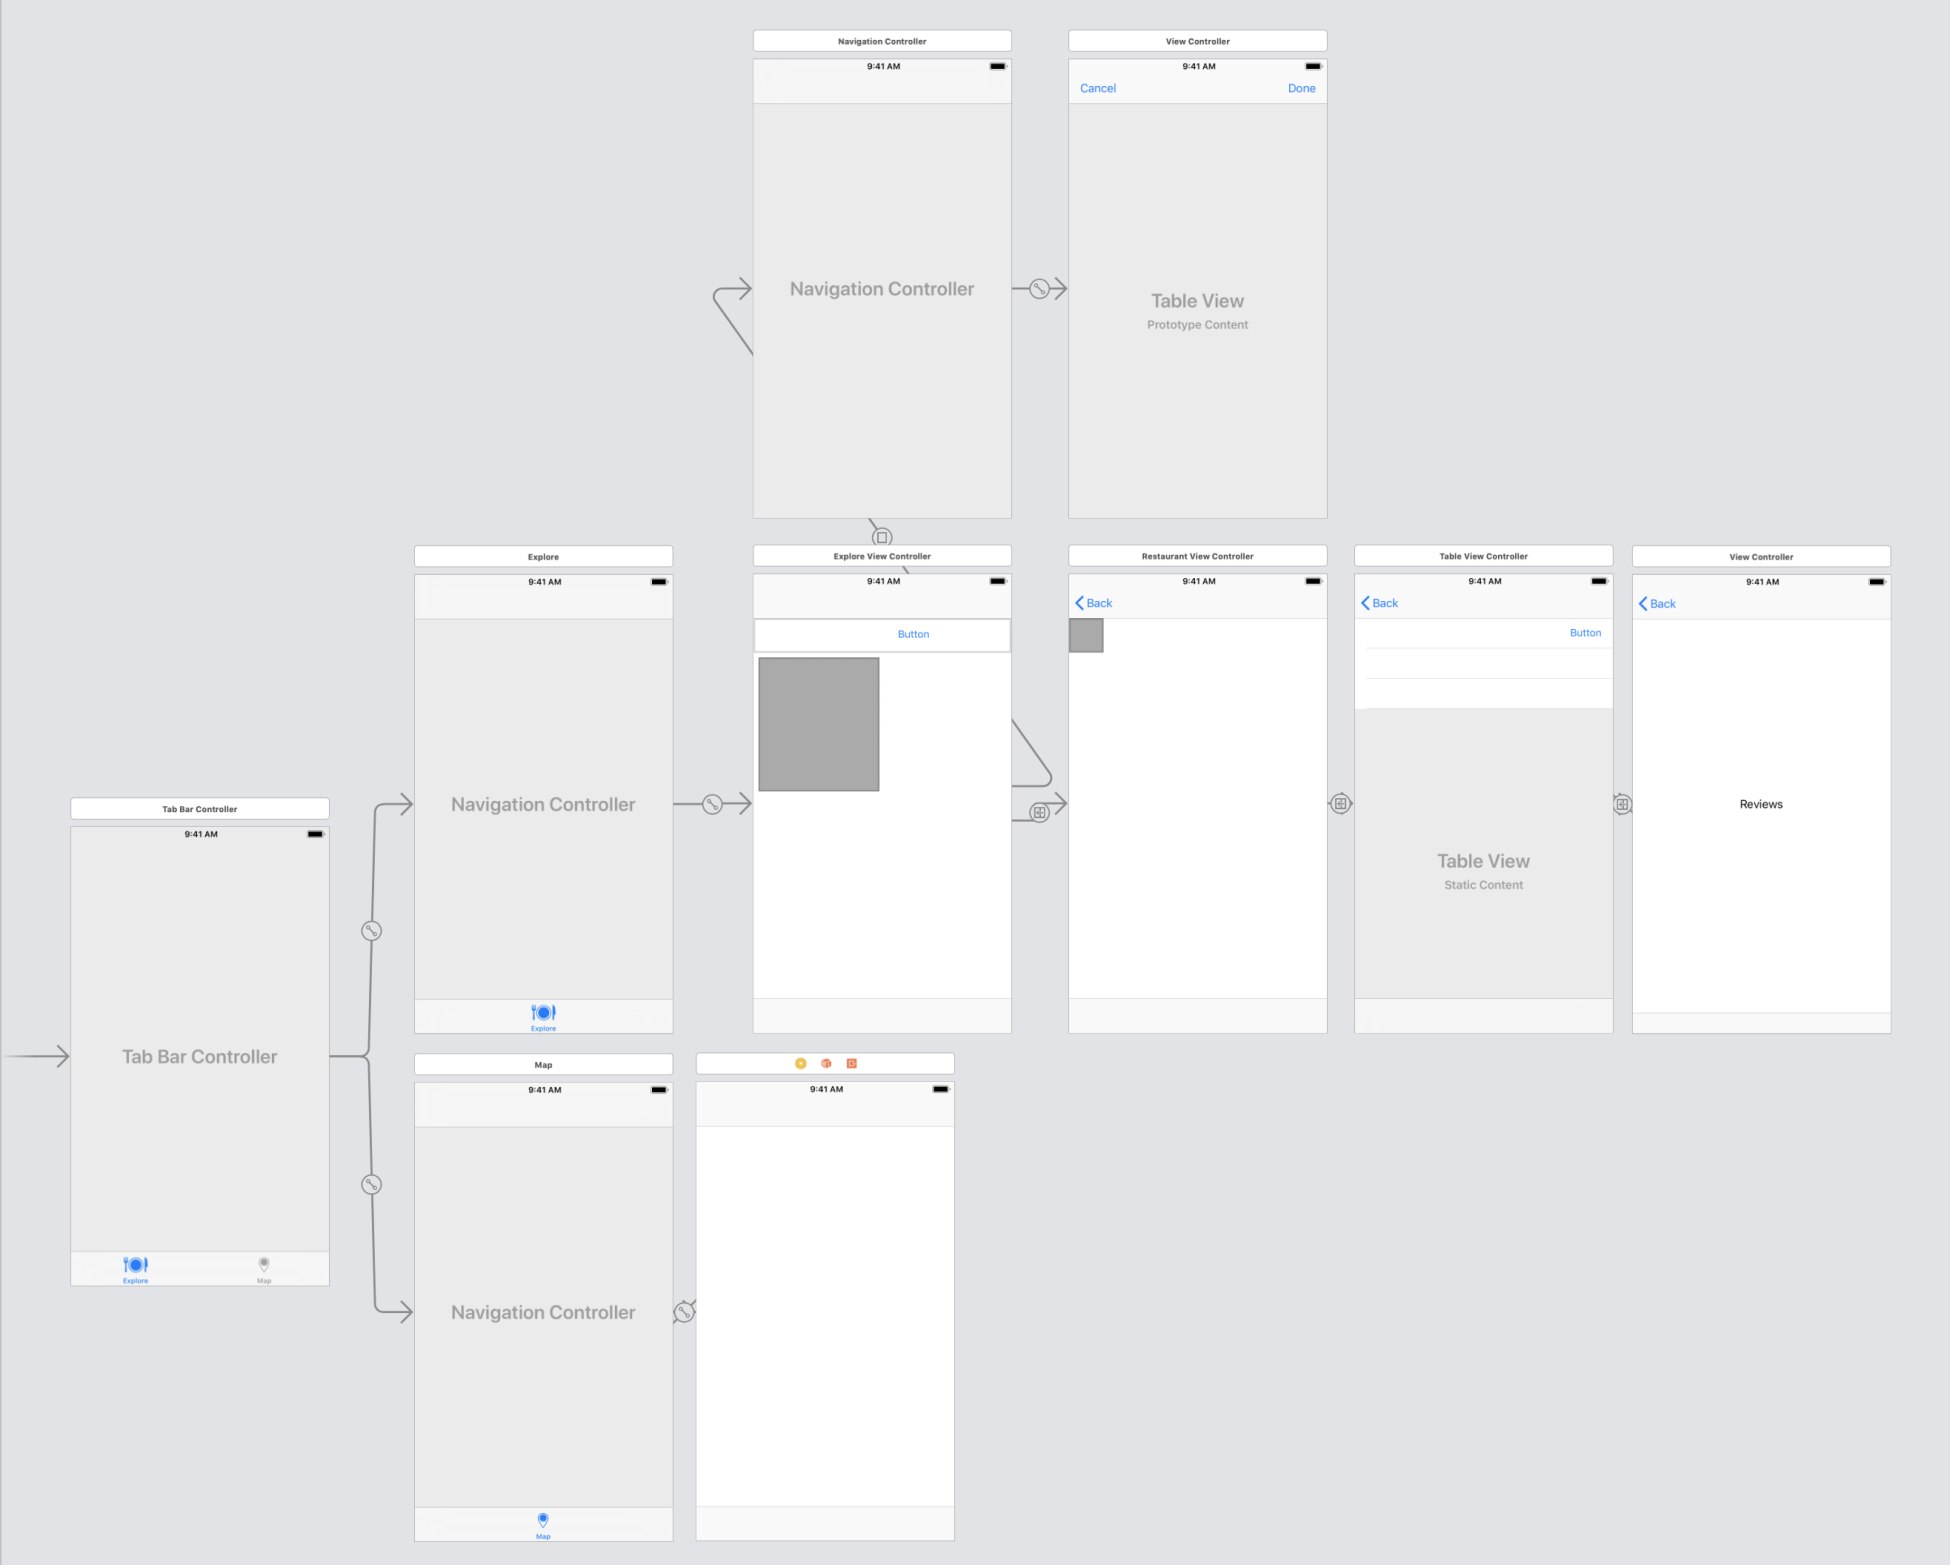
We now have both tabs set up, but, as we progress through the book, we will add more scenes to the storyboard. The following is what your Main.storyboard file should look like: