Book Image

Getting Started with Dynamics NAV 2013 Application Development

By : Alex Chow
Book Image

Getting Started with Dynamics NAV 2013 Application Development

By: Alex Chow

Overview of this book

So, your company has made the wise decision to use Dynamics NAV as its main business software for all its enterprise resource planning. Dive in and learn the ins and outs of the software from a development standpoint and unlock the software's full potential.The book will walk you through creating an application from start to finish. Once you know how to create a working application that users can access, you will have the knowledge and the resources needed to create other applications based on the tutorials covered in this guide.You will start by obtaining a free trial version of Dynamics NAV and then be introduced to the world of analyzing and deriving user problems into a requirements list. Finally, you will be shown how to use the software to knock out these requirements. You will learn everything you need in order to begin creating your own applications, from translating the user's requirements to creating and modifying your system applications. Use Dynamics NAV's capability to create an application and address the user's needs, while also learning best practices and simple solutions. "Getting Started with Dynamics NAV 2013 Application Development" will help you on your way to becoming a great developer!
Table of Contents (17 chapters)
Getting Started with Dynamics NAV 2013 Application Development
Credits
About the Author
About the Reviewers
www.PacktPub.com
Preface
Index

Create an analysis report using wizards


Going back to the requirement list, one of the things that the users want is to be able to create a simple report to display the items that are accepted and rejected. So, the report will display the item, then the complaint lines that are associated with the item.

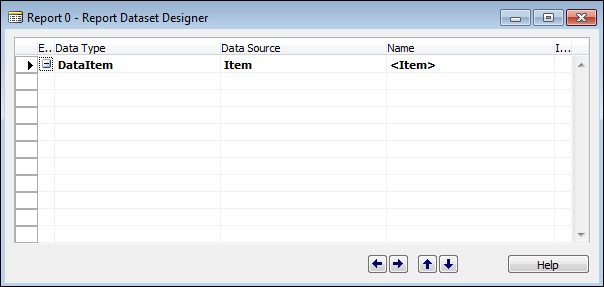
From Object Designer, click on Reports and click on New to create a new report. For Data Source, we want to start off using our Item table:

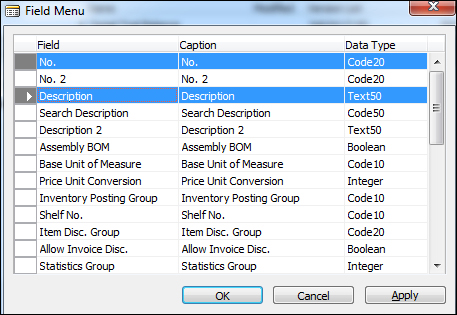
To automatically fill in the fields we want to display on the report, we click on the View | Field Menu option. When the Field Menu screen appears, simply highlight the fields you want and click on OK to have it inserted into Report Designer.

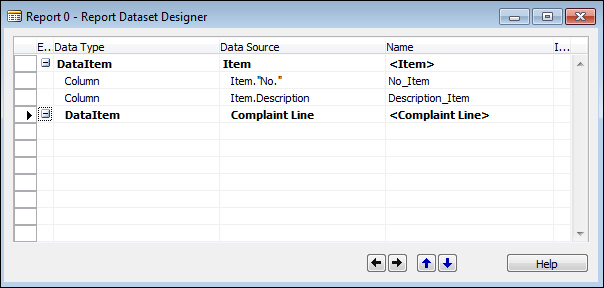
For our report, we will add the No. and Description fields from the Item table:

Now we will add in the second Data Source value, which in this case is the Complaint Line table:

Bring up Field Menu and add the fields we want printed from Complaint Line. After adding the fields, mark the Include Caption checkbox on the...