Book Image

Advanced Java EE Development with WildFly

By : Deepak Vohra
Book Image

Advanced Java EE Development with WildFly

By: Deepak Vohra

Overview of this book

<p>This book starts with an introduction to EJB 3 and how to set up the environment, including the configuration of a MySQL database for use with WildFly. We will then develop object-relational mapping with Hibernate 4, build and package the application with Maven, and then deploy it in&nbsp;WildFly 8.1, followed by a demonstration of the use of Facelets in a web application.</p> <p>Moving on from that, we will create an Ajax application in the Eclipse IDE, compile and package it using Maven, and run the web application on WildFly 8.1 with a MySQL database. In the final leg of this book, we will discuss support for generating and parsing JSON with WildFly 8.1.</p>
Table of Contents (18 chapters)
Advanced Java EE Development with WildFly
Credits
About the Author
About the Reviewers
www.PacktPub.com
Disclaimer
Preface
Index

Creating a web service client


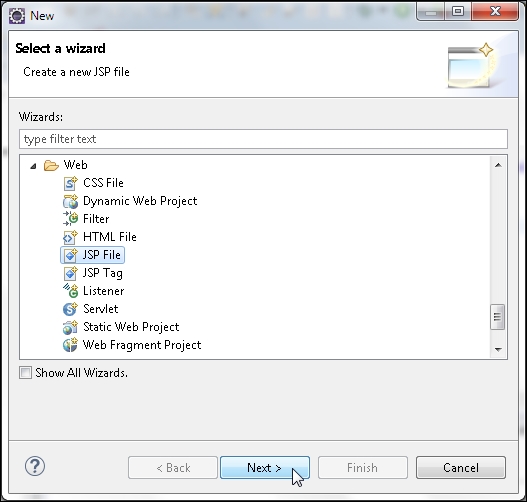
In this section, we will create a JSP Web Service client for the HelloWorld web service. To create a JSP, select File | New | Other. In New, select Web | JSP File and click on Next, as shown in the following screenshot:

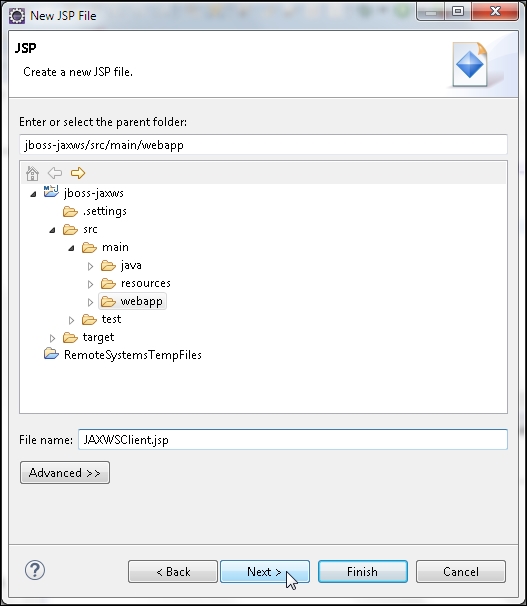
In the New JSP File wizard, select the webapp folder, specify File name as JAXWSClient.jsp, and click on Next, as shown in the following screenshot:

Select the New JSP file (html) template and click on Finish. The JAXWSClient.jsp file gets added to the webapp folder. In the client JSP, we will invoke the web service with a name and display the web service response in the browser. First, create a URL object for the WSDL. The URL for a web service is constructed from the context root + endpoint:

URL wsdlLocation = new URL("http://localhost:8080/jboss-jaxws/HelloWorld?WSDL");

The jboss-jaxws in the URL is the context root and the /HelloWorld is the servlet mapping URL for the web service endpoint as specified in the web.xml. Next, create a QName object...