

Two ways exist to install the SDK: the former is faster but it hides several operations you should be aware of as an Android developer. The latter takes more time but it introduces you to the tools and concepts coming with the SDK. Besides, this allows you to customize your installation, such as the folders. If you are a beginner, we encourage you to follow the first approach. You can always tune Android SDK at a later time when you feel more confident and you are familiar with the available settings.
You can download and install the official Android Studio from the Android website: https://developer.android.com/sdk/index.html. Android Studio is a suite that includes an integrated development environment (Android IDE), based on IntelliJ IDEA, with Android SDK tools, as well as other stuff like an embedded emulator system image and platform tools.
For Windows users, after downloading the installer (.exe file), run it and just follow the instructions provided by the installer. You can keep the default values suggested if you are a beginner or if you are not sure how each setting affects the installation. When you're done, you can run Android Studio by clicking on the icon created by the installer.
For Linux users, unzip the file you downloaded to your favorite application directory. Then, navigate to the android-studio/bin/ directory in a terminal and execute studio.sh command. Regardless of your operating system, always double-check before the installation that you have enough disk space. It varies from OS to OS.
Alternately, if you already have an installed IDE or text editor, you can install the SDK manually. The following operations are long and tedious; however, any real Android developer should experience them at least once.
Download Android SDK from Android website: https://developer.android.com/sdk/index.html#Other. Again for Windows users, it is highly recommended to download the executable installer and follow the steps provided. Linux users can uncompress the downloaded zipped file to the folder of their choice, let's say /home/dev/android-sdk folder. In both cases, let's call the location where android SDK installed: ANDROID_HOME variable.
By default, the SDK has the following top-level directory tree:
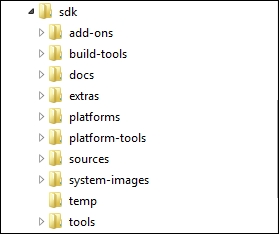
Let's explore and review the content of the starter SDK:
%ANDROID_HOME%\tools\: This folder gathers general utilities needed to develop, test, and debug an application.%ANDROID_HOME%\platform-tools\: This folder contains other utilities, such asadbandfastboot, needed by developers to design, code, and debug an application on an actual device.%ANDROID_HOME%\add-ons\: This folder is initially empty. It will be filled in later on, in order to provide support to call and use Google APIs, for instance the API allowing applications to communicate and display data from Google Maps.%ANDROID_HOME%\AVD Manager.exe: This parameter allows us to manage the Android Virtual Devices (AVD), which are mere emulators. On first launch, no AVD is available. The following screenshot shows the Android Virtual Device Manager: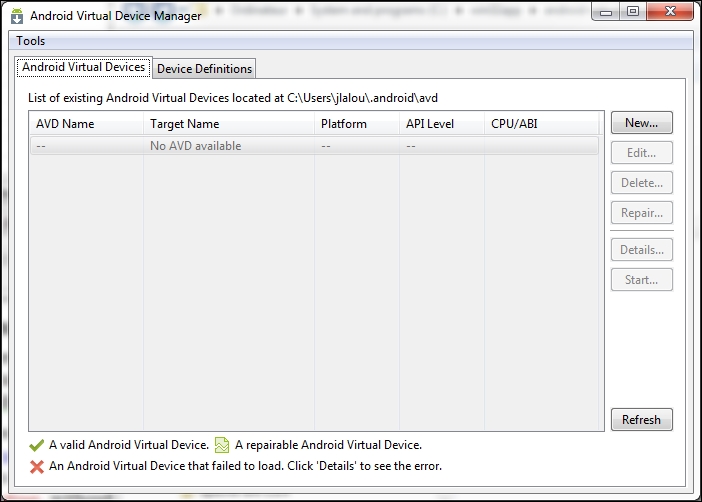
The AVD you will create later will be stored in your personal folder under the .android/avd path.
To launch the SDK manager, if you are a Windows user, run %ANDROID_HOME%\SDK Manager.exe command. If you are working on Linux, open a terminal and navigate to the tools/directory in the Android SDK and then execute:
android sdk.In a first step like that shown in the following screenshot, install the packages suggested by the SDK Manager: SDK Tools, SDK Platform tools, the current API, and so on:
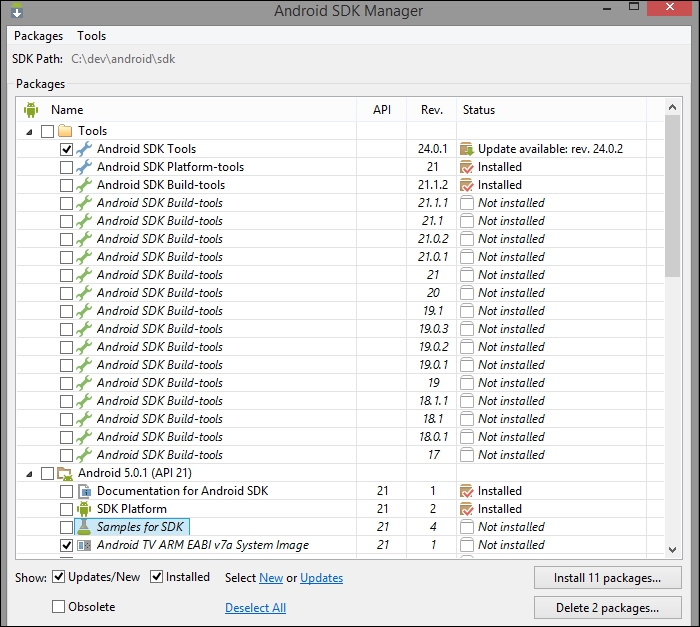
At the time of writing, the last version of Android is 5.0.1 Lollipop. The API level is different from the grand public version: Lollipop corresponds to API 21, as well as Android KitKat 4.4.2 did to API 19, Android 4.0 / IceCreamSandwich did to API 17, or Android 2.3.X / Gingerbread to API 10, and so on.
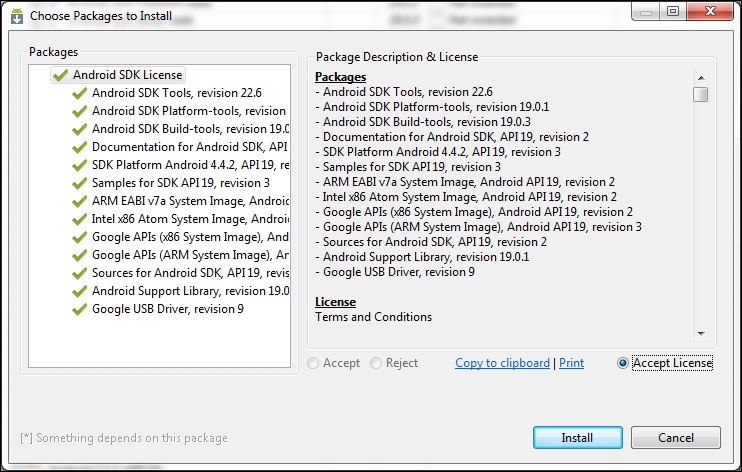
Accept the license agreements as shown in the next screenshot, and let SDK Manager download. This may take a while for the default set of packages , and will take longer if you add other packages to the install list.
Once this is done, the directory tree will change a lot. The different folders are filled in with the elements selected in the preceding screenshot, such as Google APIs, drivers, documentation, sources, build tools, and so on.