
While this book will provide step-by-step instructions to be followed, it is strongly recommended to have an environment available to supplement the material you will be reading, and to become familiar with the platform. In order to minimize the footprint and to allow everybody to start quickly, I have opted to present all the topics based on a Dynamics CRM Online 30-day trial organization.
In order to open your 30-day trial of Microsoft Dynamics CRM Online, you will need to go through a wizard-driven process.
First of all, navigate to http://go.microsoft.com/fwlink/?LinkId=252780
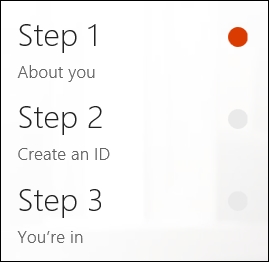
You are presented with a three-step wizard process that allows you, in a very simple manner, to sign up and provision a brand new organization.
At the top-right side of the page, you will find an option to add this to an existing subscription. If you start by creating your Office 365 subscription first, you can proceed here to add Dynamics CRM Online to your existing subscription. Follow the Sign in link to authenticate to your existing Office 365 subscription, as seen in the following screenshot:

Because we are creating our Dynamics CRM Online organization first, we will ignore this option and move on to filling in the required form fields. The first option you need to select is the Country. Pay close attention to the note underneath, this is one of the options that cannot be changed afterwards.
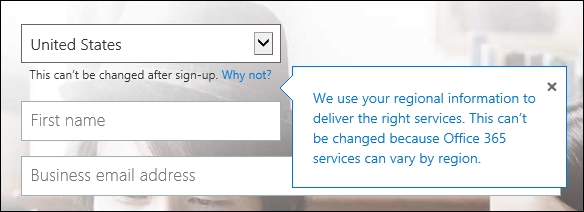
As stated in the description, this selection defines the region and implicitly the data center used for hosting your organization.
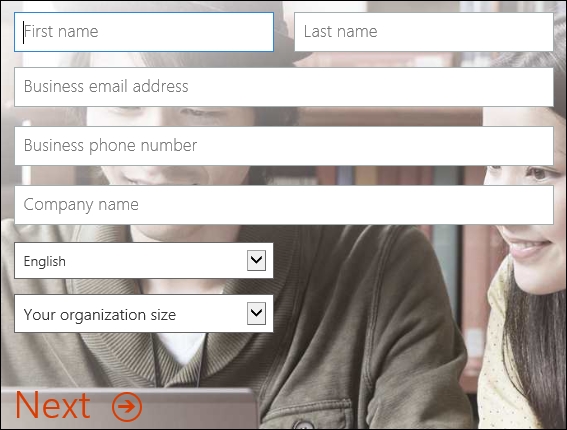
Fill in the rest of the information on the form and click on Next when ready.
Note
Company name on this form does not define the organization URL, you will be prompted for this information in the following step.
Step two of the wizard collects information about the username and organization URL you want to use. It also collects your initial password. Enter the desired username, organization name, and password, as seen in the following screenshot:
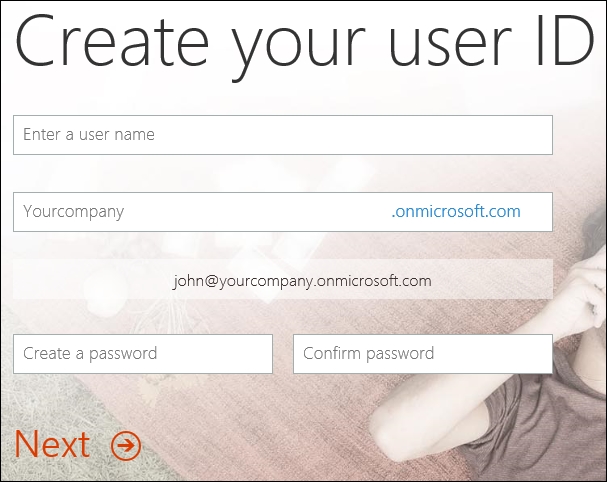
Click on Next once you are done filling in this section.
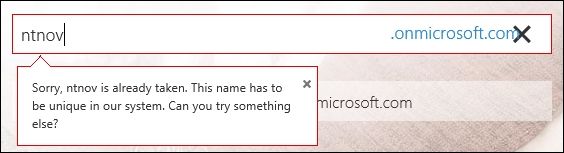
When defining the organization name for the URL, validation is performed to make sure this URL is unique. If the URL is not unique, you will be asked to provide a different organization name. Select a name that is not as common, until you find a unique one. The following screenshot shows the validation message you will receive if a non-unique value is entered.
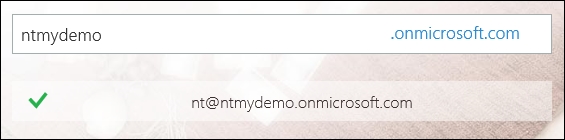
Once a unique organization name is selected, your login user name is presented with a green check mark, as seen in the following screenshot:
Moving on to the last step of the wizard, you are asked to provide a phone number for verification. You will receive a text message with a code to be used to continue the signup process. Alternatively, you could select the Call me option and wait for a representative to validate your signup process. The selection screen looks like this:

The next screen requires you to enter the code provided by text message. Make sure you provided the correct phone number.

Tip
If you provided the incorrect phone number or did not receive the code by text message, click on Try again to have another code sent to your correct phone number.
When done, click on Create my account.
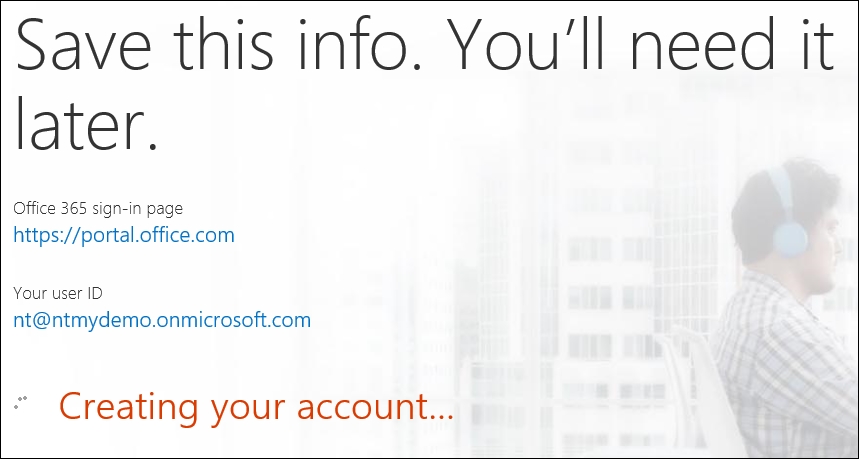
The following screen provides you with the user name you have selected, the URL of the Office 365 sign-in portal, and a status message. It's probably a good idea to take a screenshot of this for future reference.
When the process completes, the page is refreshed with the option to bookmark the sign-in page and a ready status message, as seen in the following screenshot:
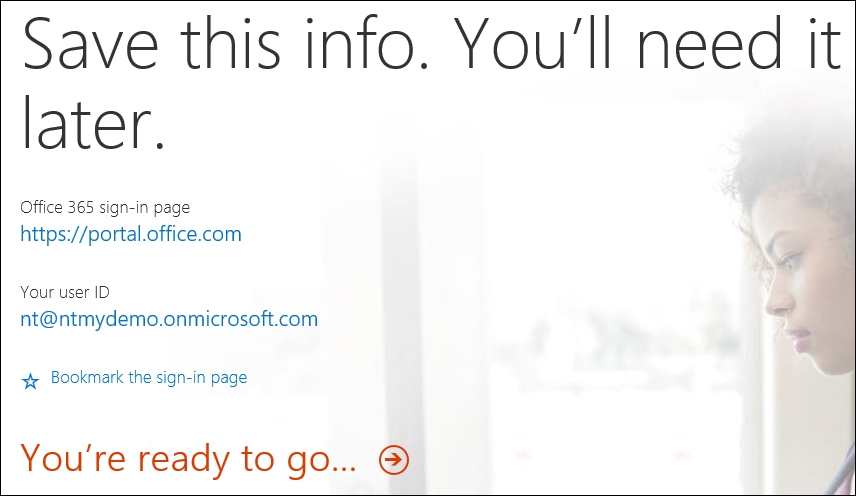
Click on the You're ready to go… link to proceed.
Tip
By the time this book is published, the account and organization created for these screenshots will be long expired.
The next step takes you to the initial preconfiguration of your new organization. There are a few additional details required before you can start playing with your new organization.
This new screen asks for the default Language, Country/Region, and Currency. This information is very important, as it will define the default configuration values for your organization. The currency will become the default currency. While additional currencies can be later added to the organization, the default will always remain the one you selected during this configuration step.
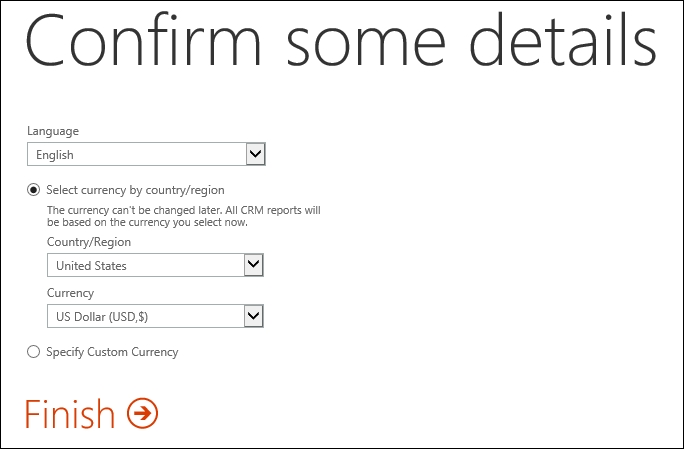
Click on Finish when complete.
The Getting set up… screen is presented while the backend provisions your organization based on the configuration values you have provided.
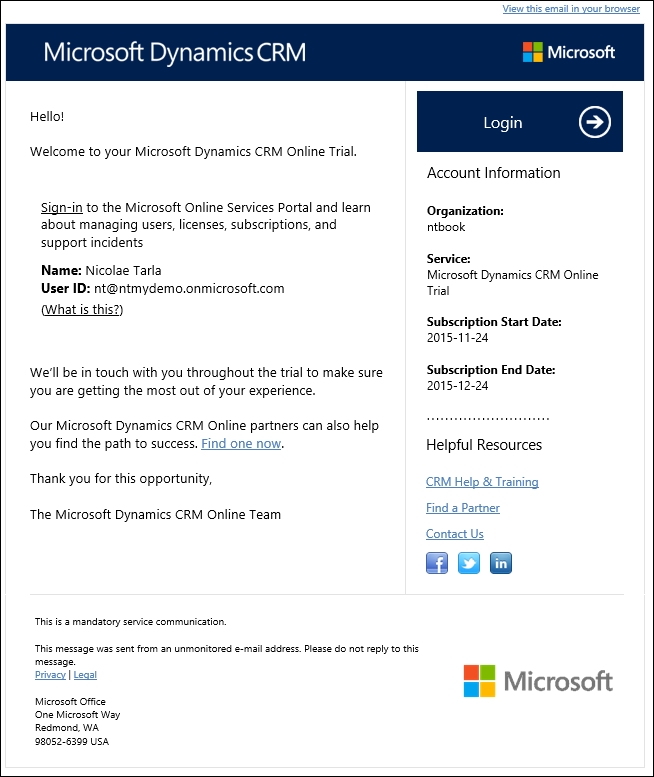
While waiting for this to process, you can turn your attention to your e-mail. You would have received an e-mail from Microsoft Online Services Team giving you details on the organization that is being provisioned for you, your account details and additional information about the service and expiration of the trial period. The e-mail is shown as follows:
Going back to our sign-up page, the process has completed and we are presented with a final page including an option to bookmark the sign-in page in case you haven't done it before, as well as the URL of our newly created organization.
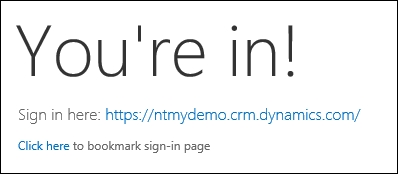
Clicking on the provided link takes you directly to your Dynamics CRM Online instance. On the first load, you are presented with an Explore CRM wizard. If this is your first time seeing Dynamics CRM, it is a good idea to follow through to the provided links and read some more details about this version.
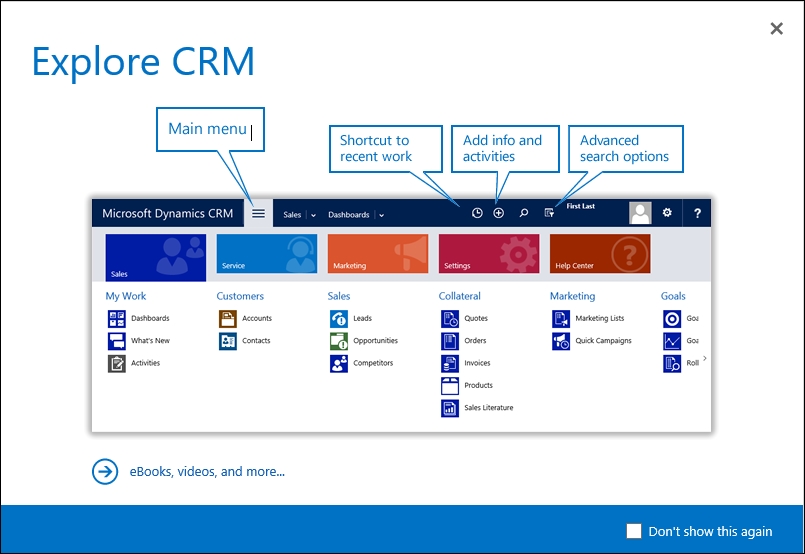
If this is not your first time, then select the Don't show this again check box and close this wizard.
Once you go past the initial wizard, you are dropped onto the starting dashboard of the application. By default, Sales Activity Social Dashboard is presented as a starting place into your new organization:
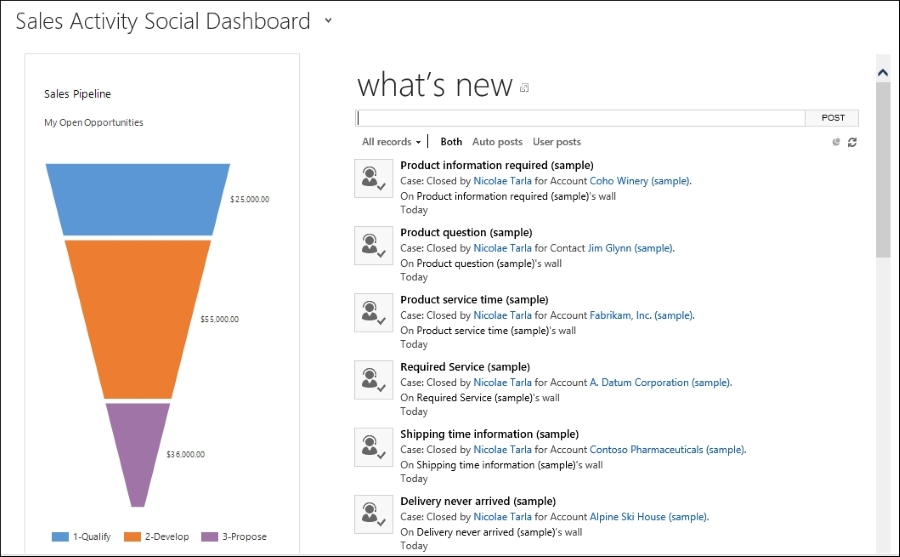
You will observe a yellow bar towards the top of the page, which offers additional configuration options. We will be looking at these later in this chapter, but do not close this bar just yet.
And with this, now we have a functional Dynamics CRM Online organization created.
But let's look at another way to get to it. Whether we've forgotten the default URL, or we need to access other features and account management options, we need to log in to the Office 365 admin center portal for the instance we are managing. The URL for this is https://portal.office.com/.
Log in using the previously created account and password. Once in, you will be presented with an administration console. A detailed look at additional configuration options for the Office 365 instance will be provided in Chapter 6, Dynamics CRM Administration.
For now, let's navigate to Admin | CRM
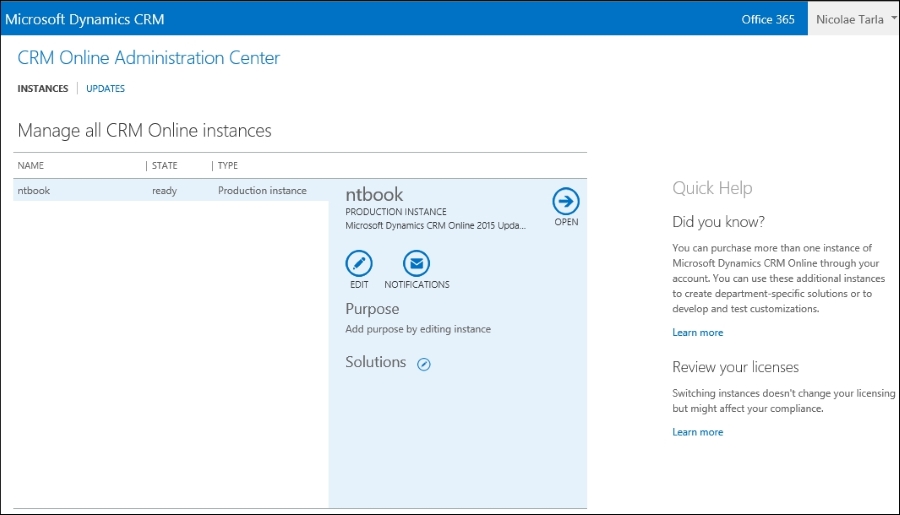
This opens up the CRM Online Administration Center. Here, you will find your current trial organization. If it is a paid subscription, you will get the opportunity to manage multiple paid production instances, as well as various nonproduction instances.
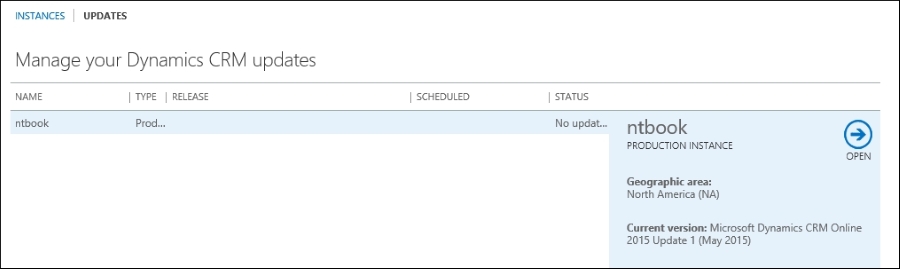
All the way at the top, you can change the view from a listing of instances for management to a listing of instances and available updates, if any. Since we've just created our instance, we will not have an option for updates, but in the following screen we can determine the current organization version:
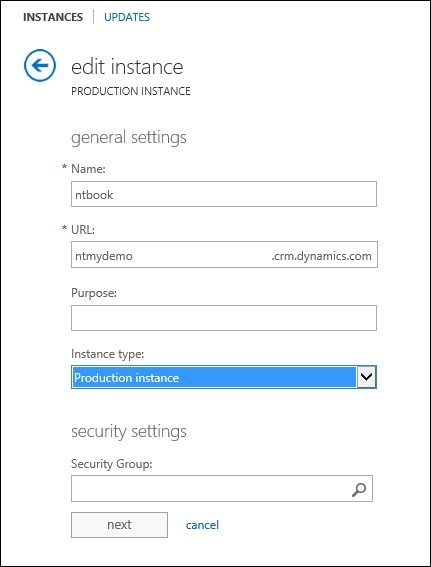
Back on the instances screen, we have the option to edit our instance properties. Selecting this option takes us to a form that allows us to change the name and URL of our organization, as well as provide a detailed message on the purpose of this organization. We can also change the instance type, from a production instance to a sandbox instance.
A sandbox instance is more of a nomenclature change. The former free and paid test instances have been unified under the name of sandbox instances. Visually, the sandbox instances will have the standard navigation bar background color changed to orange.
No functional changes are made to a sandbox instance. They offer the same functionality as a production instance. One very important aspect of sandbox instances is the fact that, while functionality is maintained on par with production instances, the database is completely isolated from production. A sandbox instance can contain a full set or a sub-set of production data, users, and customizations. From a support point of view, the same level of resource and support are provided to both production and sandbox instances.
As such, sandbox instances can be used for development, QA, and UAT environments.
The Security Groups option on this page can be used to restrict which Office 365 users can be added to your organization. If no option is specified here, all users in your Office 365 organization with a Dynamics CRM license associated will be added to your Dynamics CRM Online instance.
Managing instances is a set of features that allow an administrator to perform various operations on the Dynamics CRM Online instances managed through this portal. You can always turn a production instance into a sandbox instance, since no license changes are required to perform this action. On the other hand, you can only turn a sandbox instance into a production instance if you have an available production license.
Further down on the CRM Online Administration Center, you have an option to add various solutions to your current instance. Clicking on the solutions link takes you to the Manage your solutions page. Here, you can select from the available solutions. At the time of this writing, three solutions are made available with your 30-day trial organization. As seen in the following screenshot, they are:
Insights for Microsoft Dynamics CRM
FieldOne Sky
Office 365 Groups Preview
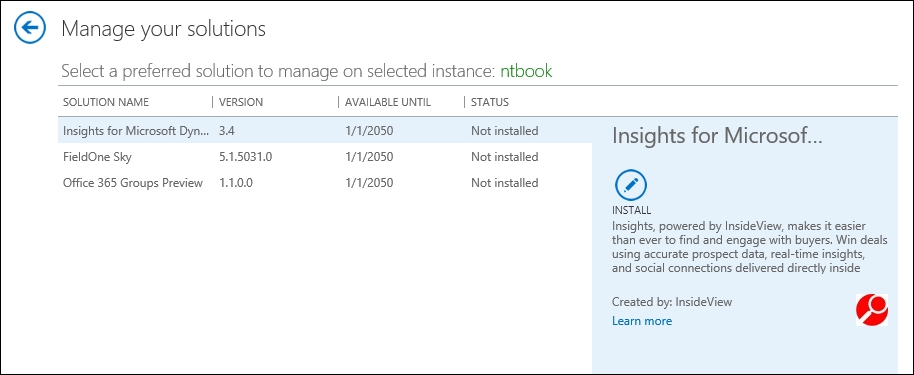
Select the solution that you are interested in installing and click on the Install button. Once installed, you can go ahead and configure it into your organization.
More solutions will be provided as add-ons in this manner in the future. The platform allows for great modularity and provides an extensive solution model that allows new solutions to be made available in this manner.
When done installing the additional solutions, navigate back to the listing of organizations available.
On Manage all CRM Online instances, select the instance in the list and click on Open. This will take you to the same organization you were able to access directly from the URL provided during the initial trial wizard.
The Outlook connector's configuration will be covered in the next section of this chapter, while the SharePoint integration configuration and the Office Groups setup and other features will be covered in detail in a later chapter.
The trial instance of Dynamics CRM Online comes preloaded with some sample data. This makes it easy for a first-time user to see some of the visual representations on the dashboards, as well as giving a new user the opportunity to track some of the data relationships and see, on certain records, how related data is presented.
In the next few chapters, we will start investigating all the available features of the Dynamics CRM platform.