

One of the setup steps available with an Office 365 instance is the ability to configure a domain name associated with the instance. While you can continue working with Dynamics CRM Online without setting up a domain, it is a good idea to do it now. With the domain setup, you have one less configuration step to perform before turning your trial into a production instance.
If you want to proceed to setting up a domain, you can either use an existing domain you own, or you can purchase a domain from various registrars. For the purpose of this book, I have purchased a .info domain from GoDaddy at https://godaddy.com/.
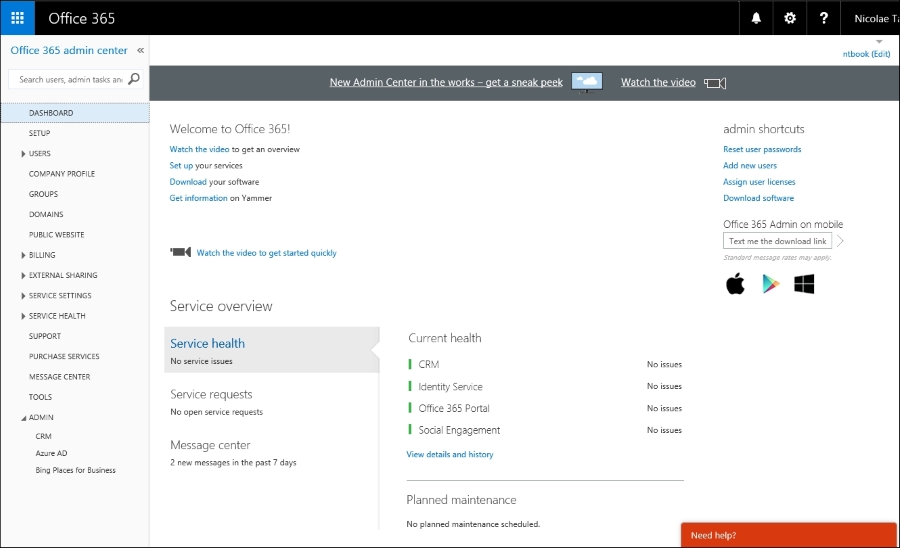
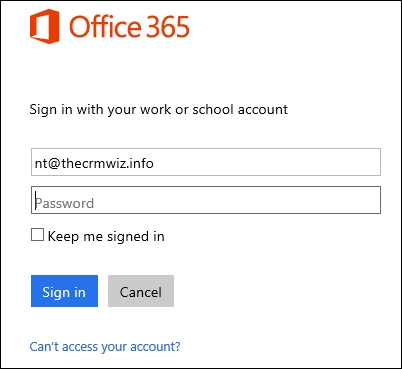
You access the Office 365 admin center by navigating to https://portal.office.com/.
You will be prompted to log in. Use the previously created account, which will get you to the main admin center console.
Navigate on the left navigation area and click on DOMAINS. This will get you to the Manage domains page.
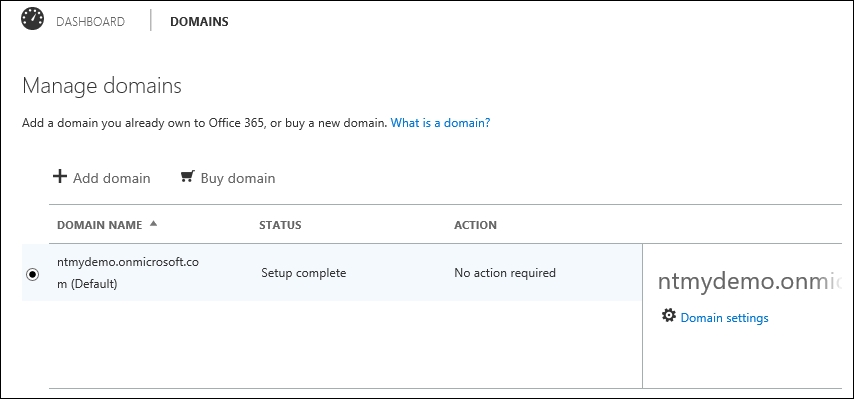
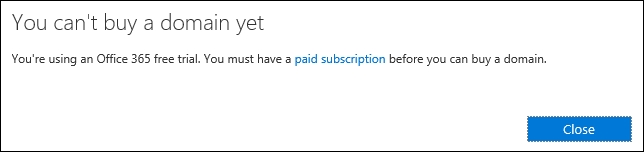
Here, you have the option to purchase a domain if you haven't already done so, or just to add a new domain. Unfortunately, you can't purchase a new domain using the Buy domain unless you have a paid subscription. For the purpose of this trial, I am assuming you have already purchased a domain, and you are just configuring it.
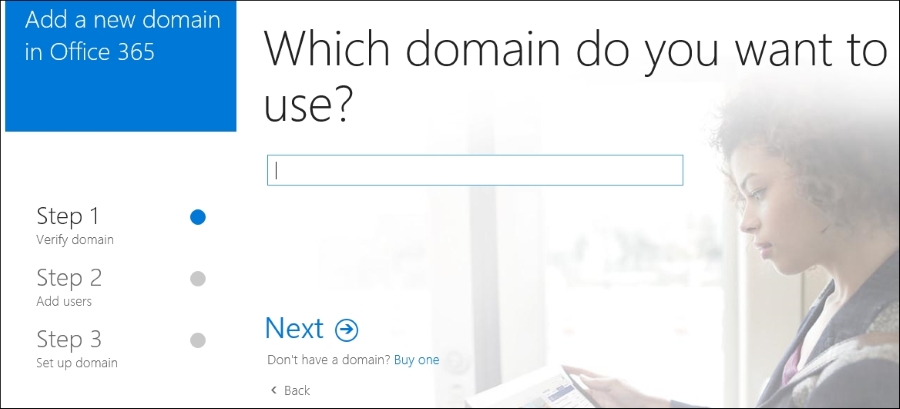
Go to Add domain. This takes you to the first page of the domain configuration wizard. This first page is informational in nature, describing the purpose of a domain and providing you with a link to an educational video on DNS.
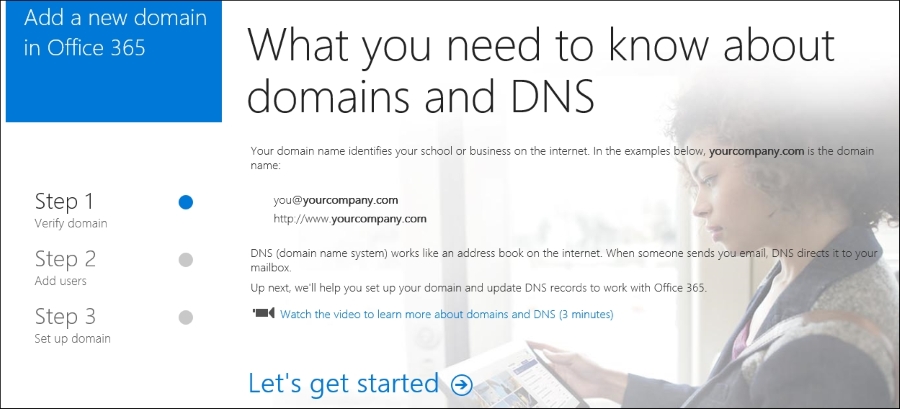
Click on Let's get started to continue. On the next page, enter the domain you have purchased and now own.
The system recognizes that the registrar is GoDaddy, and the next screen prompts you to log in to the administration console for the domain.
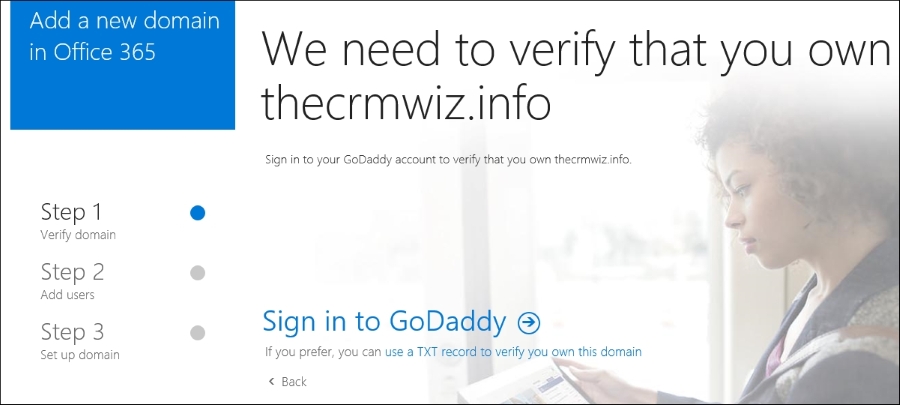
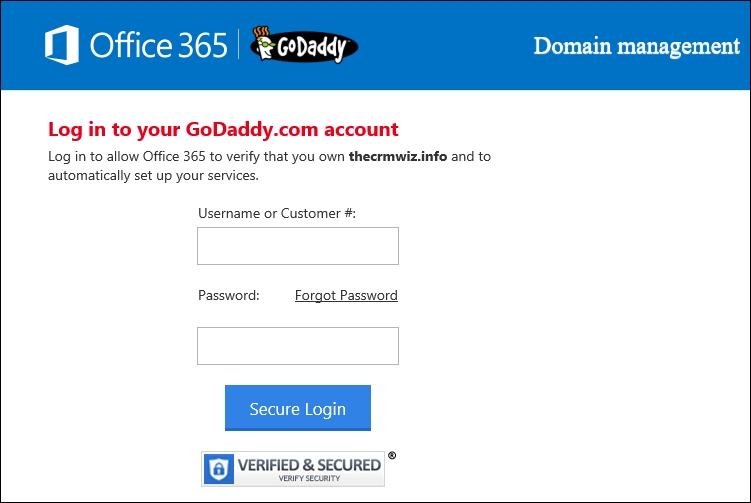
Alternatively, you have the option to use a TXT record to validate that you own the domain. For simplicity, I will click on Sign in to GoDaddy. This brings up the GoDaddy account login page.
Once logged in, confirm that you accept Office 365 to make changes to your domain.
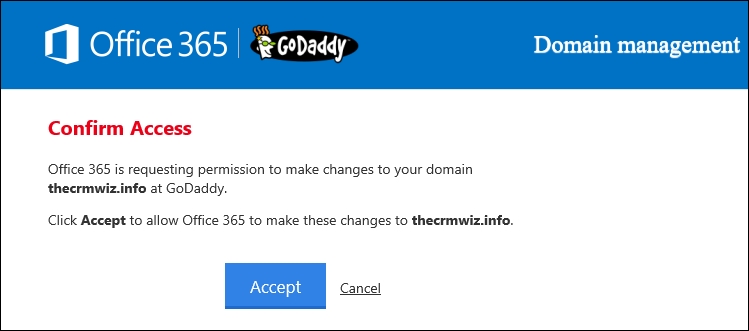
This performs the validation and completes the first step of the wizard.
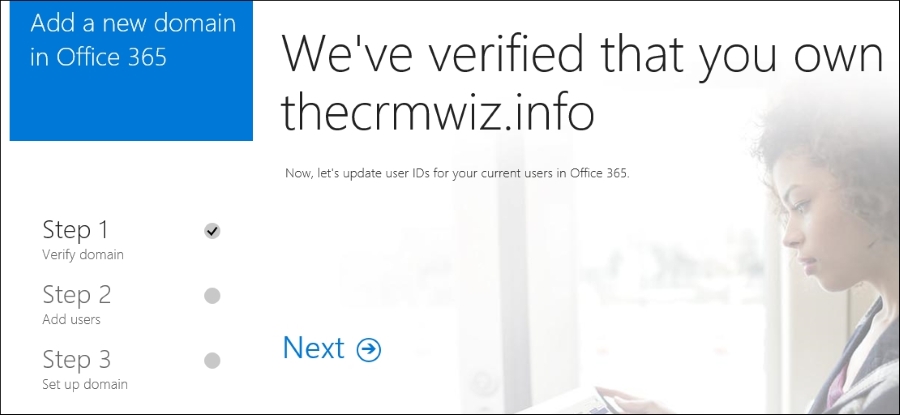
Click on Next to update the user accounts in your instance to use the newly configured domain name. The following screen allows you to select which users should be updated.
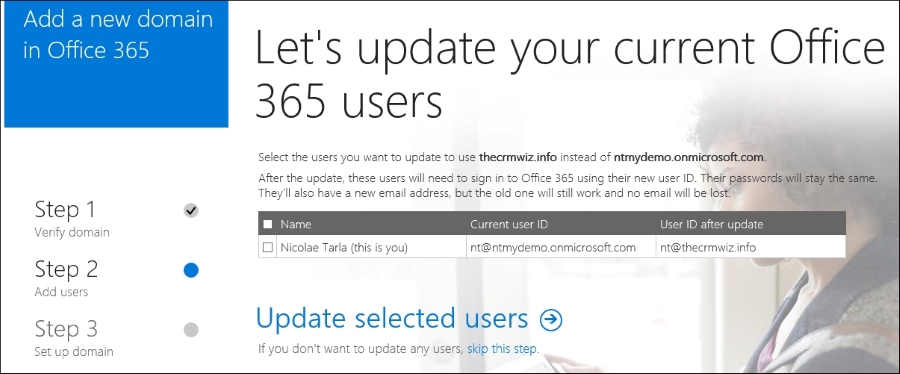
Select the users and click on Update selected users. Once complete, a confirmation screen displays all the updated users.
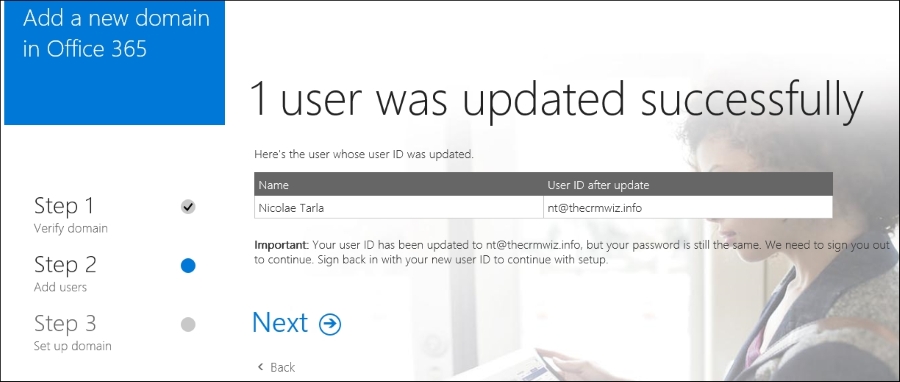
Click on Next to continue. If you have updated the current user you are logged in with, you will be prompted to log out and log back in with the updated username.
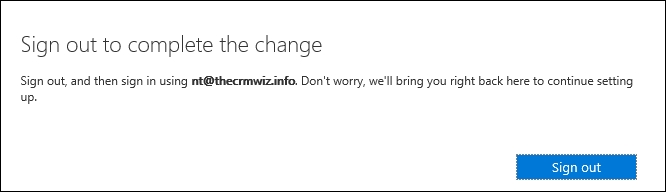
Click on Sign out and you are forwarded back to the login page. Here, enter the new login information and log back into the Office 365 admin center.
Once you log back in, you are given the option to add new users. For the purpose of this demo I will not add any more users right now, but in a standard trial you can have up to 25 users created. It will make sense to start adding new users once you have some customizations in the system and you are ready to present your solution to a customer or stakeholder.
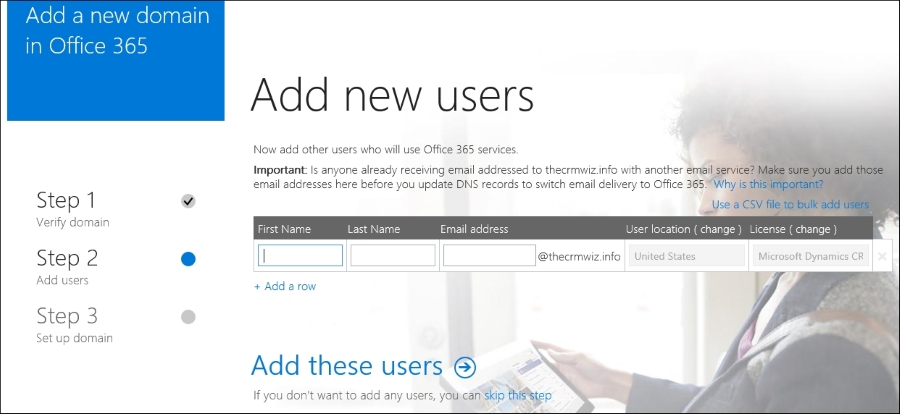
For now, let's click on skip this step. That moves us to the third and last step of the wizard, setting up the domain.
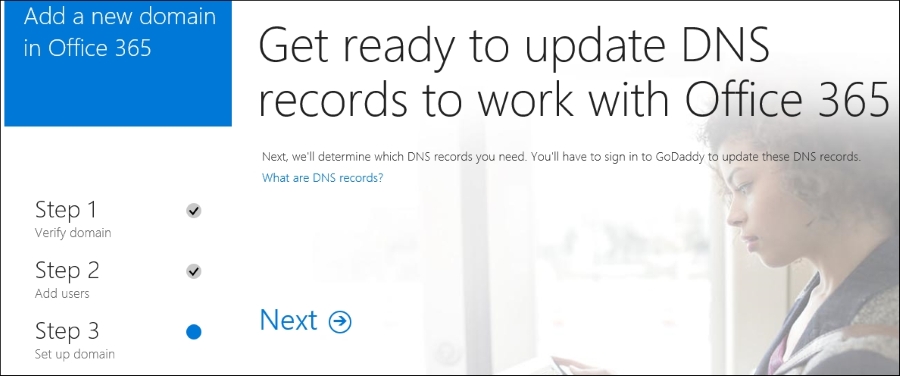
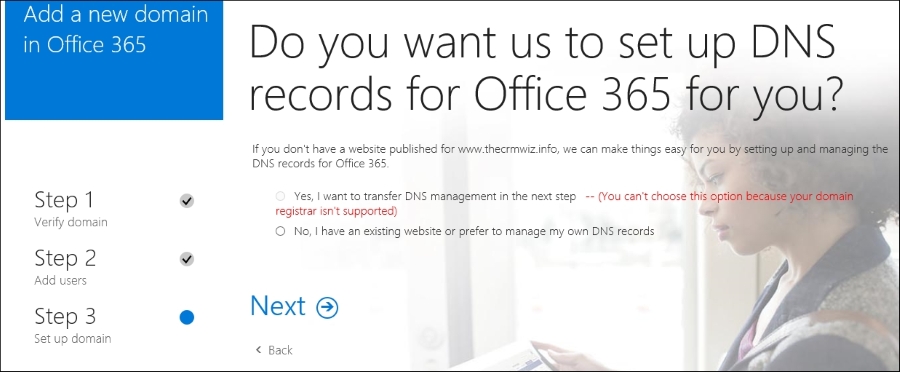
Let's click on Next to start this process. On a supported registrar the changes can be pushed automatically, otherwise you will have to log in to the domain administration and implement the settings provided manually. Not to worry, the process is pretty simple and self-explanatory.
The next step lets you select the services you want configured on your domain for the current Office 365 instance.
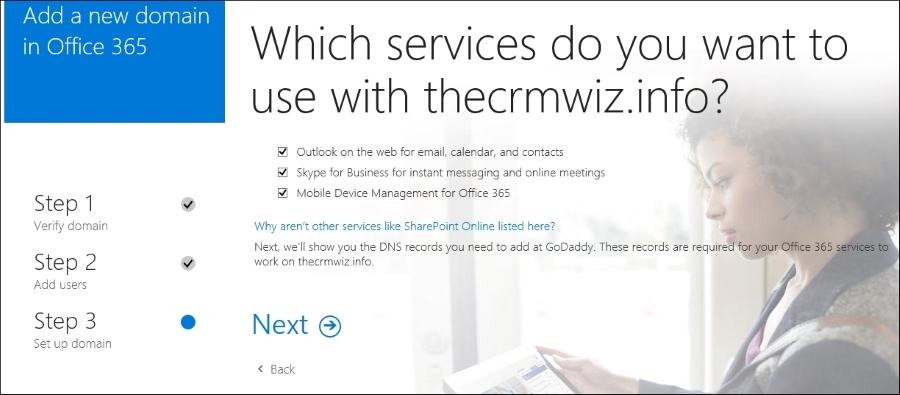
You can choose any one of the available options or all of them. Once you've made your selection, click on Next.
The next page gives us the option to see the necessary changes to be made to your domain configuration. The Add records option automatically configures your domain. Alternatively, you can enter all configuration manually.
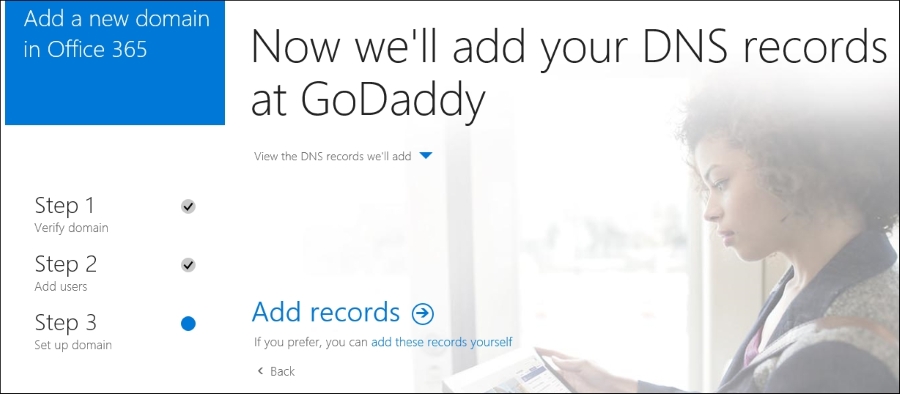
Click on View the DNS records we'll add to see details about the changes that will be configured on your domain.
Click on Add records to continue. You are again prompted to log in to your domain registrar for the changes to be pushed.
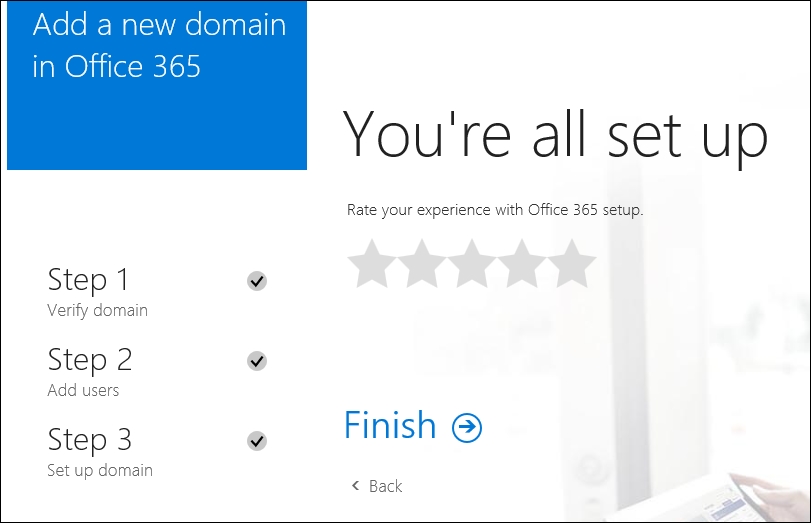
The final screen shows the completed status and provides you with an option to rate the experience.
Click on Finish to complete. This returns you to the Manage domains page in the Office 365 admin center and displays the original domain as well as the newly configured domain name.
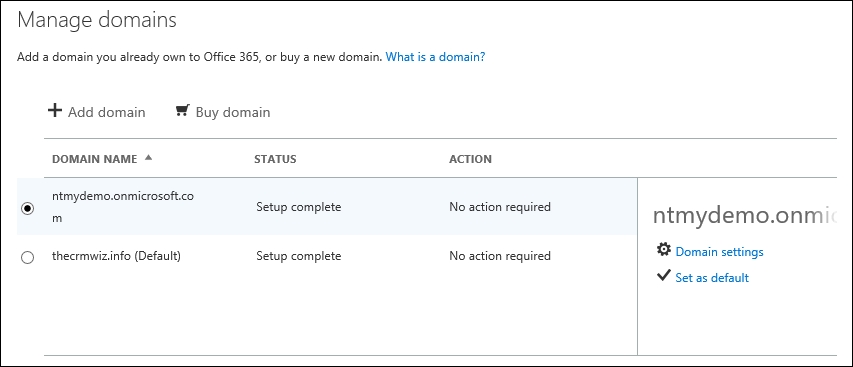
The newly added domain is marked as the default domain.
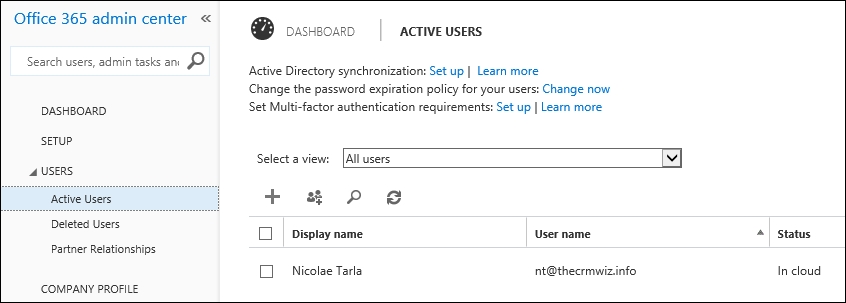
You can also navigate to USERS | Active users on the left navigation and make sure that your configured users are all using the newly configured domain name.
And this completes the domain configuration steps necessary for your Office 365 instance. Next, we'll be looking at adding additional trial services to your existing instance.