
Now that we have our model complete, a template render function, we just need to create the view with which we can look at each profile.
Our view will be put inside a foreach block, and we'll use the template we wrote to render the right values:
//listprofiles.php

<html>
<!doctype html>
<head>
<link rel="stylesheet" href="https://maxcdn.bootstrapcdn.com/bootstrap/3.3.6/css/bootstrap.min.css">
</head>
<body>

<?php
foreach($results as $item) {
  echo profile_template($item->name, $item->age, $item->country;
}
?>
</body>
</html>
Let's put the code above into index.php .
While we may install the Apache server, configure it to run PHP, install new virtual hosts and the other necessary features, and put our PHP code into an Apache folder, this will take time. So, for the purposes of testing this out, we can just run PHP's server for development.
To run the built-in PHP server (read more at http://php.net/manual/en/features.commandline.webserver.php ) we will use the folder we are running, inside a terminal:
php -S localhost:8000
If we open up our browser, we should see nothing yet, No results found. This means we need to populate our database.
If you have an error with your database connection, be sure to replace the correct database credentials we supplied into each of the mysql_connect calls that we made.
To supply data to our database, we can create a simple SQL script like this:
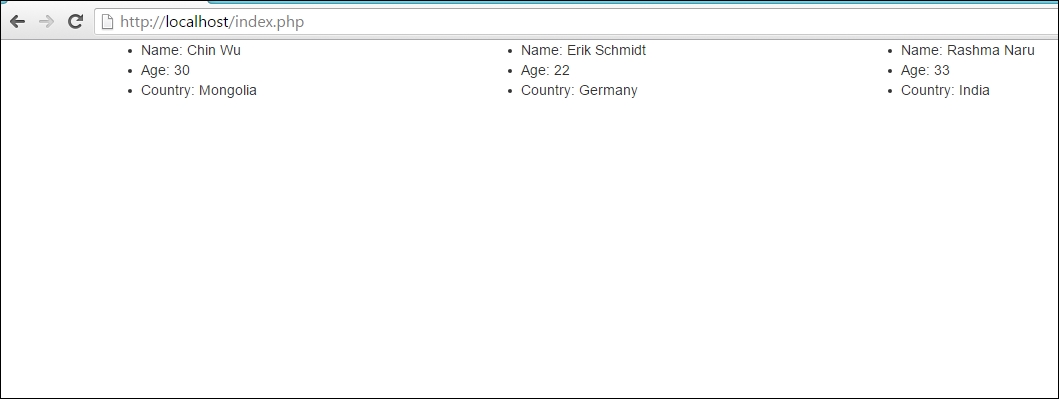
INSERT INTO user_profiles ('Chin Wu', 30, 'Mongolia');
INSERT INTO user_profiles ('Erik Schmidt', 22, 'Germany');
INSERT INTO user_profiles ('Rashma Naru', 33, 'India');
Let's save it in a file such as
insert_profiles.sql. In the same directory as the SQL file, log on to the MySQL client by using the following command:mysql -u root -pThen type use <name of database>:
mysql> use <database>;Import the script by running the source command:
mysql> source insert_profiles.sql
Now our user profiles page should show the following: