

These are the instructions you need to follow to install Splunk on your Windows desktop. Take your time and do not rush the installation. Many chapters in this book will rely on these steps:
Run the installer that you downloaded.
Check the box to accept the License Agreement and then click on Customize Options as shown in the following screenshot:

Change the installation path to
C:\Splunk. You will thank us later as it simplifies issuing Splunk CLI (command-line interface) commands. This is also a best practice used by modern Windows administrators. Remember to eliminate white spaces in directory names as well, as it causes complications with scripting. Click on Next to continue as seen in the following screenshot:
Install Splunk Enterprise as the Local System and then click on Next.
Leave the checkbox selected to Create Start Menu Shortcut.
Click on Install.
Wait for the installation to complete.
Click on Finish to complete the installation. It will attempt to launch Splunk for the first time in your default browser.
Launch the application the first time in your default browser. You can also manually access the Splunk web page via the http://localhost:8000 URL.
Note
Splunk requires you to use a modern browser. It supports most versions of Google Chrome, Firefox, and newer versions of Internet Explorer. It may not support older versions of Internet Explorer.
Log in with the default username and password (admin : changeme) as indicated in the following screenshot:

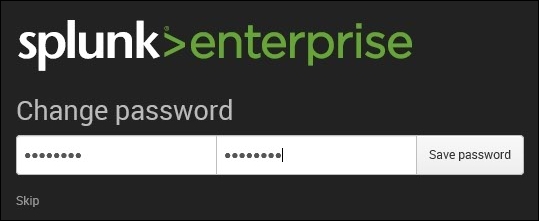
The next step is to change the default administrator password, while keeping the default username. Do not skip this step. Make security an integral part of your day-to-day routine. Choose a password that will be secure:
Assuming all goes well, you will now see the default Splunk Search & Reporting dashboard:

You are finally ready to run your very first Splunk search query:
Go ahead and create your first Splunk search query. Click on the Search & Reporting app. You will be introduced to Splunk's very own internal index: this is Splunk's way of splunking itself (or collecting detailed information on all its underlying processes).
In the New Search input, type in the following search query (more about the Search Processing Language (SPL) in, Chapter 3, Search Processing Language):
SPL> index=_internal sourcetype=splunkdNote
The
SPL>prefix will be used as a convention in this book to indicate aSearchcommand as opposed to theC:\>prefix which indicates a Windows command.The underscore before the index name
_internalmeans that it is a system index internally used by Splunk. Omitting the underscore will not yield any result, as internal is not a default index.This search query will have as an output the raw events from the
metrics.logfile that is stored in the_internalindex. A log file keeps track of every event that takes place in the system. The_internalindex keeps track of every event that occurs and makes it easily accessible.Take a look at these raw events, as shown in the following screenshot. You will see fields listed on the left side of the screen. The important Selected Fields are host, source, and sourcetype. We will go into more detail about these later, but suffice it to say that you will frequently search on one of these, as we have done here. As you can see from the highlighted fields, we indicated that we were looking for events where
sourcetype=splunkd. Underneath Selected Fields, you will see Interesting Fields. As you can tell, the purposes of many of these fields are easy to guess: