Book Image

Machine Learning with TensorFlow 1.x

By : Quan Hua, Saif Ahmed, Shams Ul Azeem
Book Image

Machine Learning with TensorFlow 1.x

By: Quan Hua, Saif Ahmed, Shams Ul Azeem

Overview of this book

Google's TensorFlow is a game changer in the world of machine learning. It has made machine learning faster, simpler, and more accessible than ever before. This book will teach you how to easily get started with machine learning using the power of Python and TensorFlow 1.x. Firstly, you’ll cover the basic installation procedure and explore the capabilities of TensorFlow 1.x. This is followed by training and running the first classifier, and coverage of the unique features of the library including data ?ow graphs, training, and the visualization of performance with TensorBoard—all within an example-rich context using problems from multiple industries. You’ll be able to further explore text and image analysis, and be introduced to CNN models and their setup in TensorFlow 1.x. Next, you’ll implement a complete real-life production system from training to serving a deep learning model. As you advance you’ll learn about Amazon Web Services (AWS) and create a deep neural network to solve a video action recognition problem. Lastly, you’ll convert the Caffe model to TensorFlow and be introduced to the high-level TensorFlow library, TensorFlow-Slim. By the end of this book, you will be geared up to take on any challenges of implementing TensorFlow 1.x in your machine learning environment.
Table of Contents (13 chapters)
Free Chapter
1
Getting Started with TensorFlow

Installing TensorFlow

TensorFlow conveniently offers several types of installation and operates on multiple operating systems. The basic installation is CPU-only, while more advanced installations unleash serious horsepower by pushing calculations onto the graphics card, or even to multiple graphics cards. We recommend starting with a basic CPU installation at first. More complex GPU and CUDA installations will be discussed in Appendix, Advanced Installation.

Even with just a basic CPU installation, TensorFlow offers multiple options, which are as follows:

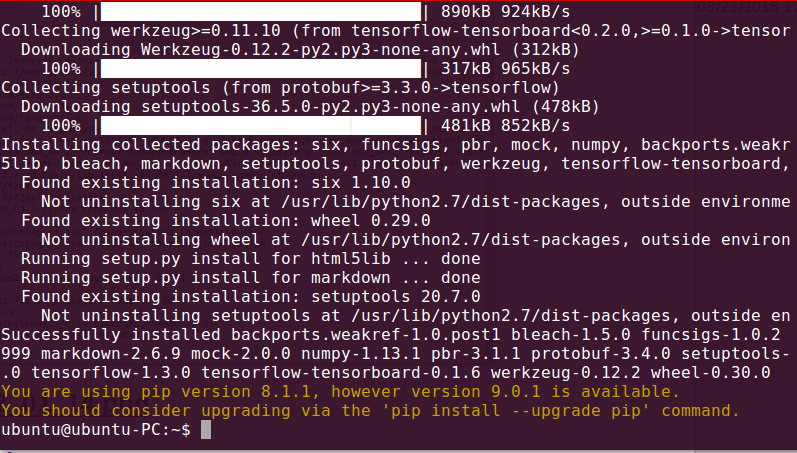
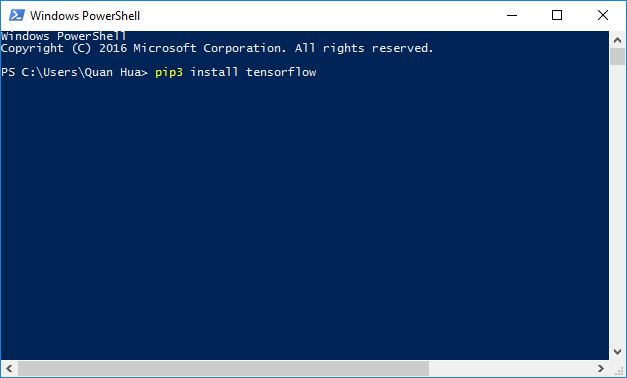
  • A basic Python pip installation
  • A segregated Python installation via Virtualenv
  • A fully segregated container-based installation via Docker

We recommend a Python installation via Virtualenv, but our examples will use a basic Python pip installation to help you focus on the crux of our task, that is, getting TensorFlow up and running. Again, more advanced installation types will be covered in Appendix, Advanced Installation.

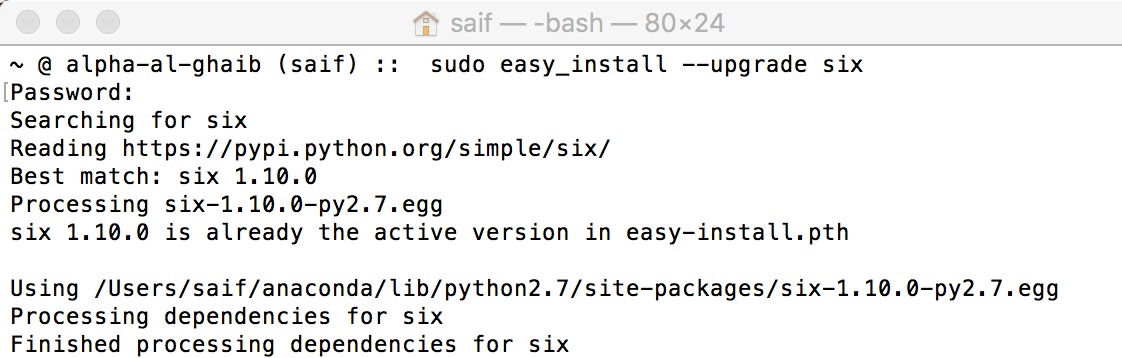
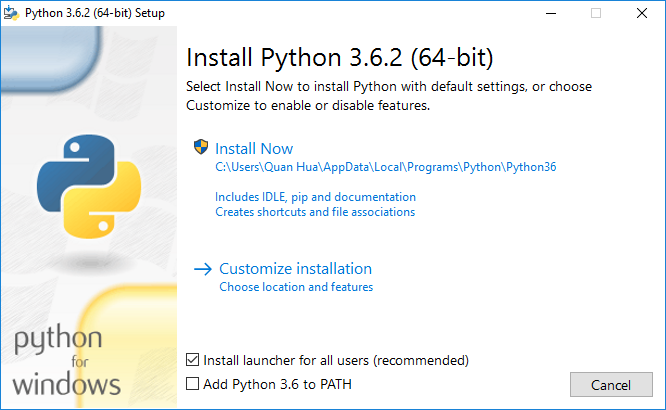
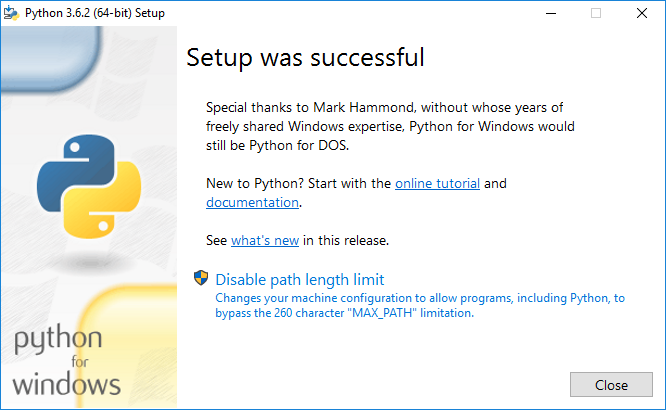
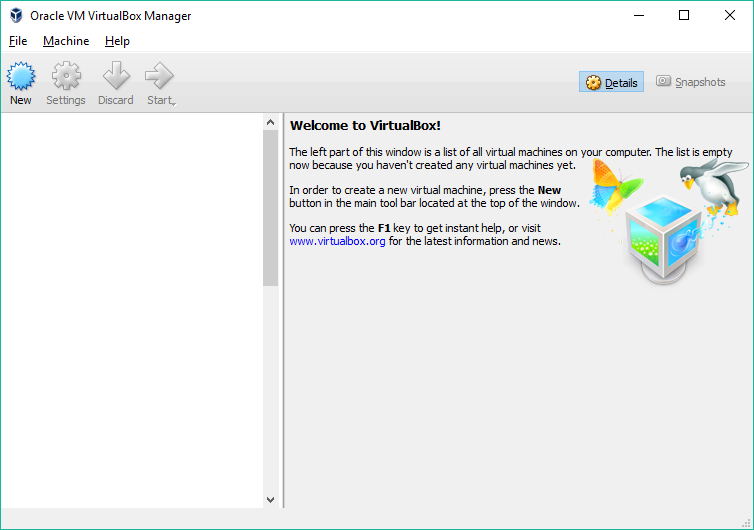
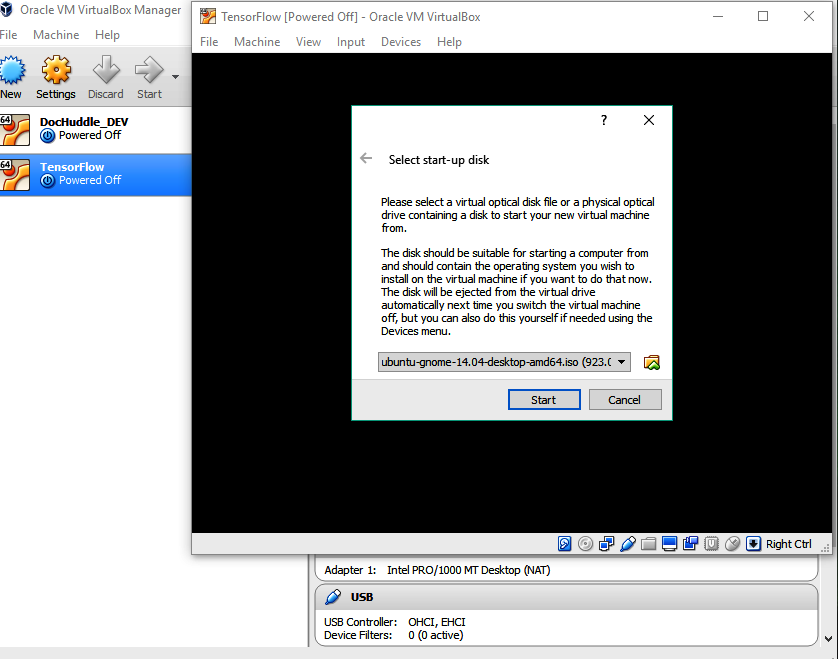
TensorFlow can fully work on Linux and macOS with both Python 2.7 and 3.5. On Windows, we can only use TensorFlow with Python 3.5.x or 3.6.x. It can also be easily used on Windows by running a Linux virtual machine (VM). With an Ubuntu virtual machine, we can use TensorFlow with Python 2.7. However, we can't use TensorFlow with GPU support in a virtual machine. As of TensorFlow 1.2, TensorFlow doesn't provide GPU support on macOS. Therefore, if you want to use macOS with GPU-enabled TensorFlow, you will have to compile from sources, which is out of the scope of this chapter. Otherwise, you can still use TensorFlow 1.0 or 1.1, which provides GPU support out of the box on macOS. Linux and Windows users can use TensorFlow with both CPU and GPU support.

Ubuntu installation

Ubuntu is one of the best Linux distributions for working with Tensorflow. We highly recommend that you use an Ubuntu machine, especially if you want to work with GPU. We will do most of our work on the Ubuntu terminal. We will begin with installing python-pip and python-dev via the following command:

sudo apt-get install python-pip python-dev

A successful installation will appear as follows:

If you find missing packages, you can correct them via the following command:

sudo apt-get update --fix-missing

Then, you can continue the python and pip installation.

We are now ready to install TensorFlow. We will do a CPU-only installation, and if you wish to do an advanced GPU-enabled installation, we will cover that in Appendix, Advanced Installation.

The CPU installation is initiated via the following command:

sudo pip install tensorflow

A successful installation will appear as follows:

macOS installation

If you use Python, you will probably already have the Python package installer, pip. However, if not, you can easily install it using the easy_install pip command. You'll note that we actually executed sudo easy_install pip—the sudo prefix was required because the installation requires administrative rights.

We will make the fair assumption that you already have the basic package installer, easy_install, available; if not, you can install it from https://pypi.python.org/pypi/setuptools. A successful installation will appear as shown in the following screenshot:

Next, we will install the six package:

sudo easy_install --upgrade six

A successful installation will appear as shown in the following screenshot:

Surprisingly, those are the only two prerequisites for TensorFlow, and we can now install the core platform. We will use the pip package installer mentioned earlier and install TensorFlow directly from Google's site. The most recent version at the time of writing this book is v1.3, but you should change this to the latest version you wish to use:

sudo pip install tensorflow

The pip installer will automatically gather all the other required dependencies. You will see each individual download and installation until the software is fully installed.

A successful installation will appear as shown in the following screenshot:

That's it! If you were able to get to this point, you can start to train and run your first model. Skip to Chapter 2, Your First Classifier, to train your first model.

macOS X users wishing to completely segregate their installation can use a VM instead, as described in the Windows installation.

Windows installation

As we mentioned earlier, TensorFlow with Python 2.7 does not function natively on Windows. In this section, we will guide you through installing TensorFlow with Python 3.5 and set up a VM with Linux if you want to use TensorFlow with Python 2.7.

First, we need to install Python 3.5.x or 3.6.x 64-bit from the following links:

https://www.python.org/downloads/release/python-352/

https://www.python.org/downloads/release/python-362/

Make sure that you download the 64-bit version of Python where the name of the installation has amd64, such as python-3.6.2-amd64.exe. The Python 3.6.2 installation looks like this:

We will select Add Python 3.6 to PATH and click Install Now. The installation process will complete with the following screen:

We will click the Disable path length limit and then click Close to finish the Python installation. Now, let's open the Windows PowerShell application under the Windows menu. We will install the CPU-only version of Tensorflow with the following command:

pip3 install tensorflow

The result of the installation will look like this:

Congratulations, you can now use TensorFlow on Windows with Python 3.5.x or 3.6.x support. In the next section, we will show you how to set up a VM to use TensorFlow with Python 2.7. However, you can skip to the Test installation section of Chapter 2, Your First Classifier, if you don't need Python 2.7.

Now, we will show you how to set up a VM with Linux to use TensorFlow with Python 2.7. We recommend the free VirtualBox system available at https://www.virtualbox.org/wiki/Downloads. The latest stable version at the time of writing is v5.0.14, available at the following URL:

http://download.virtualbox.org/virtualbox/5.1.28/VirtualBox-5.1.28-117968-Win.exe

A successful installation will allow you to run the Oracle VM VirtualBox Manager dashboard, which looks like this:

Virtual machine setup

Linux comes in numerous flavors, but as the TensorFlow documentation mostly mentions Ubuntu, we'll be working with Ubuntu Linux. You are welcome to use any flavor of Linux, but you should be aware that there are subtle differences across flavors and versions of each flavor. Most differences are benign, but some may trip up the installation or even usage of TensorFlow.

Even after choosing Ubuntu, there are many versions and configurations; you can see some at http://cdimage.ubuntu.com/ubuntu-gnome/releases/14.04/release/.

We will install the most popular version, which is Ubuntu 14.04.4 LTS (make sure to download a version appropriate for your computer). Versions marked x86 are designed to run on 32-bit machines, while those marked with some variation of 64 are designed to run on 64-bit machines. Most modern machines are 64-bit, so if you are unsure, go with the latter.

Installations happen via an ISO file, which is, essentially, a file equivalent of an installation CD. The ISO for Ubuntu 14.04.4 LTS is ubuntu-gnome-14.04-desktop-amd64.iso.

Once you have downloaded the installation ISO, we will set up a VM and use the ISO file to install Ubuntu Linux on the VM.

Setting up the VM on Oracle VM VirtualBox Manager is relatively simple, but pay close attention as the default options are not sufficient for TensorFlow. You will go through the following seven screens, and at the end, it will prompt you for the installation file, which was just downloaded.

We will first set up the type of operating system and configure the random access memory (RAM) allocated to the VM:

  1. Note that we selected a 64-bit installation as that is the image we're using; you can choose to use a 32-bit image if you need:
  1. How much RAM you allocate depends on how much your machine has. In the following screenshot, we will allocate half our RAM(8 GB) to our VM. Remember that this is consumed only while we are running the VM, so we can be liberal with our allocations. We can allocate at least 4 GB:
  2. Our VM will need a hard disk. We'll create a Virtual Hard Disk (VHD), as shown in the following screenshot:
  3. Then, we will choose the type of hard drive for the VM, that is, VDI (VirtualBox Disk Image), as shown in the following screenshot:
  4. Next, we will choose how much space to allocate for the VHD. This is important to understand as we will soon work with extremely large datasets:
  5. We will allocate 12 GB because TensorFlow and typical TensorFlow applications have an array of dependencies, such as NumPy, SciPy, and Pandas. Our exercises will also be downloading large datasets, which are to be used for training:
  6. After setting up the VM, it will appear on the left side VM listing. Select it and click on Start. This is the equivalent of booting up the machine:
  1. As the machine boots for the first time, provide it the installation CD (in our case, the Ubuntu ISO we downloaded earlier):

Follow the installation instructions and you'll have a full Ubuntu Linux installation ready to use! After that, you can follow the Ubuntu installation at the beginning of this chapter.

Testing the installation

In this section, we will use TensorFlow to compute a simple math operation. First, open your terminal on Linux/macOS or Windows PowerShell in Windows.

Now, we need to run python to use TensorFlow with the following command:

python

Enter the following program in the Python shell:

import tensorflow as tf
a = tf.constant(1.0)
b = tf.constant(2.0)
c = a + b
sess = tf.Session()
print(sess.run(c))

The result will look like the following screen where 3.0 is printed at the end: