Book Image

Hands-On GPU Computing with Python

By : Avimanyu Bandyopadhyay
Book Image

Hands-On GPU Computing with Python

By: Avimanyu Bandyopadhyay

Overview of this book

GPUs are proving to be excellent general purpose-parallel computing solutions for high-performance tasks such as deep learning and scientific computing. This book will be your guide to getting started with GPU computing. It begins by introducing GPU computing and explaining the GPU architecture and programming models. You will learn, by example, how to perform GPU programming with Python, and look at using integrations such as PyCUDA, PyOpenCL, CuPy, and Numba with Anaconda for various tasks such as machine learning and data mining. In addition to this, you will get to grips with GPU workflows, management, and deployment using modern containerization solutions. Toward the end of the book, you will get familiar with the principles of distributed computing for training machine learning models and enhancing efficiency and performance. By the end of this book, you will be able to set up a GPU ecosystem for running complex applications and data models that demand great processing capabilities, and be able to efficiently manage memory to compute your application effectively and quickly.
Table of Contents (17 chapters)
Free Chapter
1
Section 1: Computing with GPUs Introduction, Fundamental Concepts, and Hardware
5
Section 2: Hands-On Development with GPU Programming
11
Section 3: Containerization and Machine Learning with GPU-Powered Python

Installing PyCharm

As we are now familiar with PyCharm's basic functionalities, features, and its various editions, let's proceed with the steps that are required to install PyCharm on an Ubuntu-based Linux system. Since we are having a learning experience, we'll focus on installing the Educational edition of PyCharm, that is, PyCharm Edu:

  1. Download PyCharm Edu. To download PyCharm Edu, you can directly visit the following page on your web browser: https://www.jetbrains.com/pycharm-edu/download/:

This link will automatically detect your operating system and provide the appropriate download link:

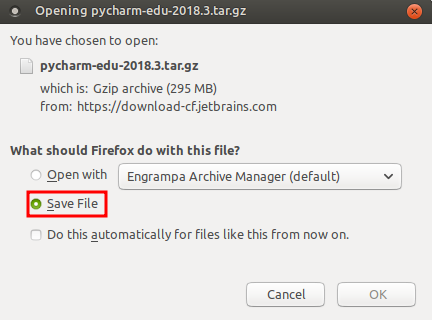
  1. Note that you will have to ensure that Save File is selected before proceeding with the download:

After downloading, the compressed file will be located at the Downloads directory, which is located at /home/<user-name>/:

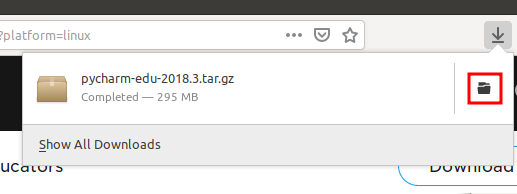
  1. Now, from the Downloads directory, right...