Book Image

IBM Watson Projects

By : James D. Miller
Book Image

IBM Watson Projects

By: James D. Miller

Overview of this book

IBM Watson provides fast, intelligent insight in ways that the human brain simply can't match. Through eight varied projects, this book will help you explore the computing and analytical capabilities of IBM Watson. The book begins by refreshing your knowledge of IBM Watson's basic data preparation capabilities, such as adding and exploring data to prepare it for being applied to models. The projects covered in this book can be developed for different industries, including banking, healthcare, media, and security. These projects will enable you to develop an AI mindset and guide you in developing smart data-driven projects, including automating supply chains, analyzing sentiment in social media datasets, and developing personalized recommendations. By the end of this book, you'll have learned how to develop solutions for process automation, and you'll be able to make better data-driven decisions to deliver an excellent customer experience.
Table of Contents (12 chapters)

Exploring the Watson interface

With any new endeavor, one would be wise to take some time before actually bringing or attempting any project work (so, at the startup stage) in order to focus on becoming comfortable, or at least somewhat familiar, with the tool or technology's fundamentals.

In this chapter, as we look at IBM Watson, obtaining this understanding starts first with procuring access to IBM Watson Analytics and, as a next step, the IBM Cloud platform.

First, a little bit on the IBM Cloud. The IBM Cloud is a platform offering a rich assortment of infrastructure, cognitive, software, and services (and a lot of documentation and examples) with the aim of jump starting and otherwise accelerating the pace of business.

The IBM Cloud platform is where you can access the full power of the IBM Watson platform, where you can build new and exciting applications, using prebuilt services and APIs.

At the time of writing, to access the IBM Cloud platform, you can go to: https://console.bluemix.net to log in or create an account.

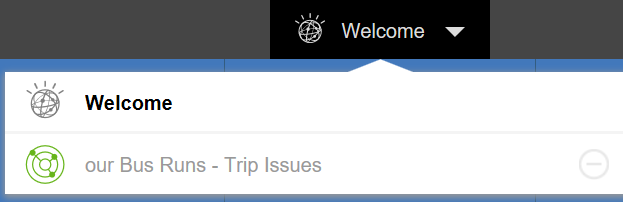
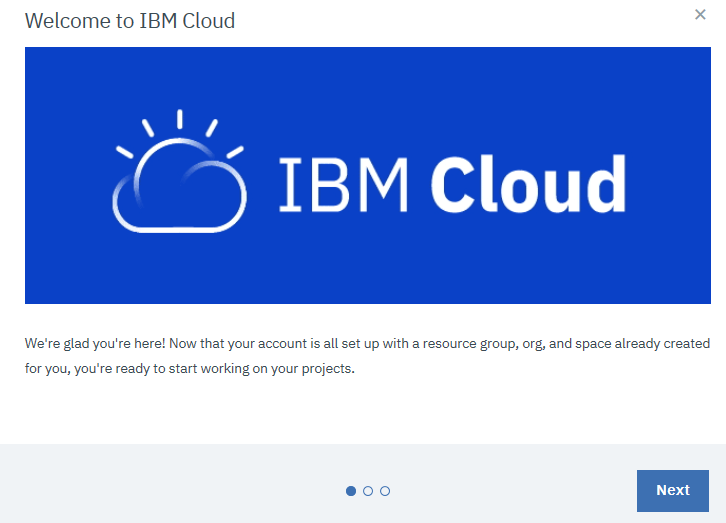
Once you obtain your access, you will have the opportunity to click through a number of welcome, how-to, and helpful hint tutorials. The introductory window is shown in the following screenshot:

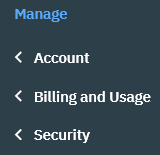
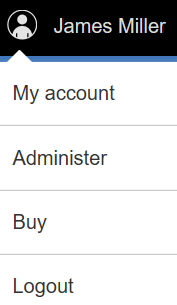
The reader should take note that the official product documentation refers to the IBM Cloud user interface as the Cloud Console, where all of your cloud resources, as well as components (including IBM Watson), can be accessed and managed.

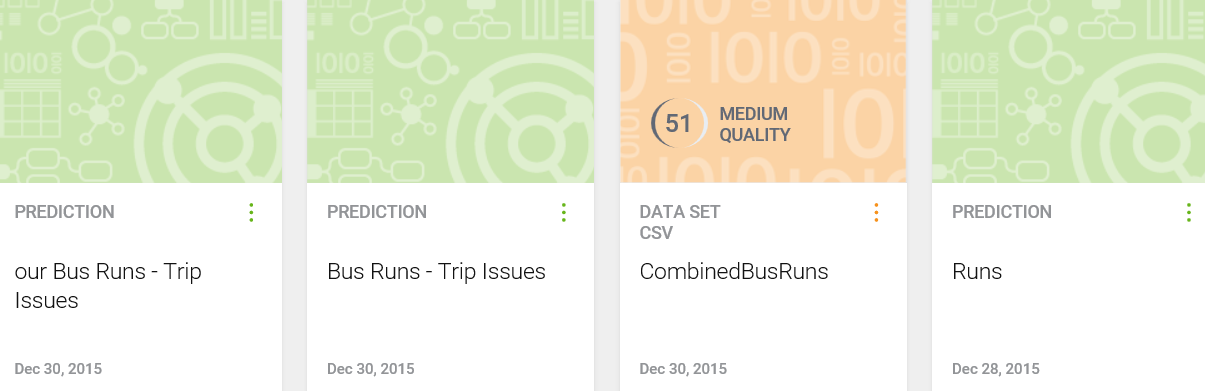
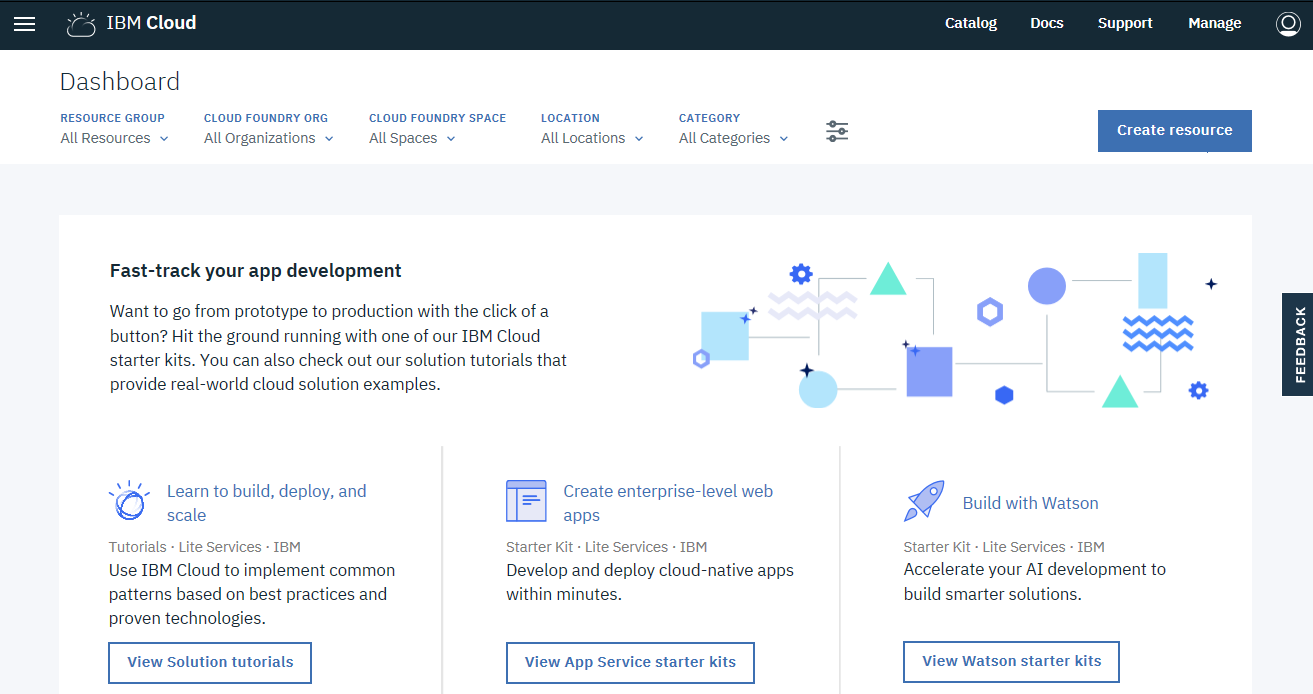
After you log in, your dashboard will contain many links to various resources and functionalities based upon your account type. The following screenshot shows the IBM Cloud main or start page (sometimes even called the welcome page), which is referred to as the IBM Cloud Dashboard:

We won't take the time here to go through these wonderful IBM Cloud platform tutorial videos (but you definitely should review as many of them as possible); instead, we will talk a bit about the basic components of the IBM Cloud Console and then quickly-jump into the IBM Watson Analytics interface.

The menu bar

The menu bar (located across the top of the dashboard) is sometimes referred to as the title bar. The following is a screenshot showing the IBM Cloud menu bar:

In the following sections, we will look at the icons and options in the menu bar, starting from the top left side.

Menu icon

The menu icon is the first image on the left of the menu bar (Hint: it looks like a stack of three lines). Clicking on this icon will display a vertical list of the available menu selections on the platform. The following screenshot shows the menu selection list:

A very helpful feature that IBM Cloud provides is the highlighted status indicators next to certain listed selections. For example, New and Deprecated are shown in the preceding screenshot, and they alert the user to menu selections that have been recently added or are scheduled for removal (also know as deprecated).

IBM Cloud

As we move to the right along the title bar, the next option is the IBM Cloud menu selection. Clicking on this option will always return you—send you back—to the start or main page.

Catalog

The Catalog menu selection sends you to the Catalog IBM Cloud page (shown in the following screenshot), where you can (based upon a selected filter type) do things such as manage your cloud infrastructure and access other IBM Cloud platform features:

Docs

Clicking the Docs menu item takes you to the Docs or Documentation Entry page (shown in the following screenshot). Here is where you can perform actions such as Search documentation, Get started by deploying your first app, or follow a specific IBM Cloud help thread that you are interested in:

Support

Clicking on the Support menu item displays a drop-down selection list (shown in the following screenshot) with various options for obtaining the best type or level of support based upon your particular needs. The support options included are as follows:

  • What's New
  • Access to the (IBM Cloud) Support Center
  • The ability to enter or Add (a) Ticket (a ticket is your request for information or support assistance)
  • View Tickets (that is, all of your current and prior tickets)
  • Status, where you have the ability to investigate issues reported by the entire IBM Cloud user community:

Manage

Clicking on the Manage menu option displays the various areas in which you have the ability to manage your IBM Cloud's Account, Billing and Usage, and Security:

Profile – avatar

Clicking on the Profile menu option displays access to view, update, and upgrade options for your IBM Cloud account. In addition, this is where you can officially log out of the IBM Cloud environment:

It is a best practice recommendation to ALWAYS formally log out of your IBM Cloud account (rather than just closing your browser).

Online glossary, let's chat, and feedback

Another great resource for someone who is new to the IBM Cloud is the online glossary of terms, referred to as the IBM Cloud Glossary, which can be found at:

https://console.bluemix.net/docs/overview/glossary/index.html#glossr

In addition, on most pages within the IBM Cloud environment, you will see the following icon:

This is the Let's Chat icon which, by clicking, connects you within a few hours to a question and answer dialog with one or more IBM Cloud Support Experts. It is not a real-time chat session, but it is pretty efficient. Don't be afraid to give it a try, they are very helpful.

IBM is committed to growing and evolving the IBM Cloud platform and is keen on hearing your opinion. One testimonial to this commitment is the presence of the FEEDBACK label, which is visible on most of the pages within the IBM Cloud. Clicking on FEEDBACK presents you with the option to easily provide both specific or (more) general comments and suggestions, or, if you are having a problem, from here you can also enter a support ticket.

What about Watson?

Back to our menu icon. If you scroll down, you can click on Watson, which will send you to the IBM Watson main page, shown as follows:

The format of this page is similar in format to the IBM Cloud console main page, as there are helpful Get Started panels (sometimes called tiles) offering options across the top part of the page. These are links to Starter Kits, and beneath these most popular kits (Build a chatbot, Extract insights, and Convert audio into text) are the links to View all Starter Kits and Browse all Watson services.

If you scroll further down the page, you will find access to Watson Studio, as well other useful links such as SDKs, The Watson Blog, GitHub, and so on.

The links and panels/tiles that are displayed here will change from time to time based upon a variety of factors, so it is a good practice to take a few minutes periodically and review what is offered.

Accessing the IBM Watson platform through the IBM Cloud platform is the approach you will use for building advanced apps using Watson services, APIs, and SDKs, but you can use Watson Analytics for advanced projects by accessing the Watson Analytics interface directly.

You can find this Watson entry point at: https://watson.analytics.ibmcloud.com (and access it with your same valid IBM user ID).

The Watson dashboard

Like the IBM Cloud dashboard, the Watson dashboard is organized with a title or menu bar across the top of the page, (see following sections) which I call the quick start information bar. Beneath that, you'll find the Search/Add/Filter/Sort bar, followed by an open space where content panels will appear (more about these later, also know that these are sometimes called tiles or informational titles).

Let's review each of these areas, starting at the top.

Menu bar

The Watson Analytics menu bar shows the Watson name in the far left. In the center of the bar there is a drop-down list that allows you to quickly jump between open Watson pages. This is kind of such as clicking on open applications on your desktop:

For example, in the following example, we see Welcome and our Bus Runs - Trip Issues in the list. Clicking on either entry jumps to that view:

The logged in user name (the name of the logged in user) is always displayed to the right of the quick jump list. This is where you can manage your Watson Analytics account, perform Watson Administrative work, or log out:

Next, on the menu bar, you'll find access to the product documentation, helpful hints that have been documented by IBM and the Watson user community, as well as access to the ever-growing (now including you!) Watson community.

Finally, on the far right of the Watson menu bar, there is the Collections icon, where one can access all Watson Assets that you have created as well as those that have been shared with you.

Quick start information bar

Under the Watson Analytics menu bar is the Quick Start Information bar. It consists of larger icons used to organize and provide quick access to selected functionalities. These functionalities currently include: Explore, Predict, Assemble, Social Media, and Refine (all of which we will use throughout the chapters of this book):

Search, add, filter, and sort

Here, you will find the features that allow you to (wildcard) search for, sort, and otherwise filter the content panels/tiles that currently exist within your Watson Analytics account.

In the center, perhaps most importantly, is the Add icon. This allows you to create new Watson assets or add more data to your Watson account. The following screenshot shows the Search bar:

Content panel area

And finally, all of the Watson Analytics assets you either previously created or have been granted access to will show up here as individual content panels/tiles that you can click on to access and edit/update:

Now that we have gone through our quick interface investigation, let's go over some of the more basic (but absolutely critical) Watson tasks. Throughout the rest of the chapter, we'll review the areas of Watson that involve Explore, Predict, Assemble, Social Media, Refine, Save, and Add (ing data).