

In this section, we will look into the basic tasks of IBM Watson.
Basic tasks refresher
The first step
Before you can do anything with Watson, you need to set up an account (and for general discovery, you can use the free version!) and log in. You can get started with IBM Watson by going directly to: https://watson.analytics.ibmcloud.com (as of this writing) and (or course!) using user your IBM ID to sign-in (or sign-up if you're a new user).
Not too much more to add here on this topic, as logging in is pretty much self-explanatory.
Explore
Typically, one would start by adding data—some project-focused new data—to IBM Watson, but for now, as we are just reviewing the basics of the Watson interface, we'll mention that IBM Watson offers a pretty extensive library of sample data, which is always available to you to use in your efforts to gain an understanding of how the basic functions and features of the tool work.
So, with those thoughts in mind we'll move right along, starting here with a discussion on Explore, which is, starting from left to right, the first IBM Watson feature available on the start-up bar.
IBM Watson Explore is designed to allow you to effortlessly integrate the use of visualizations in an effort to gain an understanding of the data you are interested in, so that you can notice patterns and relationships within that data. These can then have major impacts on the business or problem you are solving for.
Watson Analytics makes it easy to jump right in and get going with the process of data exploration without requiring a lot of setup or data preparation.
After clicking Explore, the Create new exploration dialog (shown in the following screenshot) offers you a list of existing datasets (if you've already added any to Watson) to begin exploring as well as the ability to add your data by browsing to a file or selecting Twitter as the data's source, and finally, you can also explore the Sample data offered by Watson:
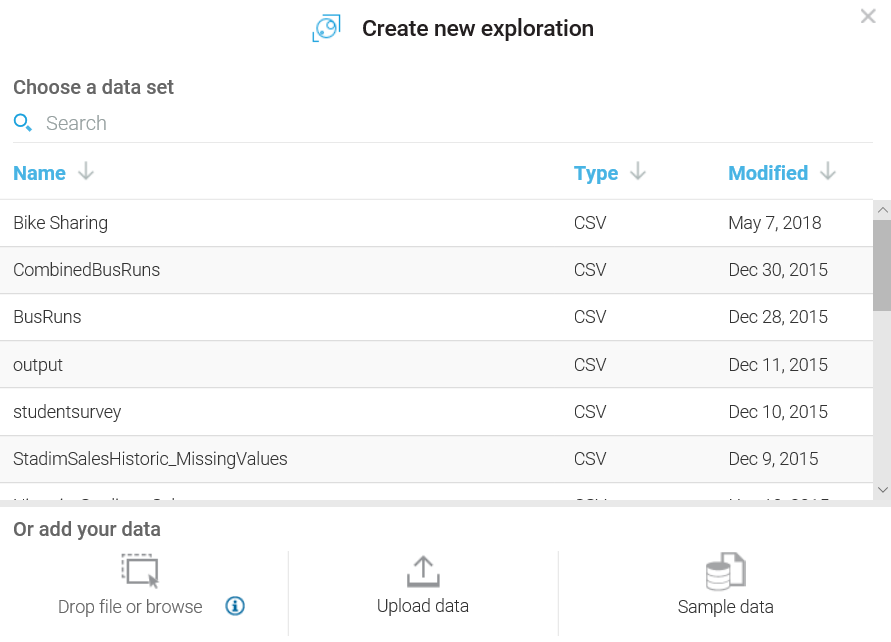
As we go over the Watson start-ups, you will notice that they all employ sort of a standard dialog formatted very much the same; you have the ability to choose an existing starting point, add a new one, or just get started with sample data.
Watson prompts
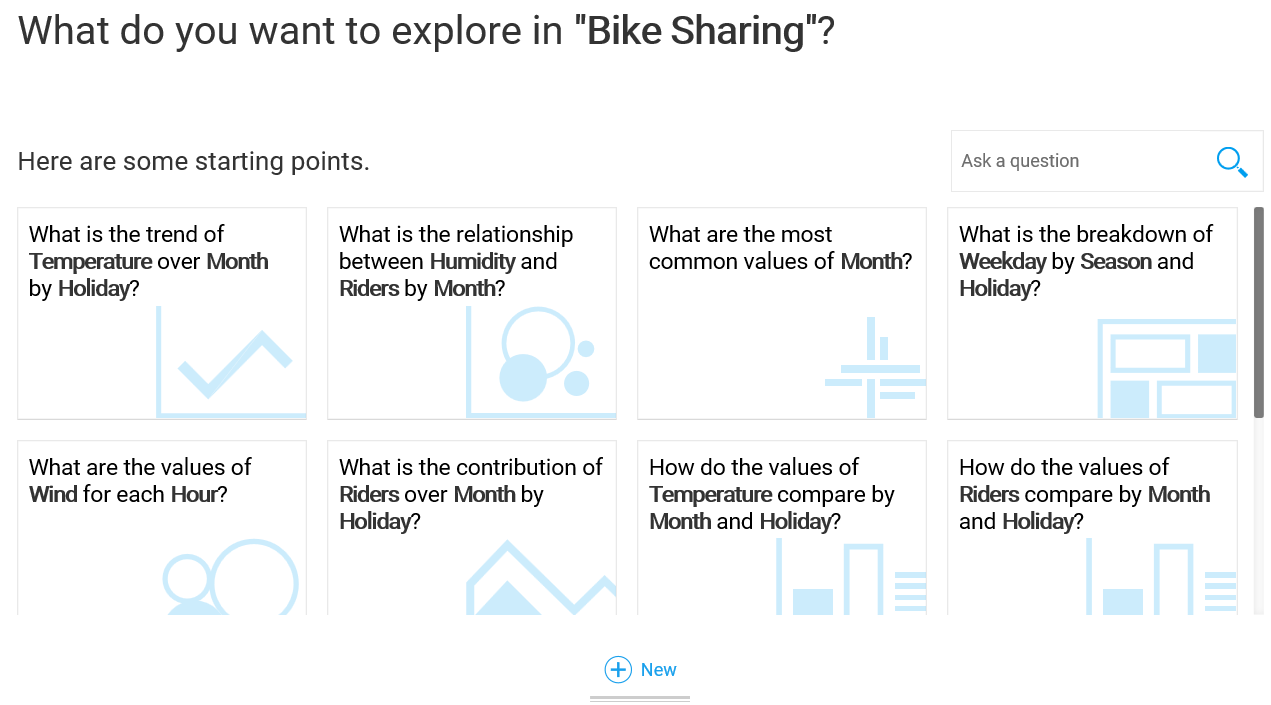
What's exciting is what happens after you select a dataset. IBM Watson asks you: What do you want to explore in your selected dataset? and also prompts you with suggested starting points based on the data you selected.
In the following example, we have selected a dataset named Bike Sharing:
Predict
The IBM Watson Predict feature delivers highly interpretable insights that are based on internal Watson complex modeling. In the Predict capability, Watson Analytics uses sophisticated algorithms to quickly and efficiently deliver its predictions based on the data you provide.
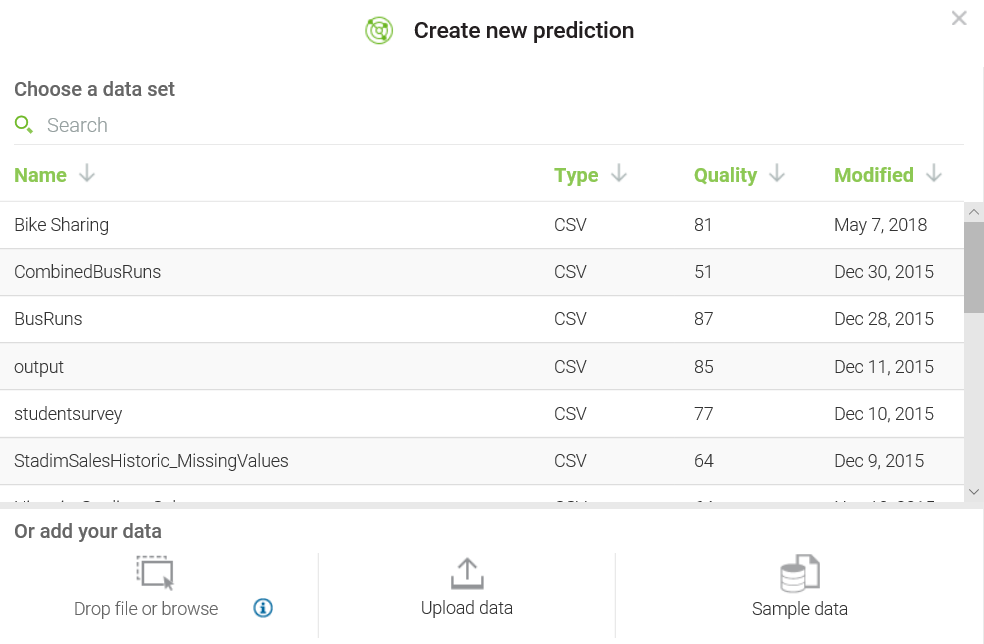
Just like the previously-mentioned Explore capability, once you click on Predict, IBM Watson provides you with the Create new prediction dialog (shown in the following screenshot), which displays a list of existing datasets that you can select as the source for your new Watson prediction, as well as the option to upload/add new data (or utilize the provided sample data):
IBM Watson Predict automatically identifies the data that you are analyzing and includes visual as well as textual understandings that are generated from your selected data.
Watson couldn't make it much easier! The basic steps for using Predict are simply:
- Add (or select) some data
- Click Predict (to tell Watson to create the prediction)
- View the results!
Creating your prediction (after selecting the data source) starts with the Create a new Analysis dialog (a bit of a misnomer; are we creating a new analysis or prediction?) where you provide a name and target:

Next, you click Create and let Watson do its work:
And then (momentarily), we have our prediction:
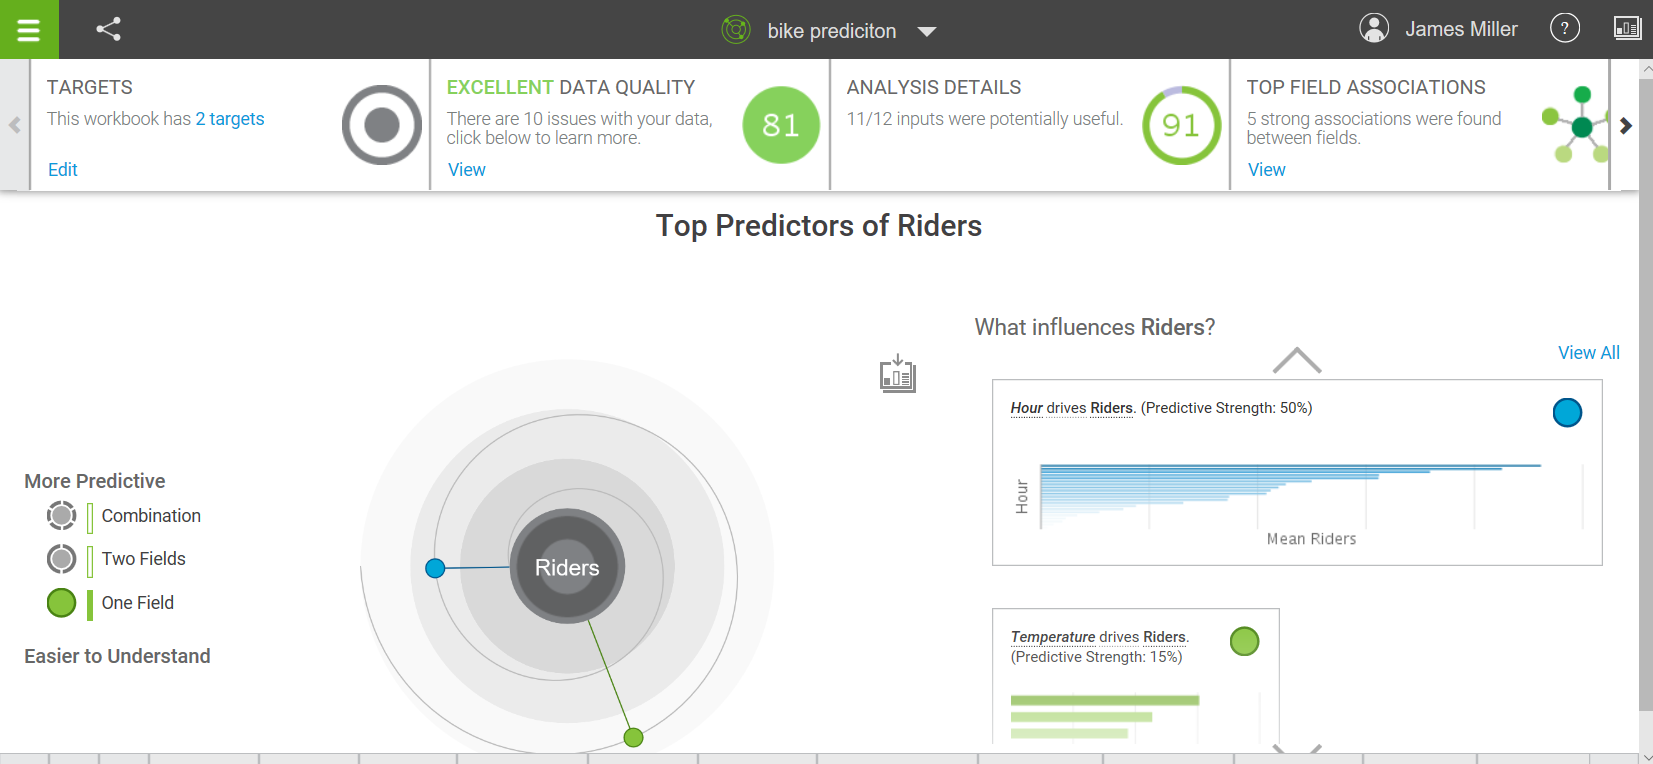
Top predictors of Riders
Assemble
Another fundamental feature of IBM Watson is Assemble. Simply put, you can use this to group the results generated from using Explore and Predict.
Clicking on Assemble, you will see a dialog with a familiar format:
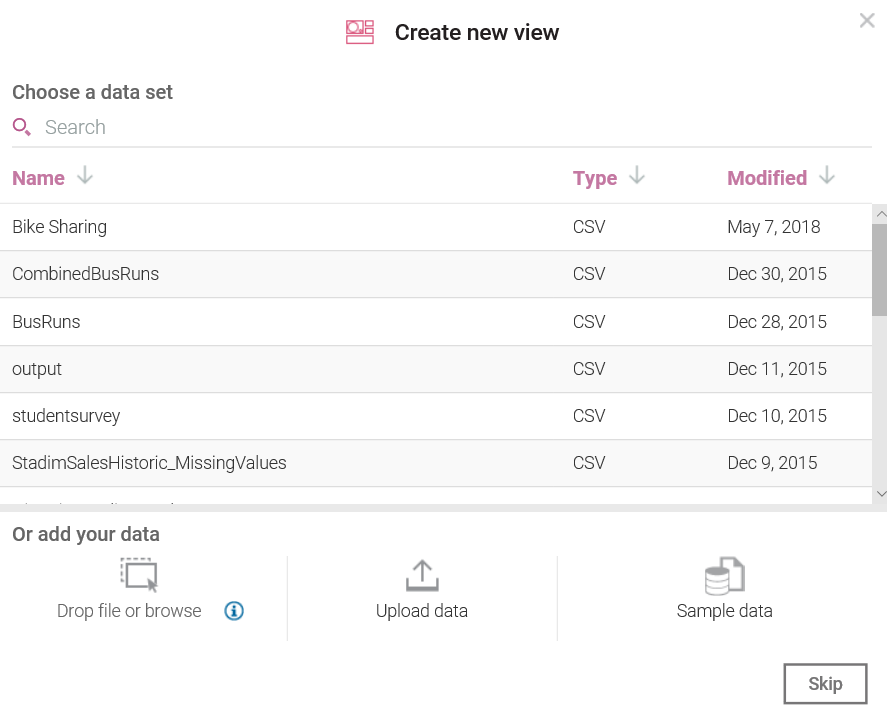
Again, you have the option to select an existing dataset or add your new data (you also have another misnomer, Create a new view even though you clicked on Assemble). You also have the option of clicking on Skip, but for now, we see that the next page is where you do the assembling by entering a name and selecting a Watson template:
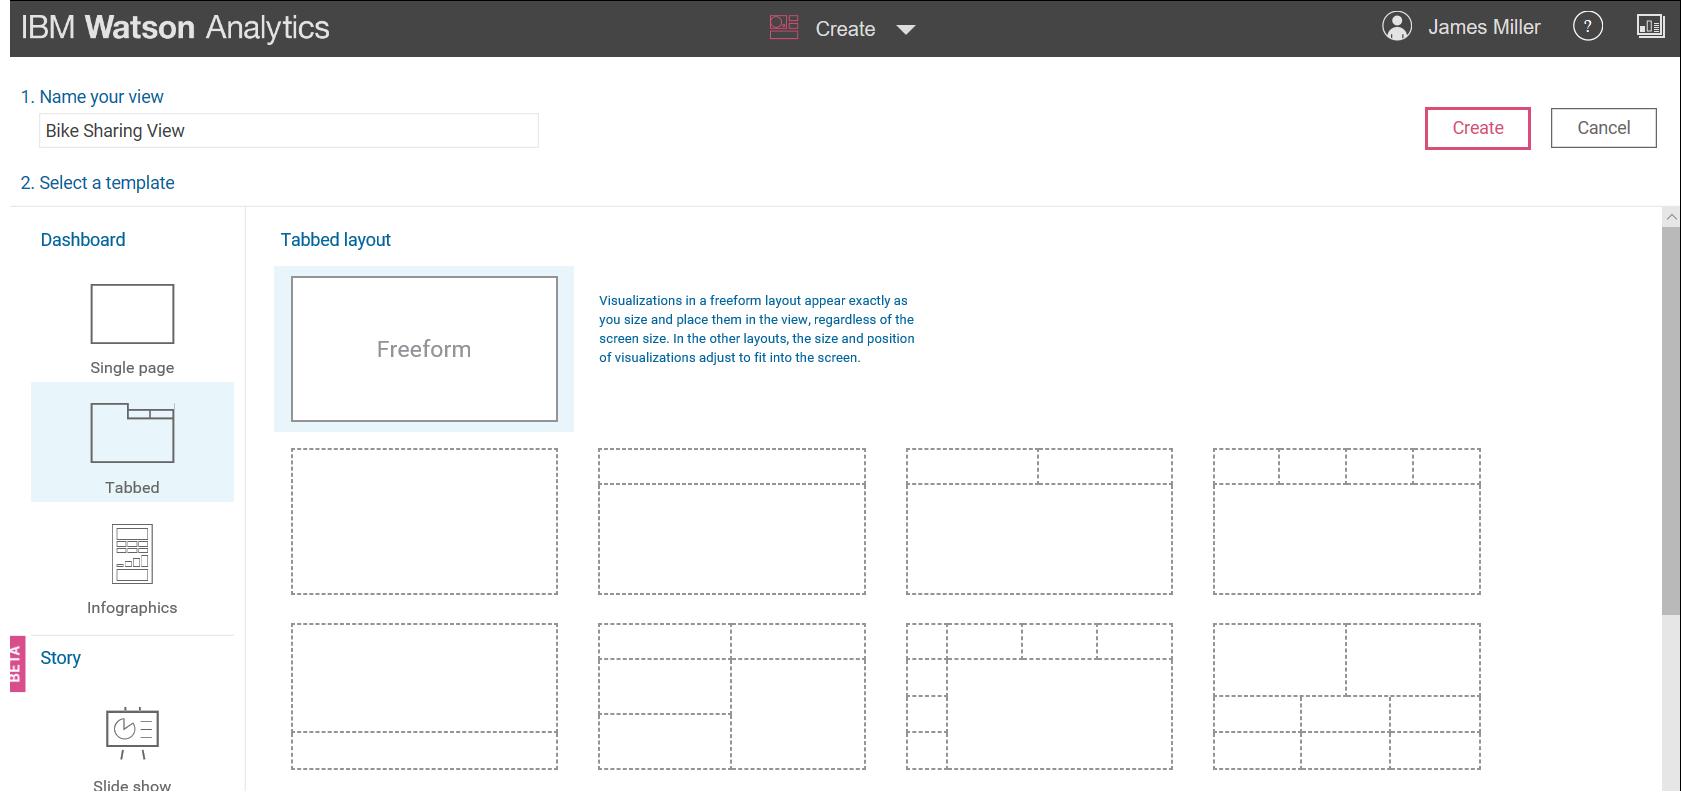
Selecting a Watson template
Once you select a template (templates are the way you can easily organize your artifacts) and click Create you can then build your Assembly (or view) by dragging and dropping various data points into your favorite visualizations (more on this later!):
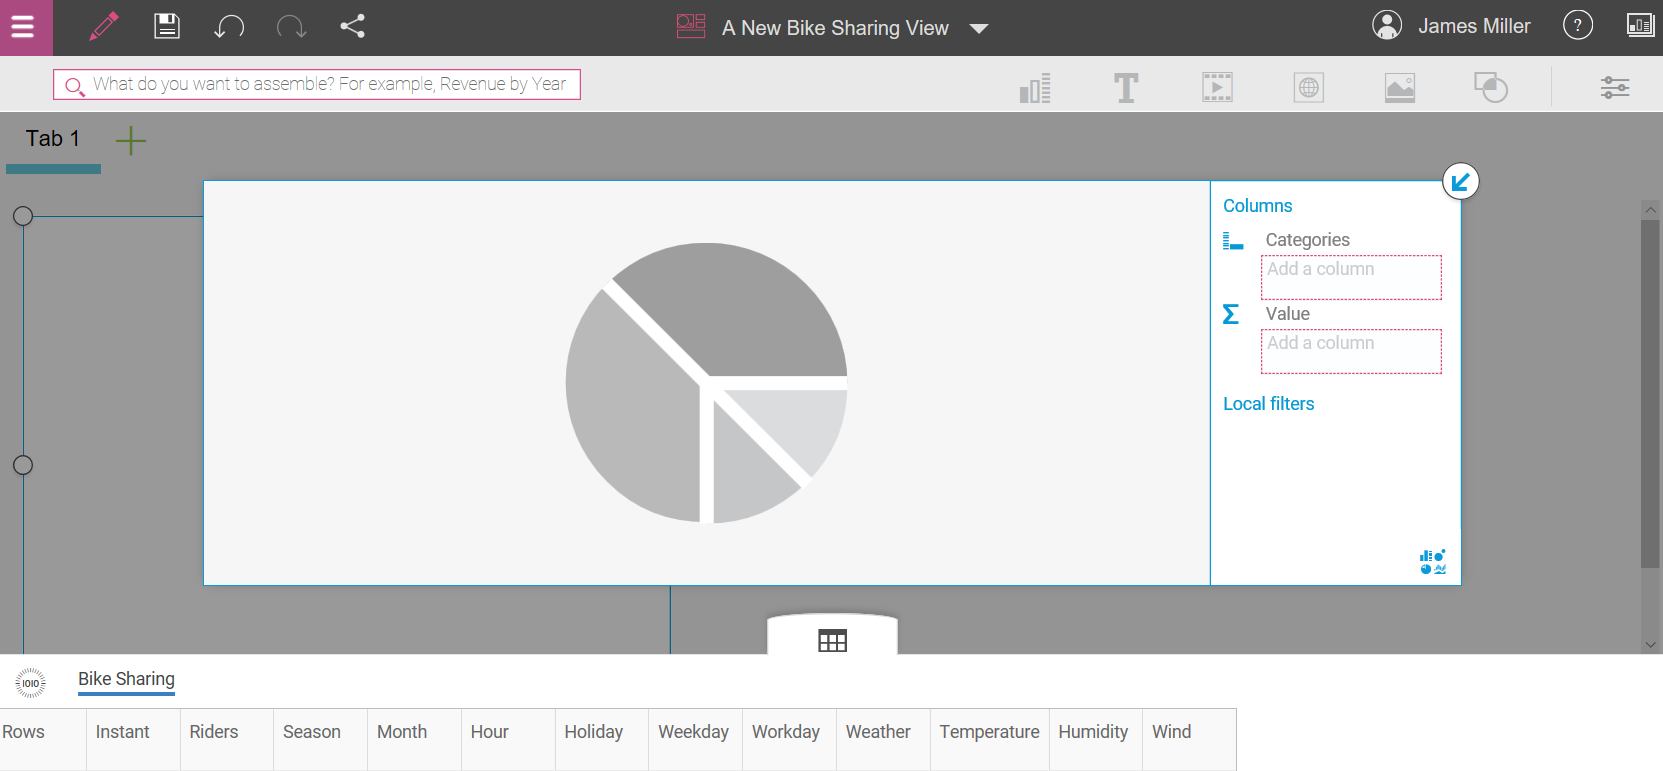
Building your Assembly
Social media
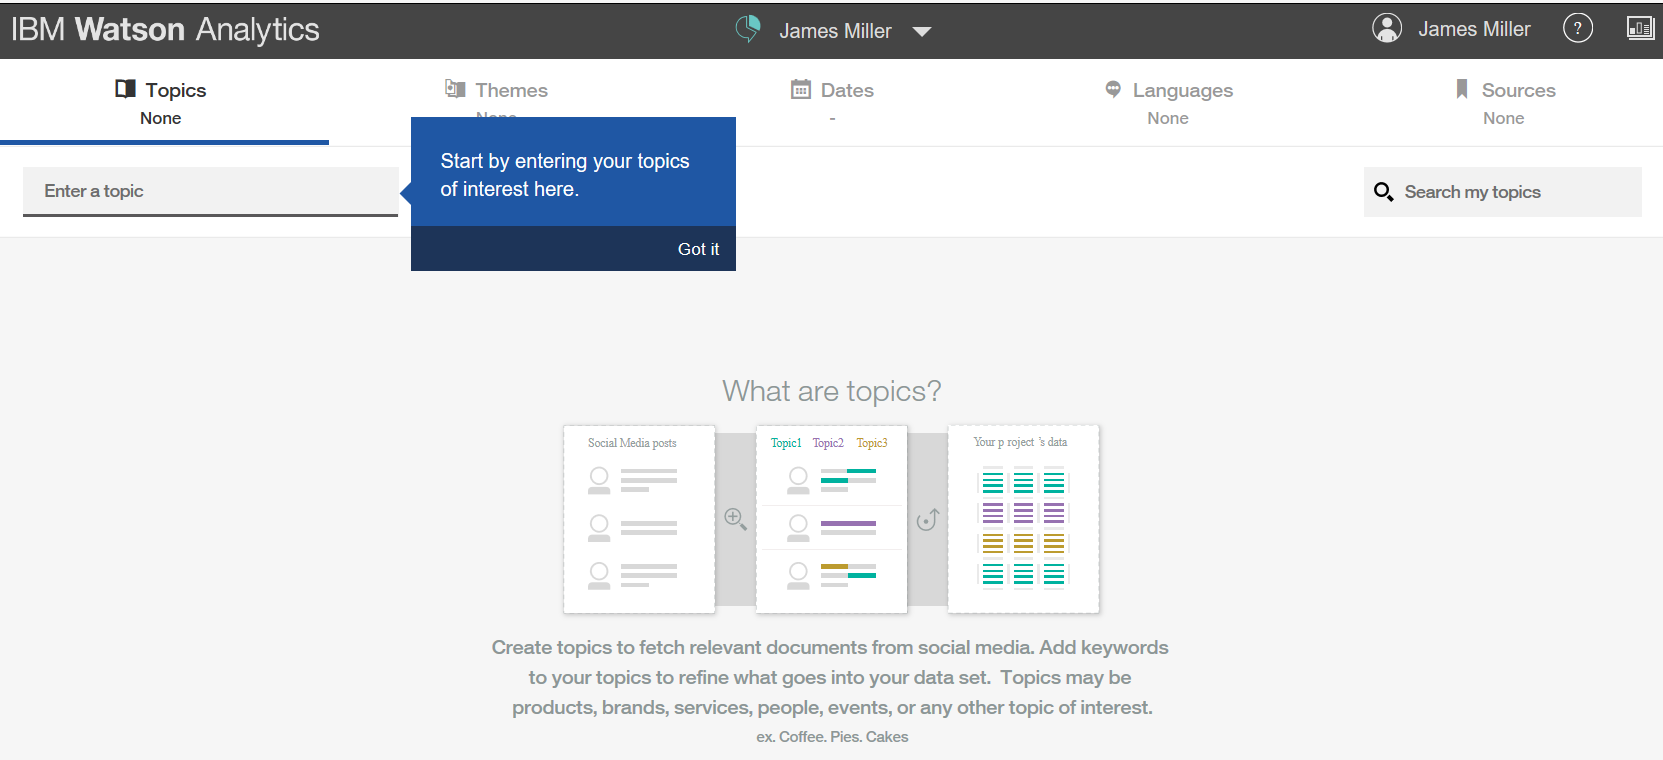
Newer to IBM Watson are the built-in Social Media capabilities. Now, you can discover insights based upon data gathered by IBM Watson from key words and hashtags you choose. This data can be from Twitter, forums, reviews, Facebook pages, video descriptions, comments, blogs, and other news sources. Exploring and analyzing social media trends is now a fundamental task using IBM Watson.
Depending on your subscription level (version), the number and type of social media documents (such as Facebook pages) that you can retrieve may have different limits.
Clicking on Social Media presents the Create a new social media project dialog (shown as follows) that steps you through the process of creating a real, IBM Watson-based, social media (SM) project:
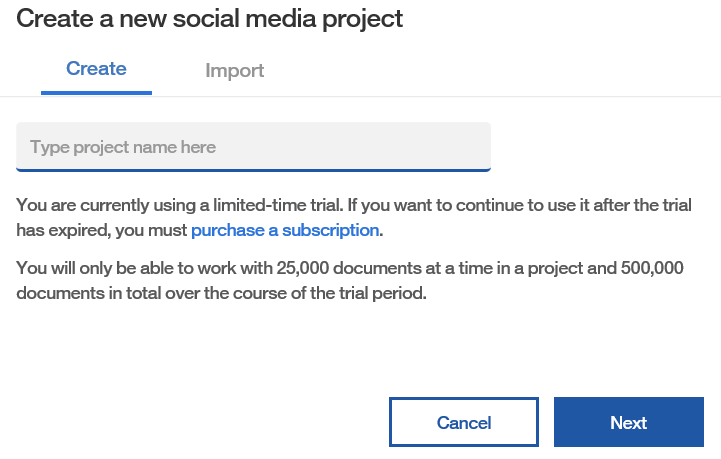
Once you have typed a name for your (SM) project, you can click Next to go to the page shown in the following screenshot, where you can define the details for your project:
Defining the details for your project
Refine
It's always all about the data, right? That is because having a thorough understanding of your data can actually make or break the outcome of a project.
Perhaps of all the out of the box features that IBM Watson delivers, the most important may just be Refine. Refine means just that—to hone, enhance, polish, improve or even perfect—the data you are planning to use in your IBM Watson project.
But why would you modify your data? Well, there are various reasons you may want to consider (or possibly need to) modify the data you are using. For example:
- You might want to enrich the data by adding calculations. Let's consider patient data that includes the physical characteristics of each patient, such has sex, height, weight, age, and so on. If you are interested in how various physical characterizes effect life expectancies, you may want to add a calculation that determines the patient's individual body mass index (BMI), which is calculated using height and weight. This ensures a consistent way of calculating BMI and also saves time by eliminating the need to perform the calculation within each analysis or prediction.
- Very often you may want to focus on a particular subset of your data. This can be accomplished by setting up a data filter (for that particular area of your business).
- More commonly, an exercise to make your data more readable is to rename columns or change a data type.
- Based upon your requirements or interest in the data, you may want to modify the default aggregations.
- Finally, you might want to create hierarchies and groups within your data.
Saving the original
As a rule, a proven practice when making any sort of change to your data file is to preserve the original state of the data. Not to worry, IBM Watson saves you the time and effort of backing up, saving, and then maintaining version control, since whenever you use Refine, a new and separate dataset is created automatically for you that is related to your original dataset.
Note: The changes that you make using Refine are saved as a separate version of the original dataset and are automatically available in Predict, Explore, and Assemble. If you modify the data in an exploration, the changed data is available only in that exploration.
In addition to using Refine to make your data more usable, you can also use Refine to learn more about your data. Once you are on the Refine page, you can click on the data metrics icon (it is the little bar graph on the left of the page), shown as follows:
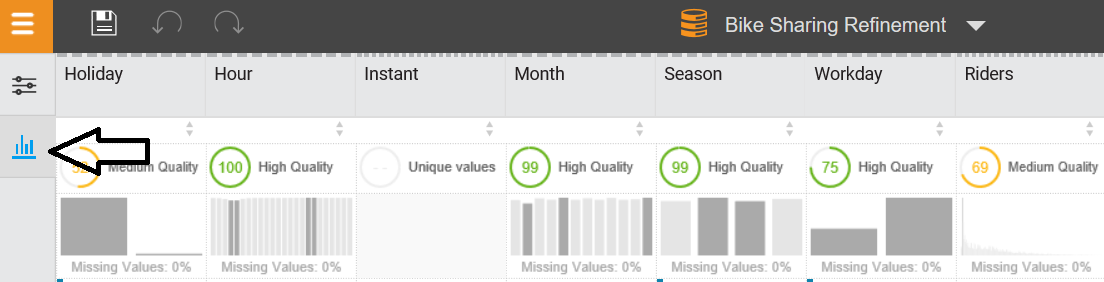
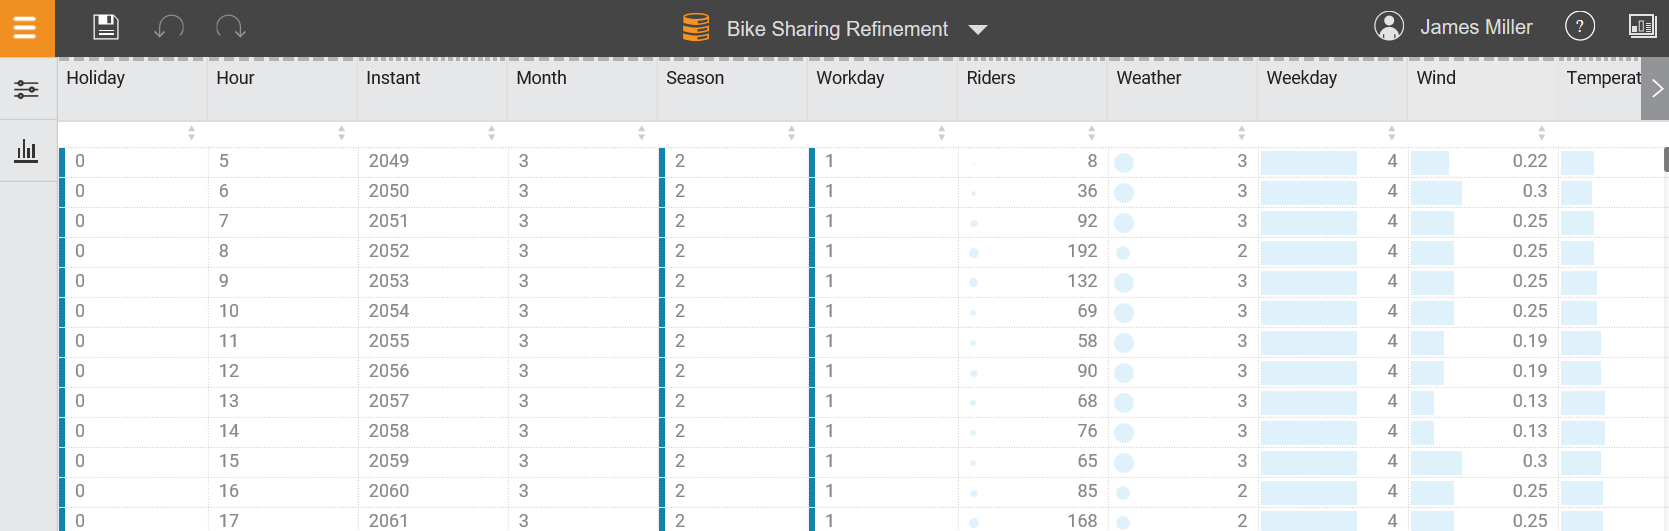
Bike sharing refinement
When you view the data metrics for your selected dataset, you will see the following information for each column of your data:
- The quality score for each column, which indicates a column's potential readiness for use in a prediction
- The percentage of data that is missing
- Distribution graphs of the data (in numeric columns)
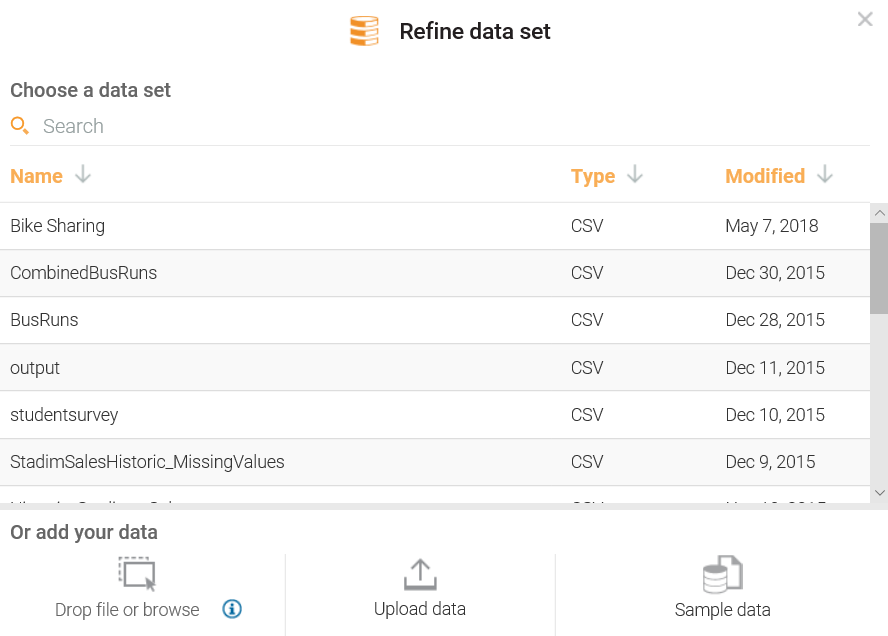
Getting started with Refine is easy; once you click on Refine, a familiarly-formatted Refine data set dialog is presented (shown in the following screenshot), where you can select an existing dataset, add a new dataset, or take advantage of Watson's sample data:
After selecting (or uploading) a dataset, the data is displayed in the Refine page (shown in the following screenshot), where you can explore your data's metrics and perform the appropriate refinements based upon your requirements:
Now that we've done the high-level, quick review of most of the fundamental features of the IBM Watson interface, and before we jump into our first IBM Watson project, let's move on to the final section of this chapter, where we will walk through the steps required to add some new data to IBM Watson as well as do some exploring and refining of that data.
Add – some data
You can add new data to IBM Watson easily. There is no need for extensive Extract Transform Load (ETL) scripting. The data can be contained in a cloud-based or on-premises database or simply uploaded to IBM Watson as a simple text file.
You can also blend data you may have from multiple sources, view the quality of your data, and shape your data before you import it into IBM Watson Analytics.
The following steps can be followed to add data to Watson.
It goes without saying that the initial step is determine the source of the data that you want to use. We'll focus a lot more on this task in later chapters of this book, but for now, let's assume we have isolated a text file containing data we want to use in an IBM Watson project. So the steps are:
- From the IBM Watson main page, click on Add, where you will have the option to Create something new or add your data:
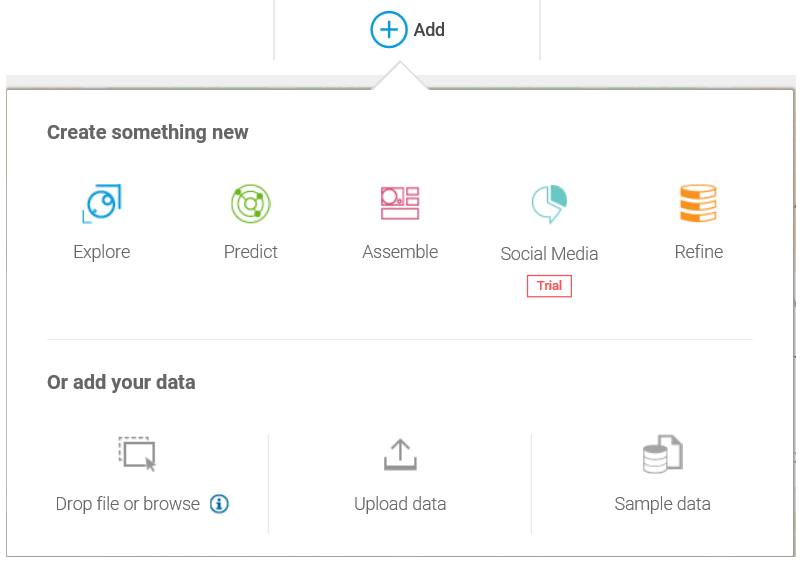
- Once again, a similarly formatted decision dialog allows you to Create something new and Or add your data.
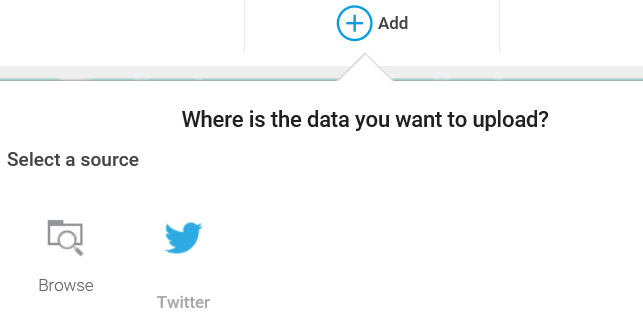
- In this example, we'll click on Upload data. Watson will then display the following Where is the data you want to upload? dialog, where you can click on Browse (you'll notice that Twitter is also offered as a data source, but for now we can ignore that option):
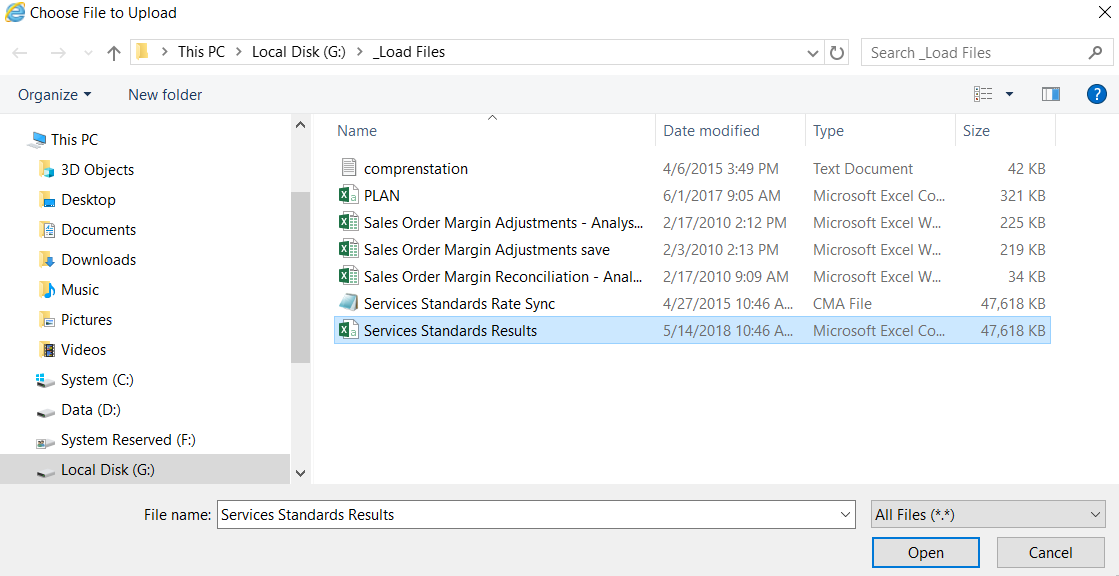
- After selecting Browse, you can navigate using a common file search dialog to the location of the data file that you want to upload to Watson. In the following screenshot, we have found our file named Services Standards Results.csv and clicked on it to select it:
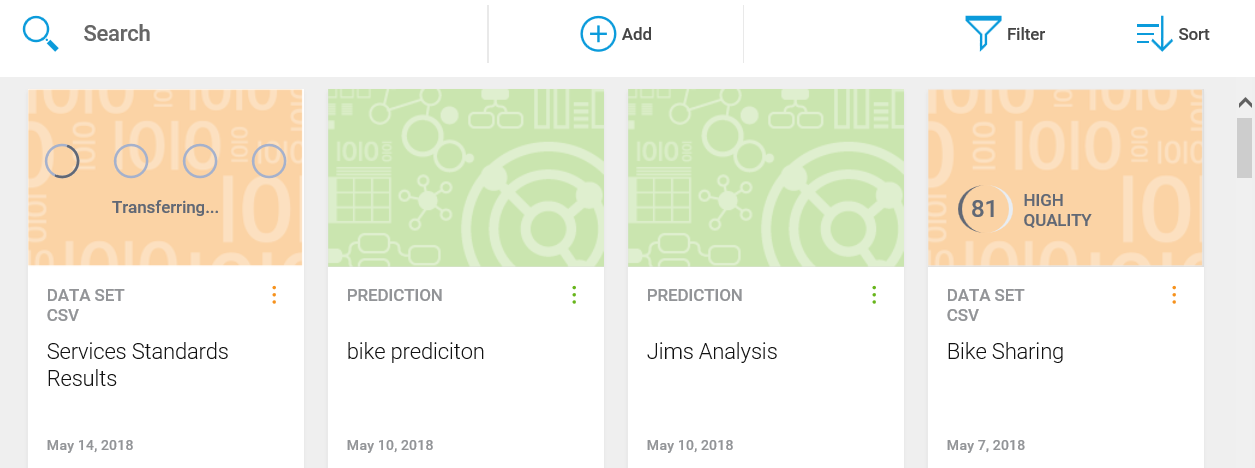
- Once you select your file and click the button labeled Open, Watson will create an informational tile for your data file and begin transferring... the data:
So, as you see, even without a programming or scripting expert's help, you can add data to your IBM Watson space, since Watson practically does that work for you!
Refine
One of the more important IBM Watson tasks is Refine (which we mentioned earlier in this chapter). Here will walk through the basics, using some Watson sample data:
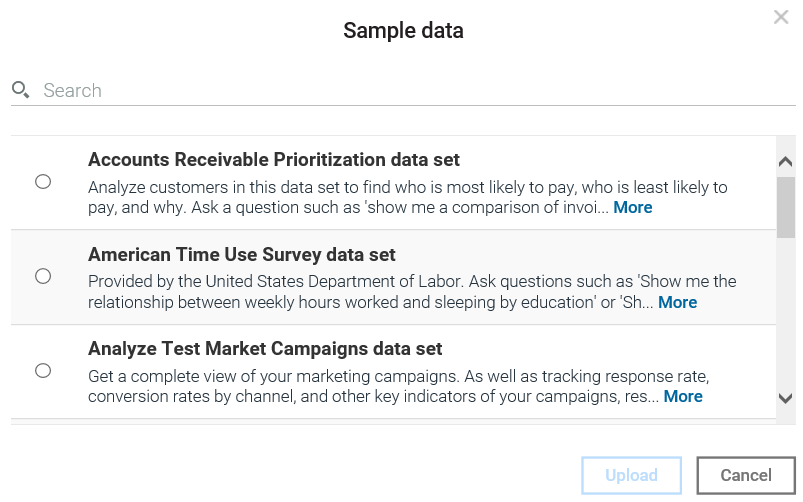
- From the Quick-start bar, click on Refine. From the Refine data set dialog, you then can scroll down and select Sample data; at this point you will see the Sample data dialog, which is displayed as follows:
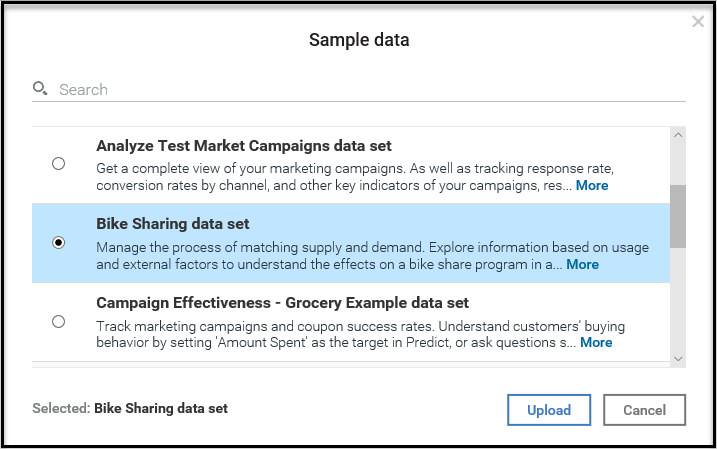
- IBM Watson provides a nice list of sample data, each worth spending a bit of your time exploring and experimenting with. For now, let's pick Bike Sharing data set and then click on Upload:
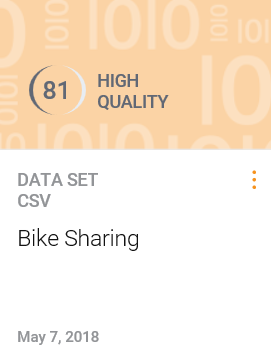
To access the sample data it needs to be uploaded. Once uploaded it will appear as an informational tile (shown as follows) that can be selected and used:
- Now that we have our data loaded and available, you can select it from the Refine data set list, which automatically loads it into the Refine page (which looks a lot like an Excel worksheet):

There are many tasks you can perform using Refine, such as:
- General housekeeping: Such as renaming columns, changing data types, or creating a subset of the data by filtering out irrelevant records
- Summarization: By altering the default aggregations
- Enrichment: By adding calculated fields, hierarchies and groups
- Review the metrics of the data, such as a quality score by data field or column
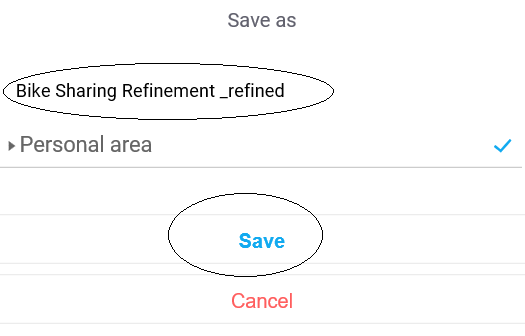
For now, let's assume we've made some of the previously-mentioned refinements to our data and want to save it as a new file. To do that, you simply click on the SAVE icon (looks such as a tiny diskette in the upper left of the page), enter an appropriate name for the new file, and click Save (on the Save as popup shown as follows):
If you are working in a multi-user environment, your new (refined) dataset is saved by default in your personal folder. To share your refined dataset with others, move it to a shared folder.