
Now that we've got our Docker file built and readable, we're going to run a REST service inside of our container. In this section, we will take a look at running Docker and the correct command-line arguments, the exposed URL from our REST service, and then finally we'll be verifying that Keras is fully installed and operational.
And now for the payoff: we're actually going to run our container using the docker run command. There's a couple of switches we're going to pass here. -p is going to tell us that port 8888 on the container is port 8888 on our PC, and the -v command (and we're actually going to mount our local work directory, which is where we cloned the source code from GitHub) will be mounted into the volume on the container:
C:\11519>docker run -p 8888:8888 -v C:/11519/:/src keras
Press Enter, and suddenly you'll be presented with a token that we're going to actually going to use to test logging in to the IPython container with our web browser:

Now, if you have a GPU on a Linux-based machine, there is a separate Docker file in the gpu folder that you can build a Docker container with in order to get accelerated GPU support. So, as you can see here, we're just building that Docker container and calling it keras-gpu:
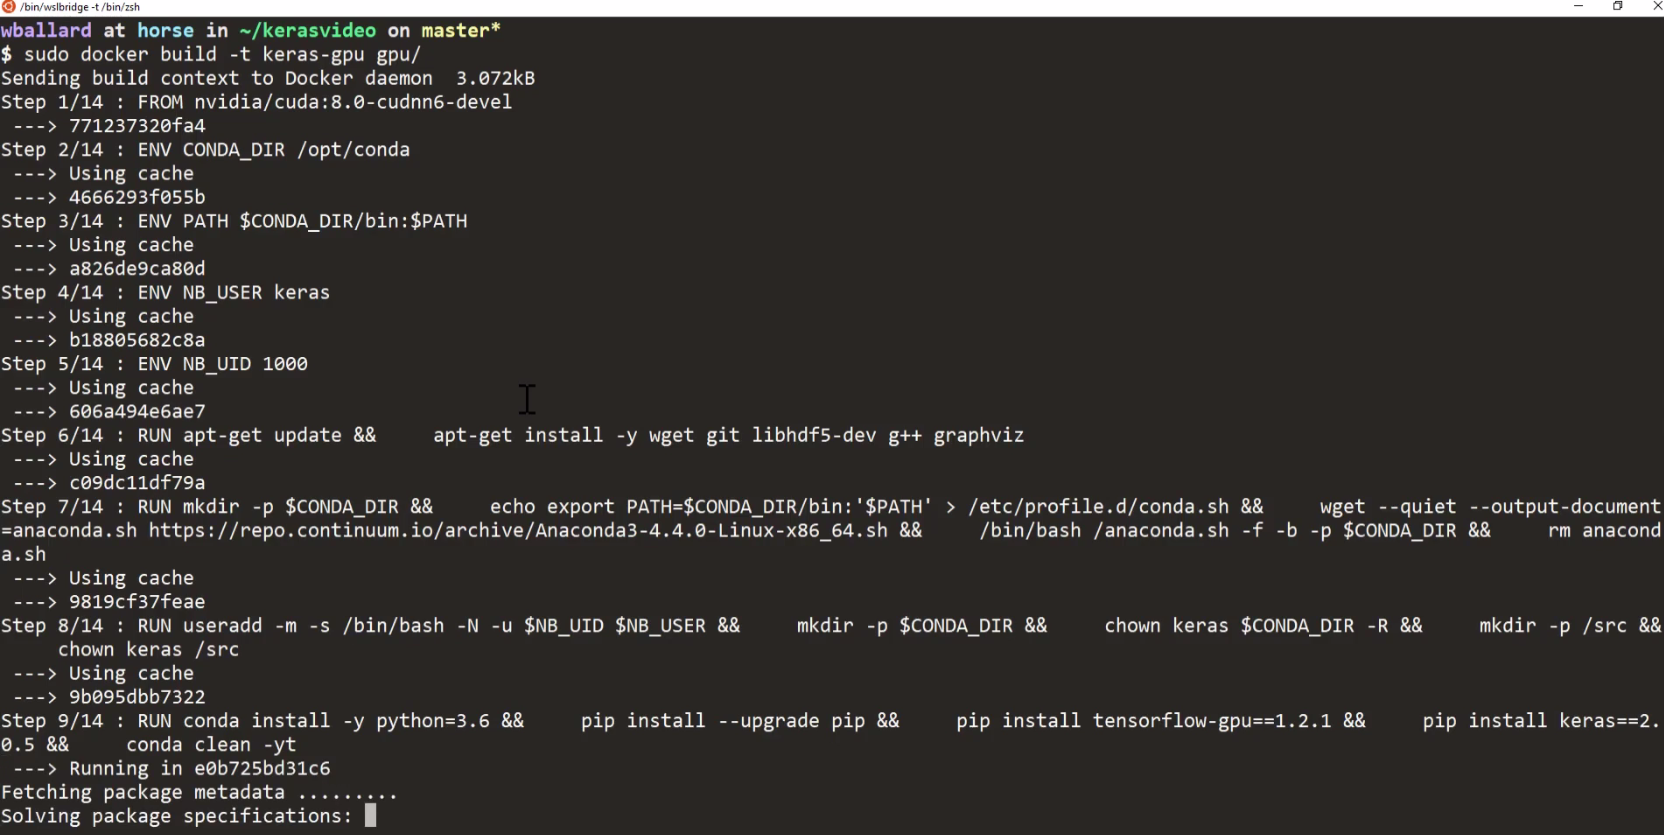
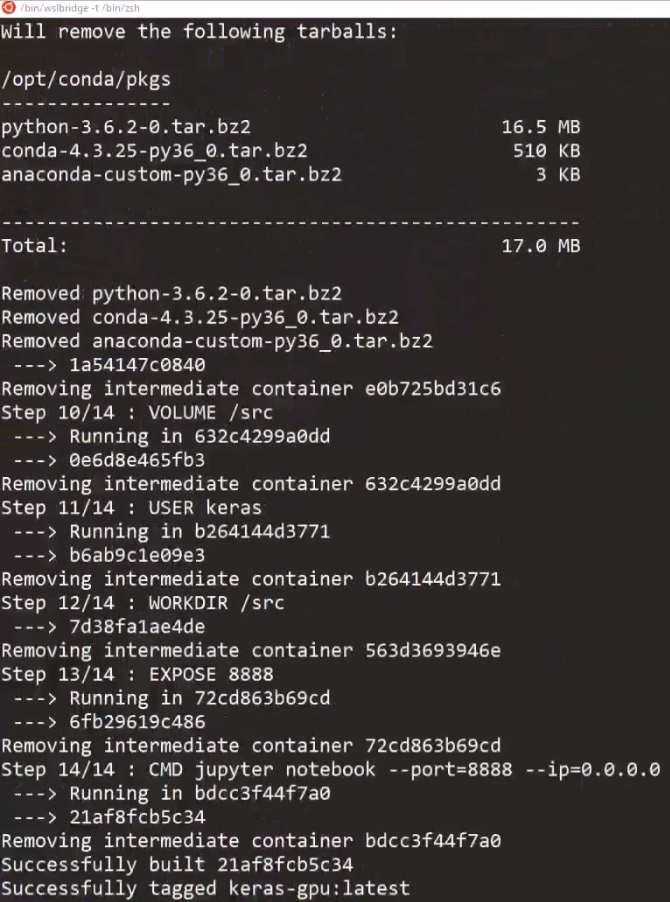
It takes a little while to build the container. There's really nothing important to notice in the output; you just need to make sure that the container was actually built successfully at the end:
Now, with the container built, we're going to go ahead and run it. We're going to run it with nvidia-docker, which exposes the GPU device through to your Docker container:
sudo nvidia-docker run -p 8888:8888 -v ~/kerasvideo/:/src keras-gpu
Otherwise, the command-line switches are the same as we did for actually running the straight Keras container, except they're going to be nvidia-docker and keras-gpu. Now, once the container is up and running, you'll get a URL, and then you'll take this URL and paste it into your browser to access the IPython Notebook being served by the container:

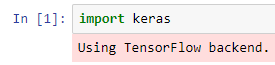
Now, we'll go ahead and make a new IPython Notebook really quick. When it launches, we'll import keras, make sure it loads, and that takes a second in order to come up:
Then, we'll use the following code that uses TensorFlow in order to detect GPU support:
from tensorflow.python.client import device_lib
print(device_lib.list_local_devices())
So, we'll be running the preceding bit of code in order to see the libraries and devices:
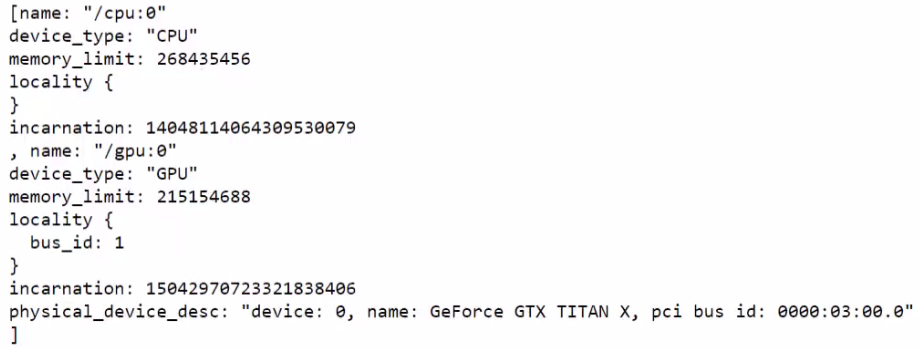
Now, we can see that we have GPU.
Flipping over to our web browser, go ahead and paste that URL and go:
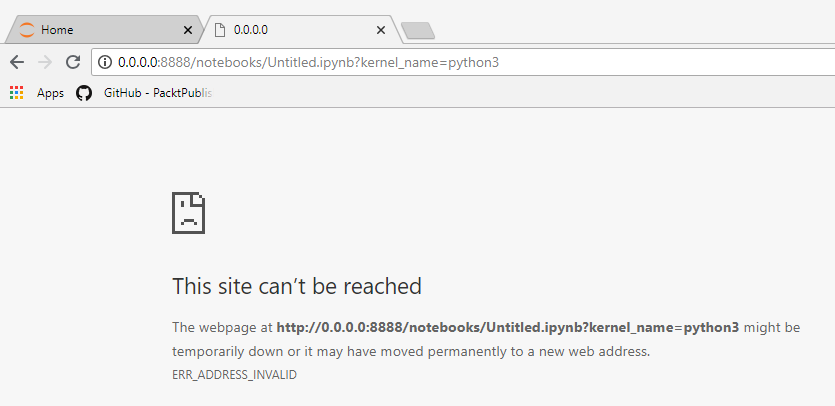
Oops! It can't be reached because 0.0.0.0 is not a real computer; we'll switch that to localhost, hit Enter, and sure enough we have an IPython Notebook:
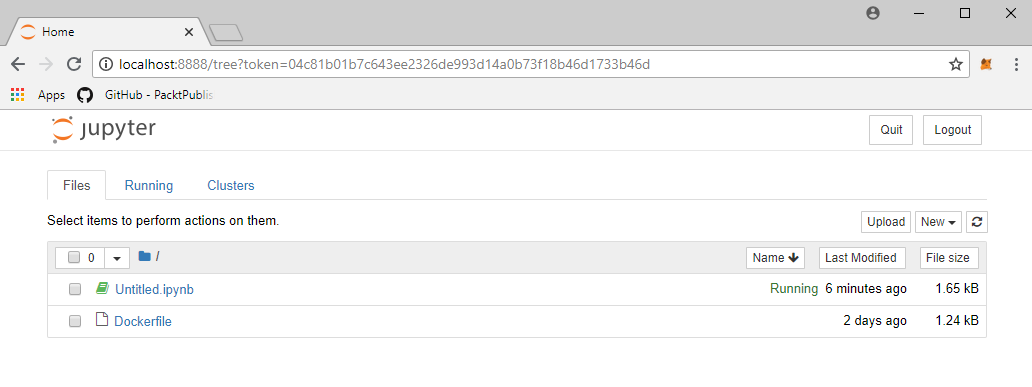
We'll go ahead and create a new Python 3 Notebook, and give it a quick test by seeing if we can import the keras library and make sure everything's okay.
Looks like we're all set. Our TensorFlow backend is good to go!
This is the environment that we'll be running throughout this book: a Docker container fully prepared and ready to go so that all you need to do is start it, run it, and then work with the Keras and IPython Notebooks that are hosted inside so that you can have an easy, repeatable environment every time.