
The purpose of this is to get you comfortable with compiling and running a recipe using the Spark 2.0 development environment you just set up. We will explore the components and steps in later chapters.
We are going to write our own version of the Spark 2.0.0 program and examine the output so we can understand how it works. To emphasize, this short recipe is only a simple RDD program with Scala sugar syntax to make sure you have set up your environment correctly before starting to work more complicated recipes.
- Start a new project in IntelliJ or in an IDE of your choice. Make sure that the necessary JAR files are included.
- Download the sample code for the book, find the
myFirstSpark20.scalafile, and place the code in the following directory.
We installed Spark 2.0 in the C:\spark-2.0.0-bin-hadoop2.7\ directory on a Windows machine.
- Place the
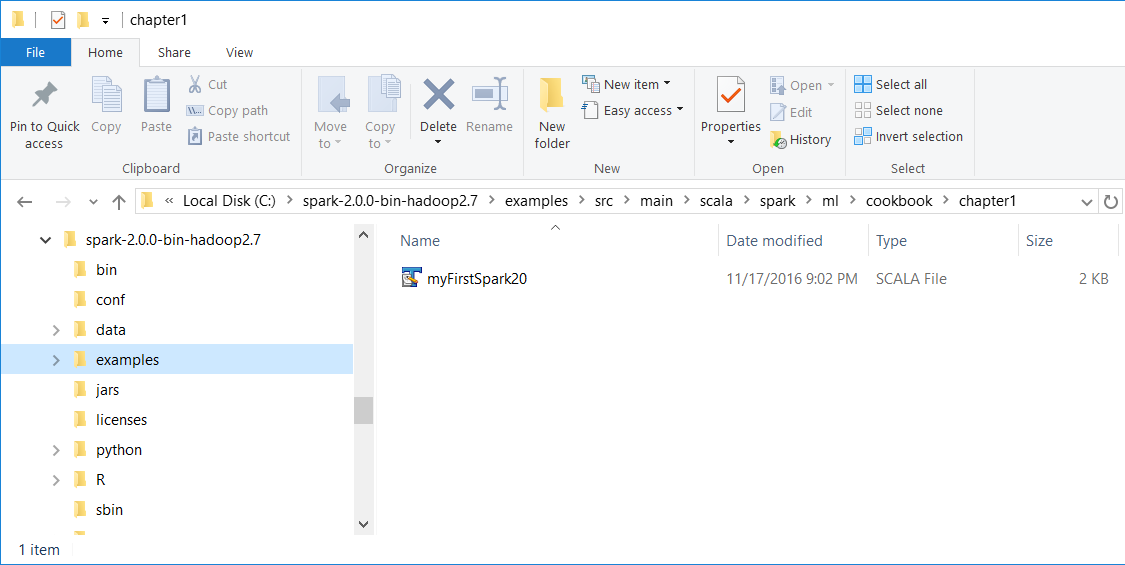
myFirstSpark20.scalafile in theC:\spark-2.0.0-bin-hadoop2.7\examples\src\main\scala\spark\ml\cookbook\chapter1directory:
Mac users note that we installed Spark 2.0 in the /Users/USERNAME/spark/spark-2.0.0-bin-hadoop2.7/ directory on a Mac machine.
Place the myFirstSpark20.scala file in the /Users/USERNAME/spark/spark-2.0.0-bin-hadoop2.7/examples/src/main/scala/spark/ml/cookbook/chapter1 directory.
- Set up the package location where the program will reside:
package spark.ml.cookbook.chapter1
- Import the necessary packages for the Spark session to gain access to the cluster and
log4j.Loggerto reduce the amount of output produced by Spark:
import org.apache.spark.sql.SparkSession
import org.apache.log4j.Logger
import org.apache.log4j.Level
- Set output level to
ERRORto reduce Spark's logging output:
Logger.getLogger("org").setLevel(Level.ERROR) - Initialize a Spark session by specifying configurations with the builder pattern, thus making an entry point available for the Spark cluster:
val spark = SparkSession
.builder
.master("local[*]")
 .appName("myFirstSpark20")
.config("spark.sql.warehouse.dir", ".")
.getOrCreate()
The myFirstSpark20 object will run in local mode. The previous code block is a typical way to start creating a SparkSession object.
- We then create two array variables:
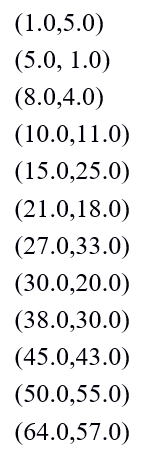
val x = Array(1.0,5.0,8.0,10.0,15.0,21.0,27.0,30.0,38.0,45.0,50.0,64.0)
val y = Array(5.0,1.0,4.0,11.0,25.0,18.0,33.0,20.0,30.0,43.0,55.0,57.0)
- We then let Spark create two RDDs based on the array created before:
val xRDD = spark.sparkContext.parallelize(x)
val yRDD = spark.sparkContext.parallelize(y)
- Next, we let Spark operate on the
RDD; thezip()function will create a newRDDfrom the two RDDs mentioned before:
val zipedRDD = xRDD.zip(yRDD)
zipedRDD.collect().foreach(println)
In the console output at runtime (more details on how to run the program in the IntelliJ IDE in the following steps), you will see this:
- Now, we sum up the value for
xRDDandyRDDand calculate the newzipedRDDsum value. We also calculate the item count forzipedRDD:
val xSum = zipedRDD.map(_._1).sum()
val ySum = zipedRDD.map(_._2).sum()
val xySum= zipedRDD.map(c => c._1 * c._2).sum()
val n= zipedRDD.count()
- We print out the value calculated previously in the console:
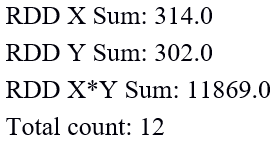
println("RDD X Sum: " +xSum)
println("RDD Y Sum: " +ySum)
println("RDD X*Y Sum: "+xySum)
println("Total count: "+n)
Here's the console output:
- We close the program by stopping the Spark session:
spark.stop()
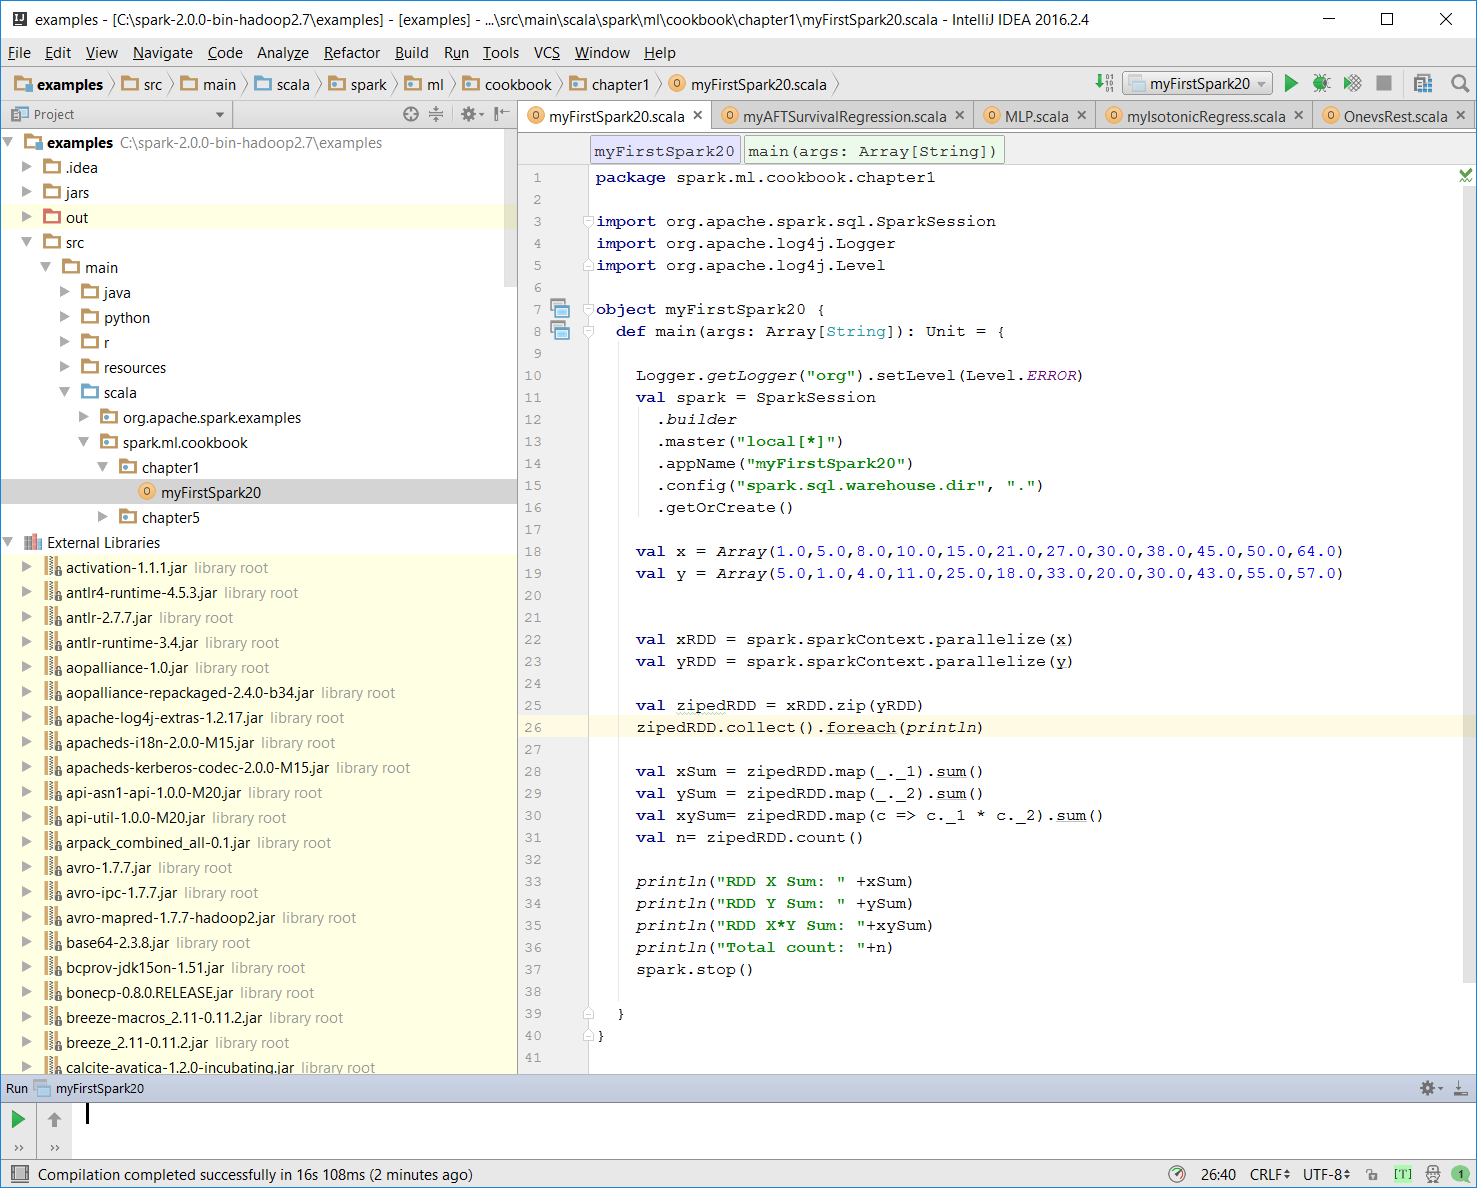
- Once the program is complete, the layout of
myFirstSpark20.scalain the IntelliJ project explorer will look like the following:
- Make sure there is no compiling error. You can test this by rebuilding the project:
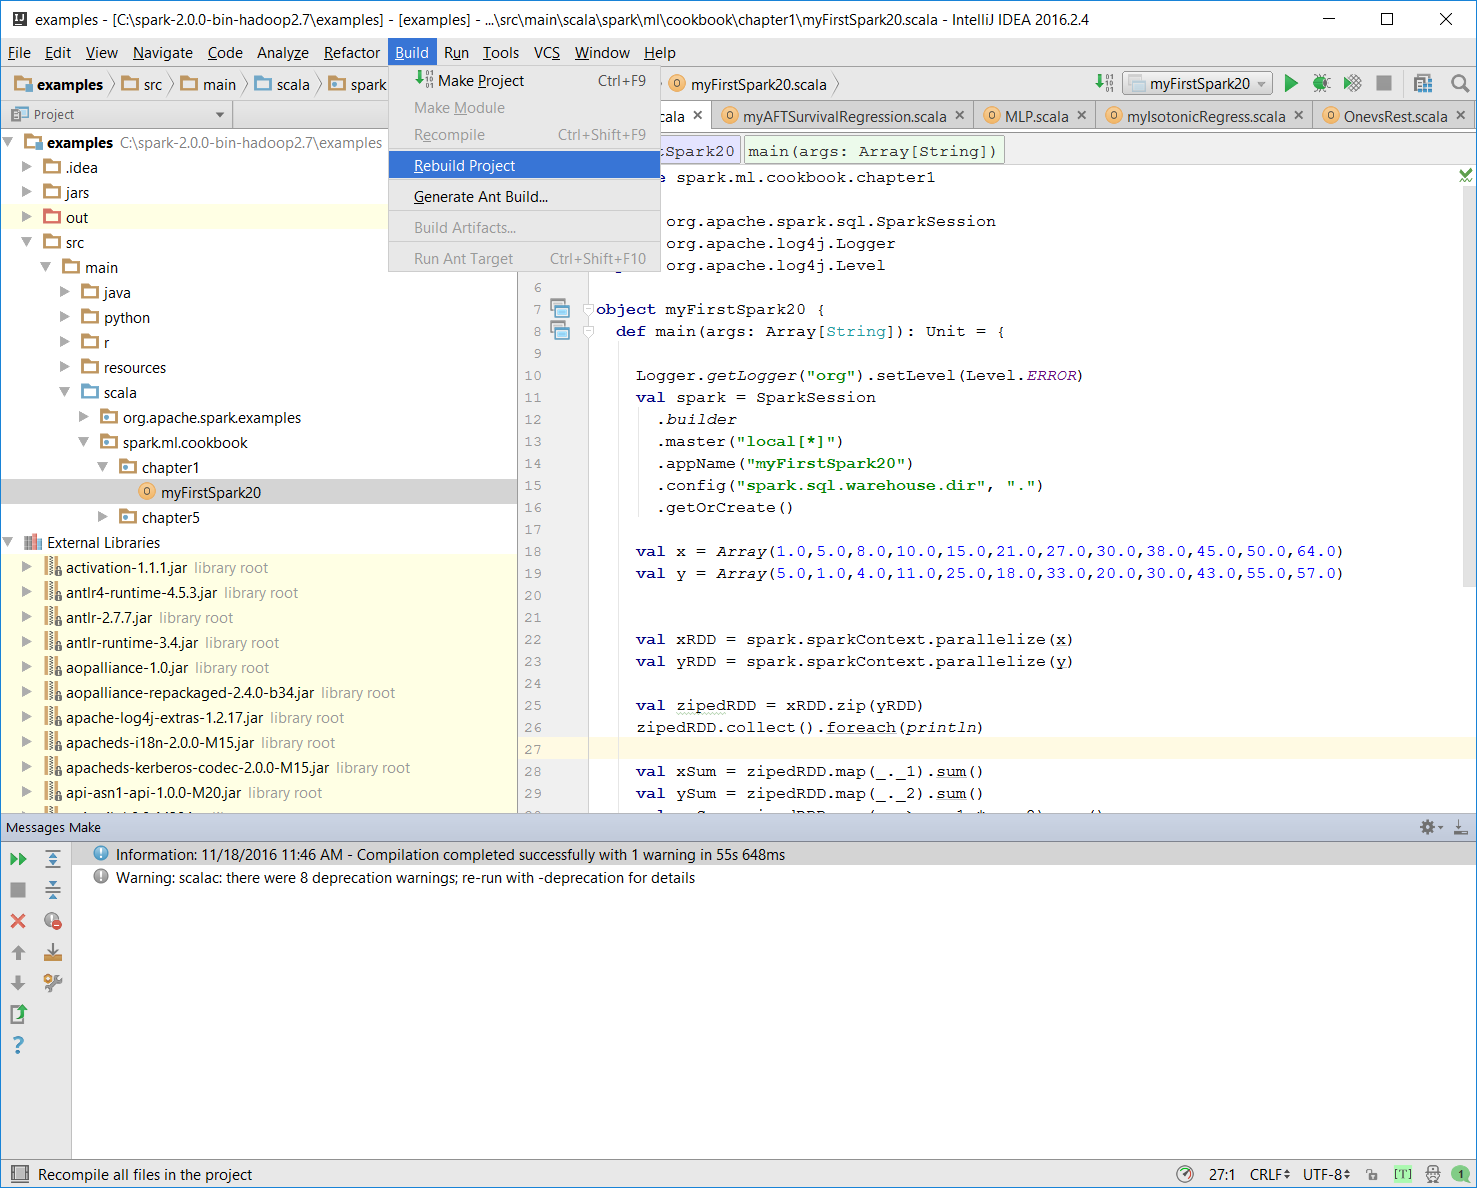
Once the rebuild is complete, there should be a build completed message on the console:
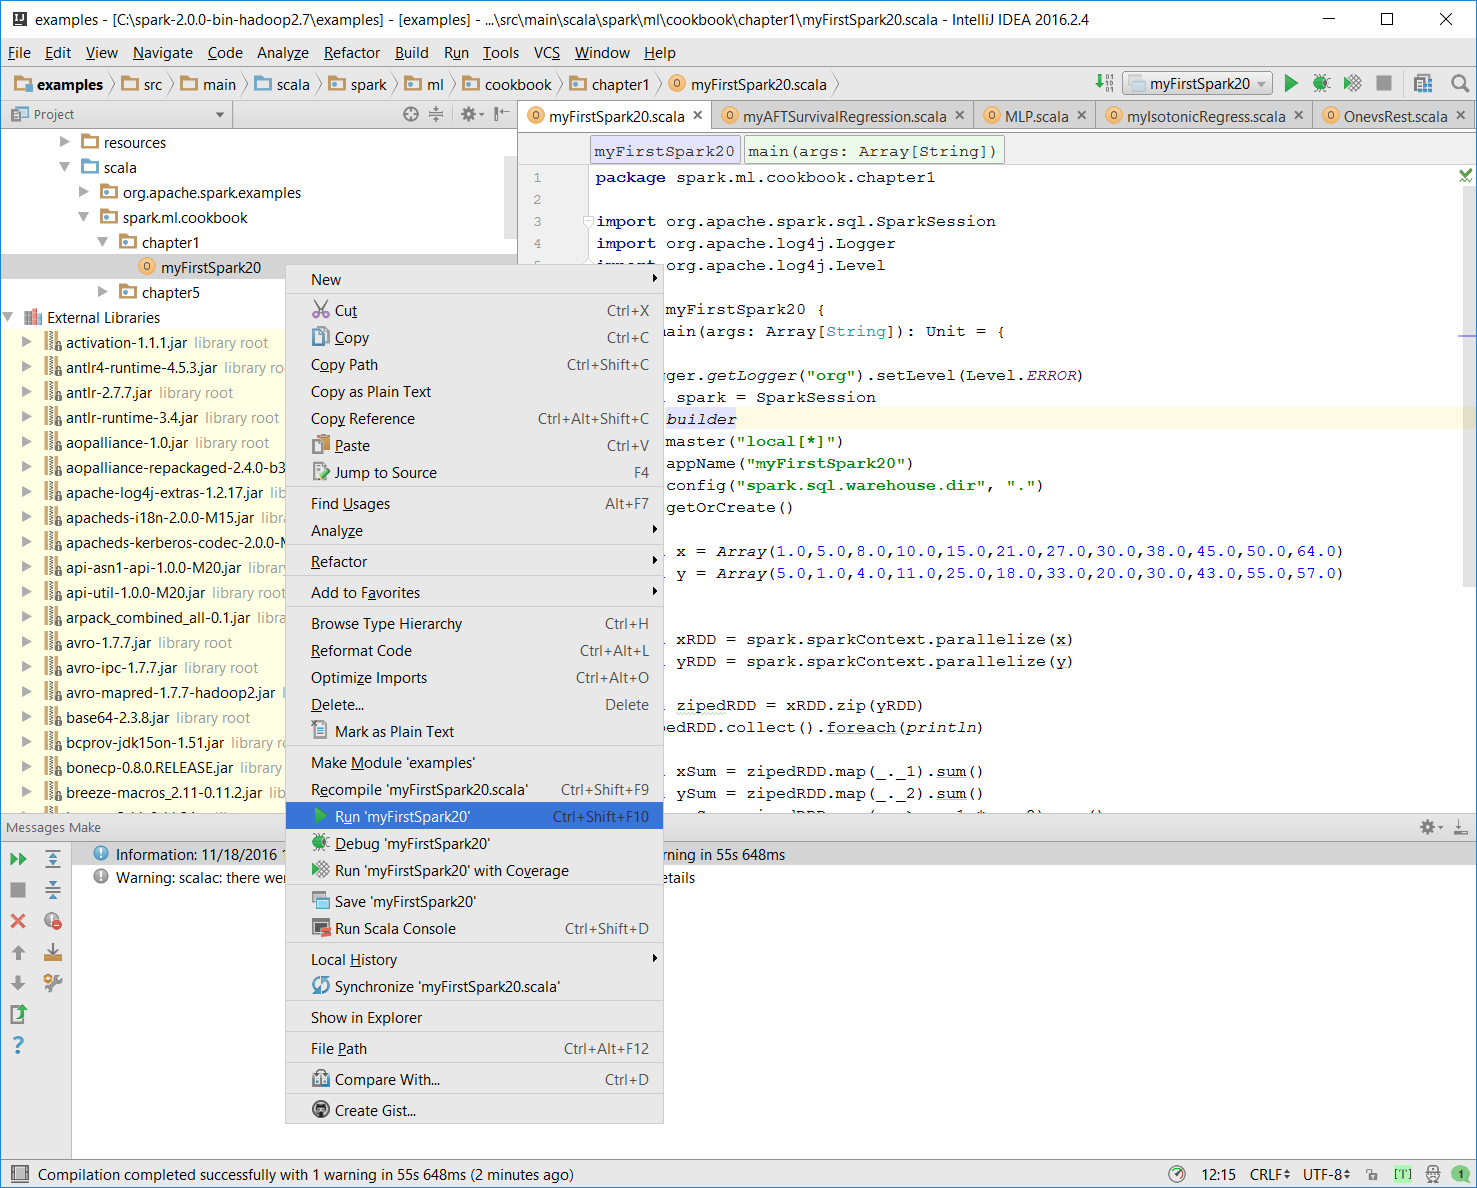
Information: November 18, 2016, 11:46 AM - Compilation completed successfully with 1 warning in 55s 648ms- You can run the previous program by right-clicking on
the myFirstSpark20object in the project explorer and selecting the context menu option (shown in the next screenshot) calledRun myFirstSpark20.
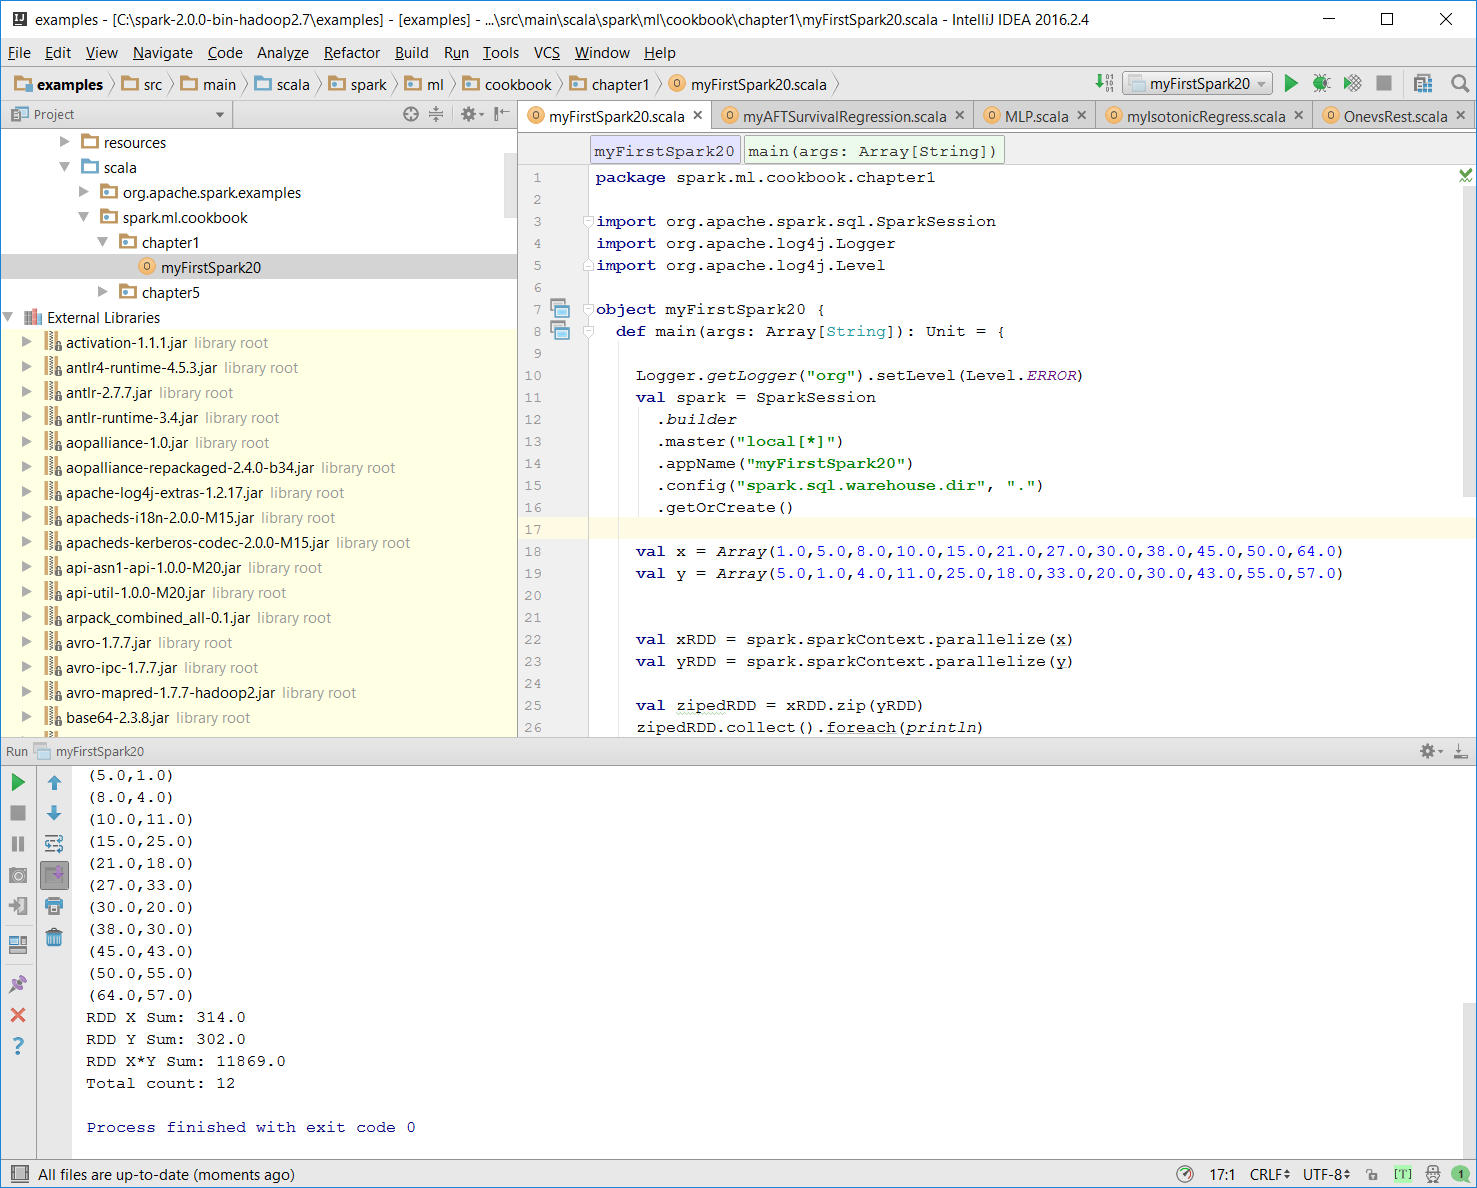
- Once the program is successfully executed, you will see the following message:
Process finished with exit code 0This is also shown in the following screenshot:
- Mac users with IntelliJ will be able to perform this action using the same context menu.
In this example, we wrote our first Scala program, myFirstSpark20.scala, and displayed the steps to execute the program in IntelliJ. We placed the code in the path described in the steps for both Windows and Mac.
In the myFirstSpark20 code, we saw a typical way to create a SparkSession object and how to configure it to run in local mode using the master() function. We created two RDDs out of the array objects and used a simple zip() function to create a new RDD.
We also did a simple sum calculation on the RDDs that were created and then displayed the result in the console. Finally, we exited and released the resource by calling spark.stop().
can be downloaded from http://spark.apache.org/downloads.html.
Documentation for Spark 2.0 related to RDD can be found at http://spark.apache.org/docs/latest/programming-guide.html#rdd-operations.
- More information about JetBrain IntelliJ can be found at https://www.jetbrains.com/idea/.