Once you open the project, the main user interface screen is displayed:
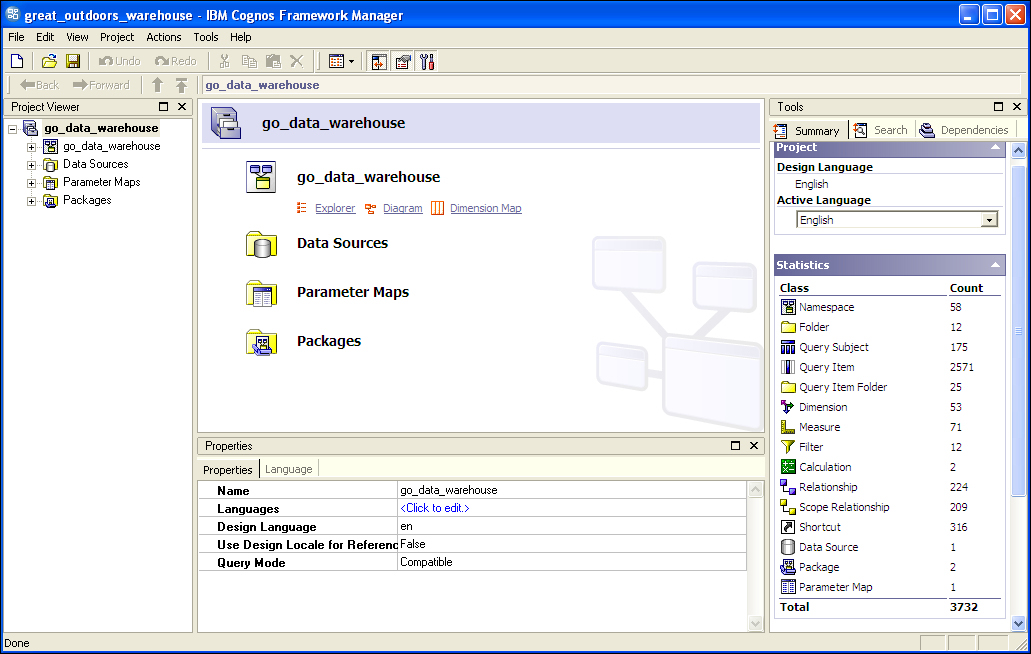
This is the project's work area, which shows an overview of the whole project. This page contains several additional panes that you can use to view and modify the objects in a project.
The main Project pane cannot be hidden or moved. The Project Viewer, Tools, and Properties panes can be hidden or detached and moved around the work area. If you hide a tool panel, it can be restored by using the View menu.
The Project Viewer pane shows the project in a hierarchical view. You can use the Project Viewer pane to view, modify, and create objects.
The Project Viewer pane uses various icons to represent different types of objects; these icons are described in more detail in the IBM Cognos documentation.
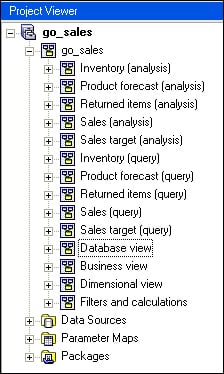
Within this pane, the main objects are grouped in the project model. The Project Viewer pane starts with the project at the top level; additional levels within the project may be expanded by clicking on the + sign beside each level.
Within the Project Viewer panel, you can find the following areas:
Data Sources: These define the connection to external databases; a project can have one or more data sources defined
Parameter Maps: These are similar to lookup tables and are discussed in more detail in Chapter 10, Parameter Maps
Packages: These are the metadata definitions used by your report authors; they are discussed further in Chapter 7, Creating and Publishing Packages
The Explorer tab shows the contents of a project, similar to any filesystem. If you have a large number of objects in a project, it may be easier to locate them in the Explorer tab.
To go to the Explorer tab, click on the Explorer label in the central project work area.
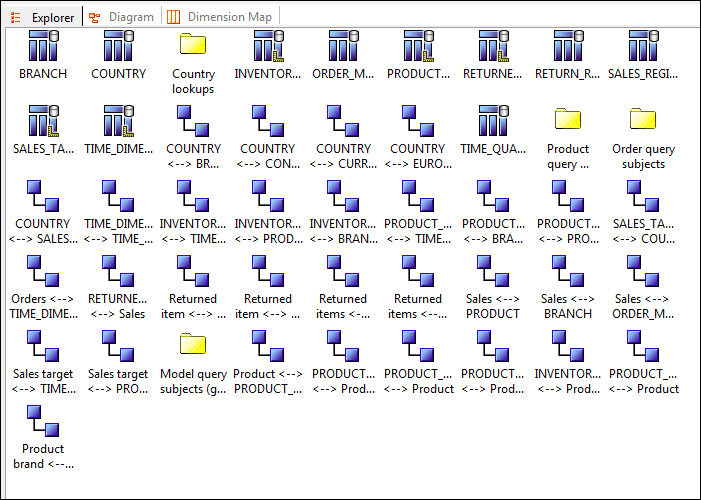
You can use the Explorer tab to view, create, and modify objects and relationships. You can also create folders and namespaces to group objects.
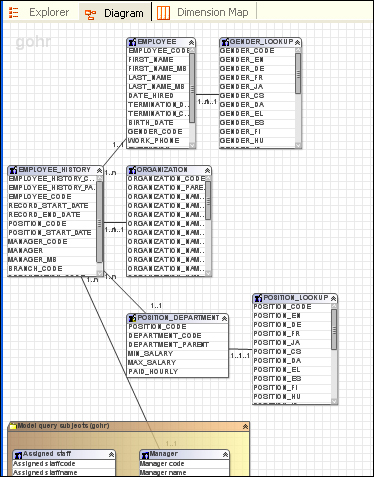
The Diagram tab shows the relationships between objects in a project.
To go to the Diagram tab, click on the Diagram label in the central project work area.
'
Relationships between the objects are shown with lines with cardinality notation. You can expand objects and namespaces to show the object hierarchy and the relationship between objects. In the Diagram tab, you can perform any of the following tasks:
View, create, and modify objects and relationships.
Create folders and namespaces to group objects.
Change the settings for the diagrams.
Change the layout of objects to either star layout or standard layout by navigating to Diagram | Auto Layout.
Focus on an object by navigating to Diagram | Set Focal Point.
Find an object by right-clicking on the object in Project Viewer, and clicking on Locate in Diagram.
Zoom in or out by clicking on Zoom in Diagram.
Expand or collapse all objects from the Diagram menu.
Save the diagram for printing by navigating to Diagram | Screen capture, and specifying the name of the picture.
Launch the Context Explorer by right-clicking on an object in the Diagram tab, and clicking on Launch Context Explorer.
Print the diagram in the Context Explorer by right-clicking on the Context Explorer background, and then clicking on Print. A Print button is also available from the Context Explorer toolbar. This menu also includes commands for previewing the diagram using Print Preview and changing page layout options using Page Setup.
The Dimension Map tab can be used to view, create, and modify hierarchies and levels for any dimension you have selected in Project Viewer. You can also view and modify the scope relationships.
To open the Dimension Map tab, click on the Dimension label in the central project work area:
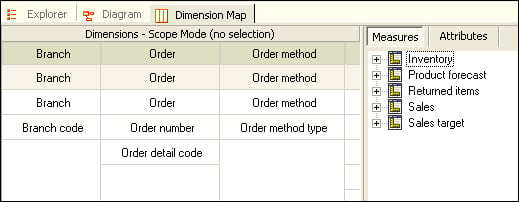
The Measures and Attributes tabs will be displayed after you click on the Dimension Map tab. The Measures tab can be used to view or modify all the measures and scope relationships that are available in the model. The Attributes tab can be used to view or modify the role of the selected query item.
The Properties pane shows the properties of the object, or objects that you last selected in the other panes of the tabs within the panes.
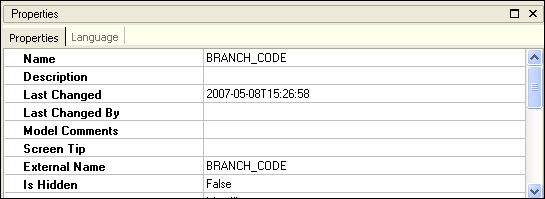
Default properties are set during import of your metadata, and some property values can later be modified during modeling. You can use the Properties pane to add, modify, or delete the properties of selected objects.
You can modify the properties for a single object or multiple objects at the same time.
Framework Manager shows only the properties that are common to all the selected objects. You can apply a property value to multiple objects by clicking on the arrow to the right of the property and dragging the highlighted area over the properties to which you want to apply that value.

The Tools pane contains the Summary tab, the Search tab, and the Dependencies tab.
The Tools pane contains the Summary tab, the Search tab, and the Dependencies tab. The following screenshot show the Tools pane:
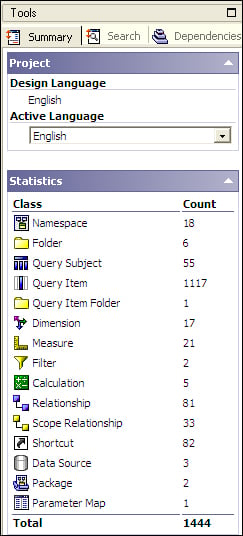
The Summary tab is divided into three sections. At the top, the Project section shows the design language and the active language. The design language is chosen at the start of a new project and cannot be changed; the active language may be changed by selecting a new language from the drop-down list.
The second section is the Statistics section. You can select any object from the Project Viewer to see various statistics about the chosen item. By default, if you do not select an item from the Project Viewer, the statistics are shown for the whole project.
The final section in the Summary tab shows actions that are available for the selected object.
When you have a large project open, it can sometimes be difficult to locate the items that you need. You can use the Search tab to quickly find any objects within your open model.
Enter the text you want to search for into the search box and click on the Search button.
Note
The search is not case sensitive; you can use * and ? as wildcard characters to match multiple and single characters respectively.
Use the double down arrow button to expand the search to include things such as the following:
Condition: For example, contains, does not contain, equals, not equal, and so on
Scope: Where to start searching from
Class: The type of item to search for, such as calculations, folders, and query items
Property: The property to search for, such as data type, object name, and usage
By default the search uses the following criteria:
Condition: Contains
Scope: The currently selected item (if nothing is selected, the whole project is selected)
Class: All classes
Property: All properties
The Dependencies tab shows all the objects that are dependent on the selected item. To use the Dependencies tab, select any item from the Project Viewer pane, and drag-and-drop it to the upper pane of the Dependencies tab; all the dependent objects will be displayed in the lower pane of the Dependencies tab.


