

After the Project Management application has been successfully installed, we can go to the Project application and create a new project.
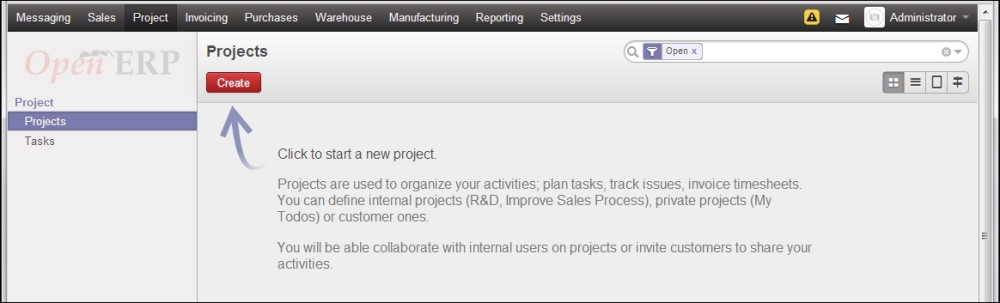
Under the Project application, select Projects in the menu on the left and then click on the Create button.
After you click on Create, the project editor will allow you to enter various details about your new project. For our example, we will start out defining the name of the project, Sunny Hill Lil League, and assign the project to a customer we have created, Sunny Hill Sports.
Assigning a customer is optional, but in this example we are identifying the customer as the primary league contact.

You will notice that the project is set to In Progress in the top-right corner. You will also notice that you can assign someone as the project manager as well, though this is not required.
If the Tasks checkbox is selected, you will see the Project Stages tab in the form. Different projects can naturally have different project stages that...