
SharePoint My Sites give your users the chance to have their very own part of SharePoint that they can use to store documents, to update their own personal profile and description, to make notes and blog entries and also to connect with other people within the organization. In a socially connected workplace, My Sites are great tools to allow the users to post and capture knowledge.
If you do not have My Sites configured, then the first step is to create a My Sites site within SharePoint and link it to your Role Centers so that the users will then be able to access their personal profile and content.
Before you start on this example, you will need to make sure that you have access to the SharePoint Central Administration console. To check this:
Access your server that has SharePoint installed on it.
From the program menu, you should be able to find the SharePoint Central Administration Console in the Microsoft SharePoint Products group.
When you open the application, you should see a screen similar to this:

To create and link your own My Sites site, follow these steps:
From your SharePoint Central Administration console, navigate to the Application Management group.
Select the Create Site Collection from the Site Collections group.
Name your application
My Sites.Set the website address to be in the
my/personalfolder, and name the subfolderMy Sites.From the Enterprise tab on the Template selection choose My Site Host.
Don’t forget to assign the Primary and Secondary administrators to the site that you are creating:

From the Application Management option in Central Administration, select the site that we added the My Sites host site to.
Click on the Define button in the ribbon bar, and then select the Managed Paths option:

Here we will add our new My Site link. You don’t need to type in the full URL, so you can skip the host prefix.
Also, you may just want to check the Self-Service Site Creation option, to make sure that the feature is turned On:

Finally, we need to configure the User Profile Service application.
When you select the application, you will be able to see all of the My Site and user profile configuration options. From here you need to choose the Setup My Site menu option.
We just need to configure the site parameters, the administrator users, and so on.

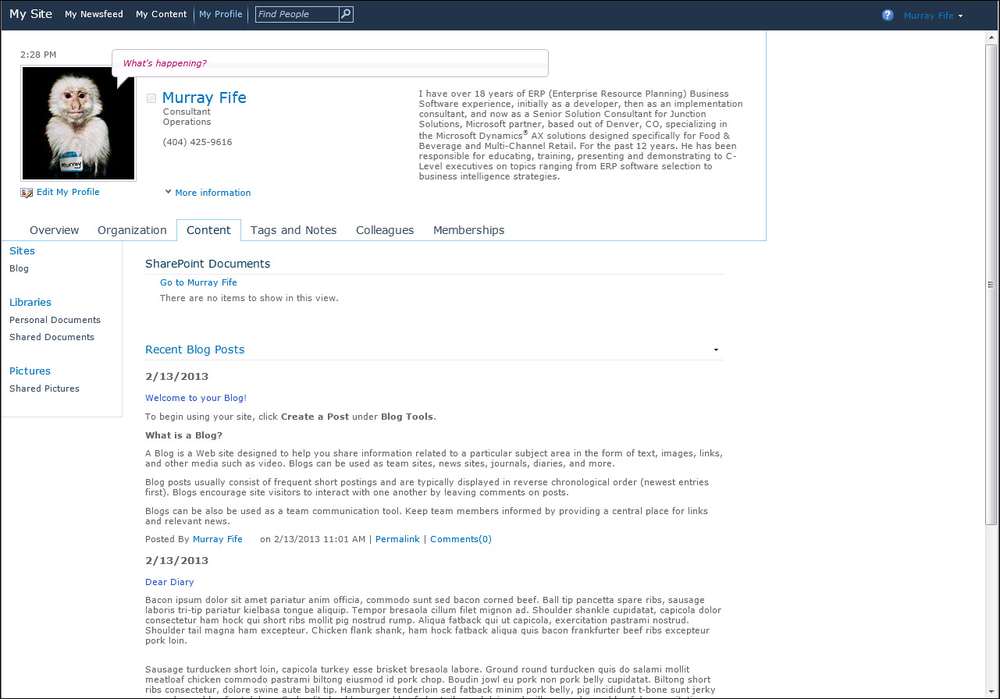
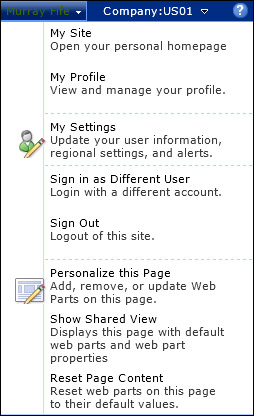
Once you have My Sites configured, you will see a My Site option when you select the drop-down menu under the user name within SharePoint, as follows:
Opening up your My Site will take you to your personal site within SharePoint. Initially it will be a little dull, but since you will be the administrator of this little slice of SharePoint, you can add information and pictures to your profile, create your own blogs, and browse through the organization to see other’s My Sites to see what they are up to. You also have your own personal documents area that you are able to save files to, that you can then share with other users in the organization.