
This section will show you how to select basic printing options for a document, specify pages to print, and set properties for a document prior to printing. There are numerous methods to achieve the same result in Word 2019. We will concentrate on the most productive methods when dealing with page setup.
Setting the printing options
Changing the page margins
- Click on the Layout tab.
- Click on the Margins icon located under the Page Setup group.
- Select a format from the available predefined options (the default is the Normal setting):
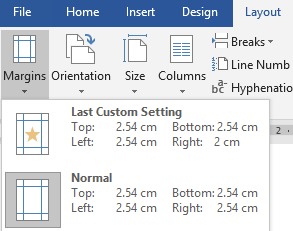
- Click on Custom Margins... at the bottom of the list to control the adjustment of the margins.
- Adjust the margins by typing a value into the placeholder or using the spin arrows to move up and down to increase or decrease the margins in centimeters.
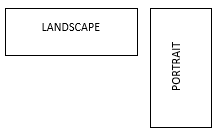
Changing the page orientation
There are two types of page orientation—Landscape and Portrait. When you create a new document, the page orientation is set to Portrait by default. The Landscape option is often used to accommodate large tables in Word documents or Excel reports with numerous columns:
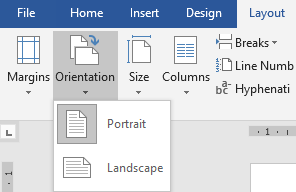
To change the orientation, follow these steps:
- Click on the Layout tab in Word 2019, or the Page Layout tab if using Excel 2019.
- Choose Orientation, then select the desired layout—either Portrait or Landscape:
Changing the paper size
It is a good idea to check the paper size and make adjustments before creating or printing a document. Not doing so could lead to a number of formatting complications or problems when printing the document on the desired printer. Most printers use an A4 (210mm x 297mm) paper size and not Letter, as we will cover shortly. If your document does not print properly, always check this option first!
To change the paper size, follow these steps:
- Click on the Layout tab. From the Page Setup group, click on the drop-down arrow below the Size text:
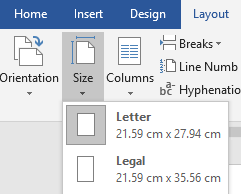
- Choose the desired paper size from the list provided. In this case, we will choose an A4-sized paper. If you do not see your desired paper size in the list, choose More Paper Sizes… from the bottom of the list to access the Page Setup dialog box.
Changing the print options
Before printing a document, you should check the Print Layout view to see whether the page layout, margins, and document content looks professional:
- Click on the File tab to access the Backstage view, then select Print from the options provided:
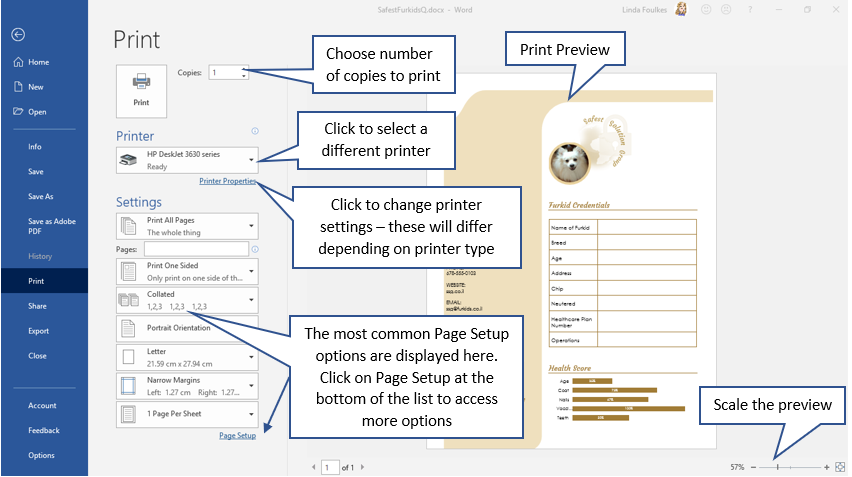
- The settings on the Print backstage are the same in all of the Office applications, with only a few changes depending on whether you are printing a document, presentation, workbook, or worksheet. These are explained in the chapters dedicated to each topic throughout this book.
Setting the collate and page options
Collating is the sequence that you want multiple copies of a document to be printed in. For instance, if a document consists of six pages and you would like two copies of the document, you may wish to print page 1 of the document six times, then page 2, and so on. Alternatively, you may want to print pages 1 through 6 and then 1 through 6 again:
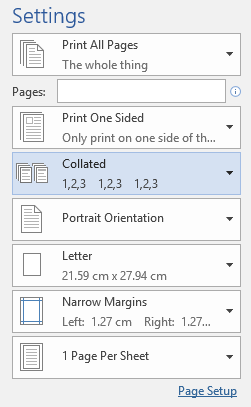
Go to the Settings option to instruct the document to print on both sides of the paper. This option can be accessed by selecting the drop-down arrow next to the Print One Sided heading. Select Manually Print on Both Sides from the list provided. You can also set options through the specific printer that you choose by going to the printer's options or by using the Print settings list, which can be accessed by going to File | Print within Word 2019.
Depending on the type of printer that is connected, the options will differ slightly, such as offering you the choice of printing automatically on both sides of the paper or even using different terminology for this feature, such as duplex printing.
Printing background colors and images
You can apply themes or include images to the background of your Microsoft Word documents. When printing documents with themes and images, you might notice that the background color or image doesn't print with the other document content. To fix this, follow these steps:
- Go to File | Options.
- From the Options dialog box, click on the Display heading.
- Locate the Printing options heading and select Print background colors and images:
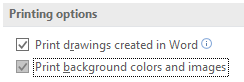
- Click on OK to save the changes.
Setting pages to print
Often, you will need to fit more than one page from a document onto a landscape or portrait page. This option is great for booklet-, manual-, or brochure-type layouts. To select the number of pages to be included per sheet, go to the Settings section located at the bottom of the Print Settings list:
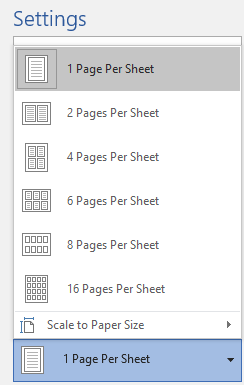
Note that if you are using PowerPoint or Excel, the options will be slightly different.
Inserting page breaks
At times, headings (or the first line of a paragraph) end up at the end of a page. These headings or paragraphs might need to be forced to the top of the next page. If you need to leave space for a particular graphic or chart at the end of a page, you can force a break at the desired position in the document. You can insert a page break or a blank page at any point in a document by taking these steps:
- Position the mouse pointer on the text that you want to force onto the next page. Alternatively, you can position your mouse at the start of the location where you want the space to be inserted:
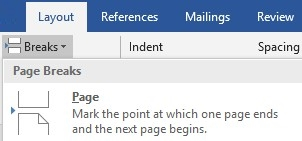
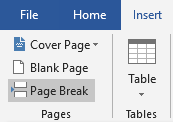
- Click on the Breaks icon in the Layout tab or select the Page Break option from the Insert tab:
There is another method of inserting a forced page break via a keyboard shortcut key:
- Place the mouse pointer at the desired position in the document where you want to include a break.
- While holding down the Ctrl key on your keyboard, press the Enter key.