

Typically, account and contact entities are the most commonly used entities in a Dynamics CRM implementation. In large implementations, those entities are usually also reused for multiple purposes. To illustrate the modeling pattern, this recipe will leverage the college solution described in the introduction. We shall concentrate on creating contacts that can either be individuals or students. Each type of contact requires a different set of attributes.
The easiest way of modeling a multi-purpose entity is to add all the required attributes for the different types to the same entity.
In order to configure the schema, you will need to have access to a Dynamics 365 instance along with a System Customizer or higher security role . As a best practice, it is always recommended that you implement your configuration within a solution. For the purpose of this book, it is expected that you already have a solution created called Packt with a publisher prefix of packt_.
- Navigate to
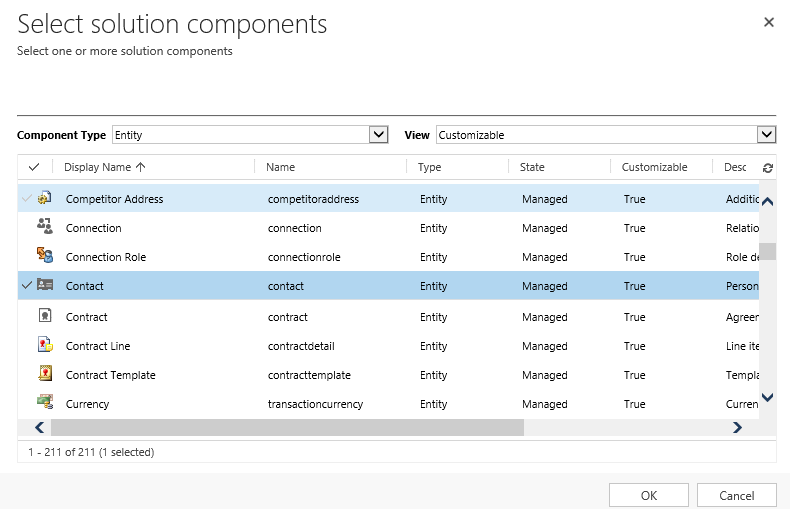
Settings|Solutions|Packt. - Click on
Add Existing|Entityand selectContact, as shown in the following screenshot:
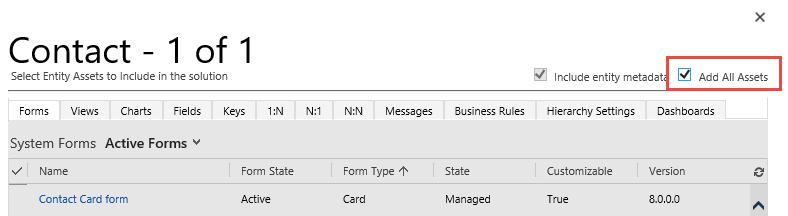
- Select the necessary assets that support your configuration and add them to your solution, or, for simplicity, select
Add All Assetsand click onFinish:
- Click on
No, do not include required components. - Navigate to
Entities|Contacts|Fields. - Click on
New, and create an attribute calledStudent Idof typeSingle Line of Text, and click onSave and New. - Create an
Option Setattribute calledContactType that contains two values;StudentandOther. Then click onSave and Close. - Back in the solution, navigate to
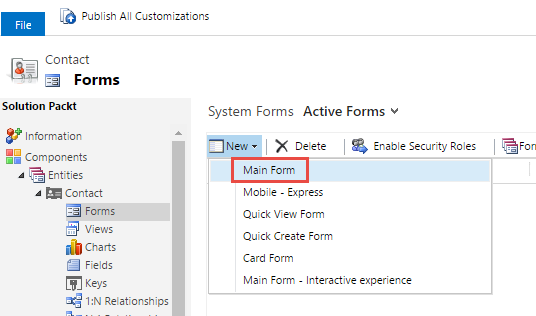
Entities|Contact|Formsand click onNew|Main Formas per this screenshot:
- In the newly created form, add the two newly created fields to your form by dragging and dropping the entities from the right-hand window onto the form.
- Click on the
Publish All Customizationsbutton for your solution.
Just like database modeling, entities can be normalized or denormalized. Normalizing a structure is the action of separating it into several related tables to reduce redundant data or empty fields. Denormalizing a structure is the opposite: we merge two or more tables together to simplify the structure and improve query performance, whilst adding redundant or empty fields. In this recipe, the entity was denormalized to allow different types of contacts to be surfaced through the same contact entity.
In step 1 to step 4, we added the existing contact entity to the Packt solution. Notice that in step 3, we had the option to either add the necessary assets or add all assets. For this recipe's simplicity, we added all assets. With the recent granular solution enhancements, we can simply add what is required.
Note
It is a best practice to minimize the number of unnecessary attributes and relationships in a solution to avoid conflicts and dependencies.
In step 5 to step 7, we created the attributes, and in step 8 and step 9, we added the attributes to a new contact form. In step 10, we published the configuration we implemented.
Note
To avoid multi-solution dependencies and scenarios where a form is overwritten with an updated version from another solution, best practice dictates that you create a new form for your solution and mark it as default. Unnecessary forms can always be hidden by using Apps as described in Chapter 9, Dynamics 365 Extensions.
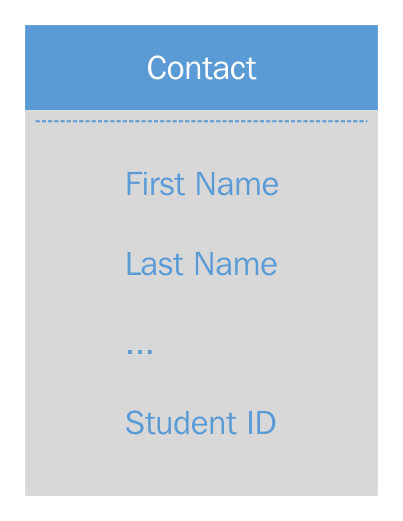
Looking at the design of the updated entity, we have now configured the contact entity to fulfill more than one purpose: it is a generic contact as well as a student one.
A simplifiedEntity Relationship (ER) diagram is depicted in the following screenshot:
The advantages of a denormalized model are:
- Views will appear in the same combined list
- A quick and advanced find will include both types and display the results in the same list
- Positive form user experience, driven by the form configuration
The disadvantages of a denormalized model are:
- Security roles cannot easily be made specific to types
- Configuration/customization is required to show/hide irrelevant attributes or to mark them as mandatory or optional
- Records will contain blank fields when not applicable
- Modeling normalized entities with a common parent
- Modeling independent normalized entities
- Using Business Rule to show and hide attributes
- The Dynamics 365 applications recipe of Chapter 9, Dynamics 365 Extensions