

In this recipe, we'll look at how you can add a report to your Business Central application. Just a basic report, though – this isn't a lesson on how to create report layouts, which is a whole other topic in itself.
Creating new reports
Getting ready
You're going to need an AL project to work on that's connected to a development sandbox. We will continue to build on the project that we started in this chapter. You can download it from the GitHub link at the start of this chapter.
Make sure you have Microsoft Report Builder installed as well!
How to do it...
- Open up your AL project in Visual Studio Code. In the Explorer, right-click and select New File. Name the file Television Shows Report.al. This report will be a simple list to show the records from the Television Show table you added earlier.
- Now, we need to define the structure of our report dataset.
You can use the report snippet to quickly create the basic structure of a report.
Select the new file and, in the Editor tab, enter the following code:
report 50100 "Television Shows Report"
{
    UsageCategory = ReportsAndAnalysis;
    ApplicationArea = All;
    DefaultLayout = RDLC;
    RDLCLayout = 'Television Shows Report.rdl';

    dataset
    {
        dataitem("Television Show"; "Television Show")
        {
            RequestFilterFields = Code, "First Aired", "Last
            Aired", Status;

            column(Code; Code)
            {

            }
            column(Name; Name)
            {

            }
            column(First_Aired; "First Aired")
            {

            }
            column(Last_Aired; "Last Aired")
            {

            }
        }
    }
}
As you can see, in the preceding code, we have defined this report to have an RDLC layout:
DefaultLayout = RDLC;
We have also defined the name of the layout file:
RDLCLayout = 'Television Shows Report.rdl';
A report can be defined with both a Word and an RDLC layout; however, only one can be defined as the default layout. Adding a Word layout to the report would look like WordLayout = 'Television Shows Report.docx';.
- So, how do we create the layout file that we defined in the report AL object file? Of course, you could do it manually, but where's the magic in that? The AL Language extension is going to help you out here. When you build an AL project, if the report layout files that you've defined do not exist, it will create the files for you (with no content, of course – it's not going to do all the work for you!).
Press Ctrl + Shift + B to build your AL project.
Notice how in the Explorer, a new file named Television Shows Report.rdlc was created:
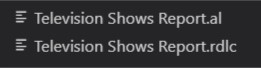
- The layout that was created for us has an .rdlc extension. This is not exactly what we want. By default, this file type will not open using SQL Report Builder, which—for this recipe, at least—is our reporting tool of choice.
Rename the Television Shows Report.rdlc layout file and change it to Television Shows Report.rdl. This now matches the layout name we defined in the RDLCLayout property, and it can now be opened using SQL Report Builder.
- Now that we have our empty report layout, what do we do next? Well, we need to actually create the layout in that file as it's empty right now. We're going to use Microsoft Report Builder to build a very simple list report layout.
Open Report Builder and click Open to open the RDL file that you created in your AL project:

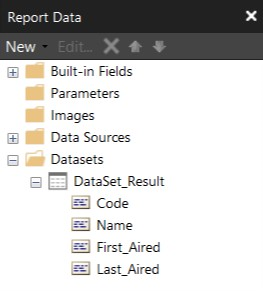
Although the layout contents are completely empty, the RDL file does contain the dataset that you defined in the AL object file. You can see this by expanding Datasets | DataSet_Result in the Report Data pane:
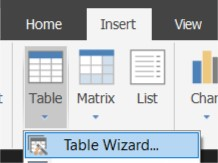
- Now, we can add a simple table to display the data from the Television Show table. We're going to use the built-in wizard for this.
At the top of the Report Builder window, click on the Insert tab and then click on Table | Table Wizard... to open up the wizard:
- In the New Table or Matrix window, select Choose an existing dataset in this report or a shared dataset, and then select the DataSet_Result dataset:

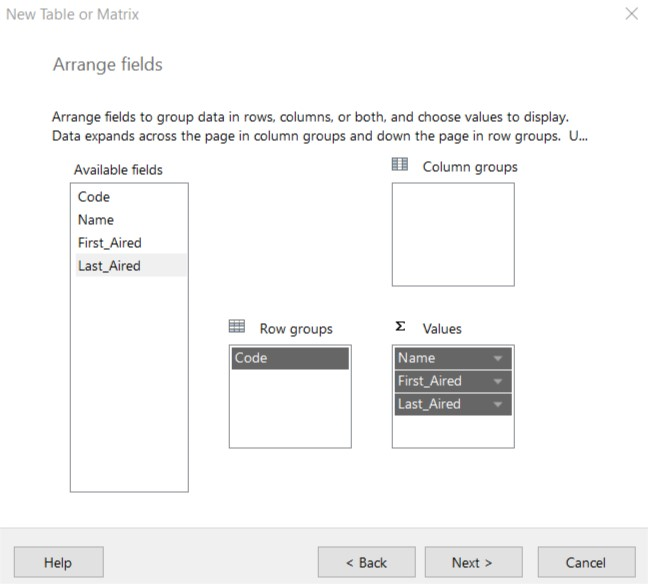
- Click on Next; and you will see the list of available fields:
- Click and drag the Code field to the Row groups section.
- Click and drag the remaining fields (Name, First_Aired and Last_Aired) to the Values section.
The wizard should look similar to this:
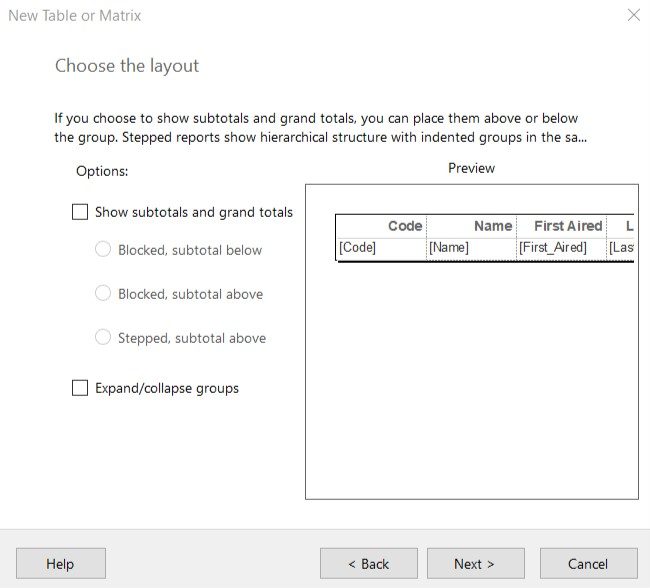
- Click Next to choose the layout options. Uncheck both of the following options:
- Show subtotals and grand totals
- Expand/collapse groups
This is shown in the following screenshot:
- Click on Finish to close the wizard and add the table to the report layout. The report layout window should now look similar to this:
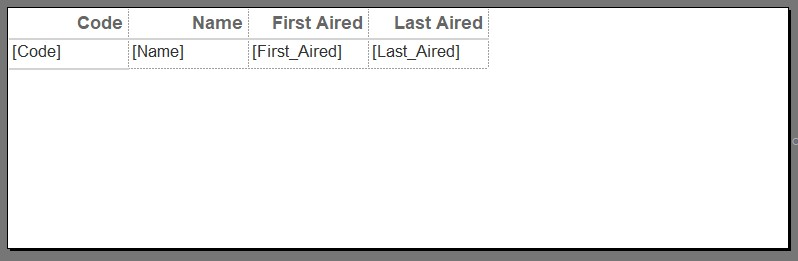
I know – this is not exactly the prettiest layout that's ever been created, but like I said, the point of this recipe is not to learn how to create beautiful reports. We just want to get a report built in our Business Central application.
- In Report Builder, click
 at the top left to save the report layout. You can now close the Report Builder.
 - We've now created our dataset in an AL file and linked it to a new RDLC layout file. Now, it's time to check out our report.
Press F5 to build and publish our application. - Once your browser is open and you're logged in to the sandbox, use the
 icon at the top-right to search for Television Shows Report, and click the link to open the report.
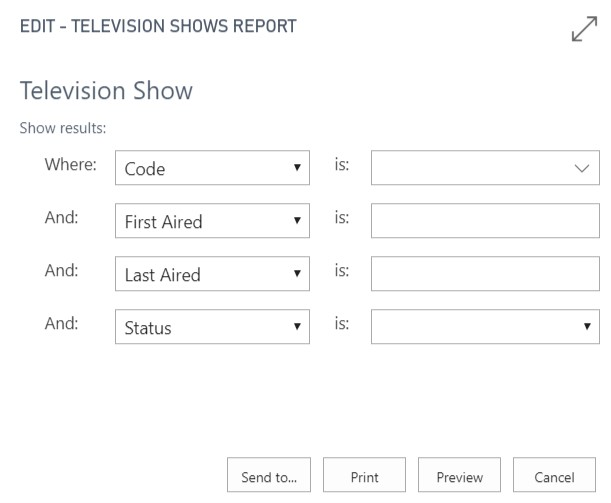
Click Preview to run the report onscreen:
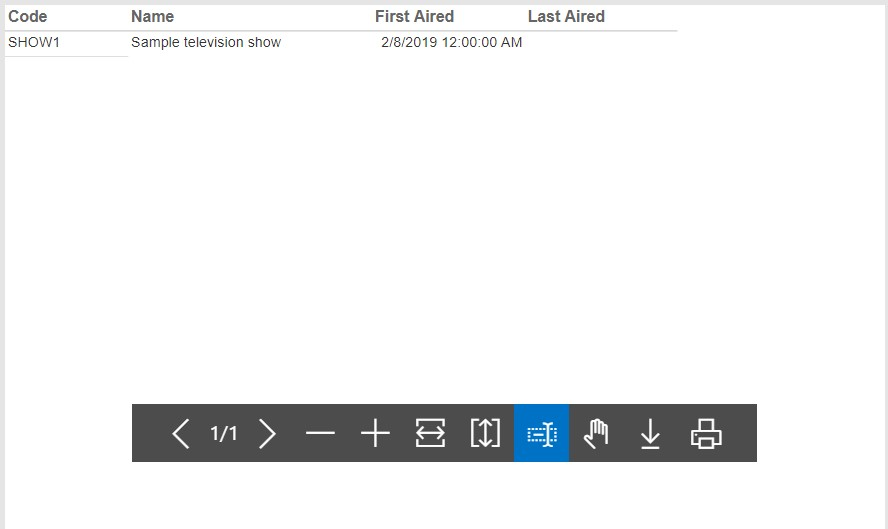
At this point, you'll see something such as the following (yes; at this point, you might be realizing that you need to add some Television Show entries):
How it works...
A report is made up of two parts:
- Dataset: This is an AL file where you will define the tables, fields, filtering, and logic that applies to the report.
- Layout: This will be either a Microsoft Word or an RDLC-formatted file and is where you define what the output of the report will look like.
The two parts are linked using properties in the AL file so that when the report is loaded into Business Central, the system knows which layout to use for which report.
There's more...
You can store up to two layouts (one RDLC layout and one for Microsoft Word) with an AL report object, which gives you the ability to deliver different, effectively built-in layout options to the customer. Once the report is installed in Business Central, however, the customer has the ability to further customize those layouts or create an entirely new layout by using the Custom Report Layouts feature of Business Central.
See also
You can read more about creating reports on the Microsoft Docs website at https://docs.microsoft.com/en-us/dynamics365/business-central/dev-itpro/developer/devenv-reports.
If you would like to learn about how to use Custom Report Layouts, check the appropriate page on the Microsoft Docs website at https://docs.microsoft.com/en-us/dynamics365/business-central/ui-manage-report-layouts.