

Creating an empty project
Throughout this book, you will be creating code from scratch as much as possible. Because of this, there will be very few external dependencies. To get started, follow these steps to create a new blank C++ project in Visual Studio:
- Open Visual Studio and create a new project by going to File|New|Project:

Figure 1.1: Creating a new Visual Studio project
- You will see your project templates on the left-hand side of the window that pops up. Navigate to Installed|Visual C++|Other. Then, select Empty Project:

Figure 1.2: Creating an empty C++ project
- Enter a project name and select a project location. Finally, click Create.
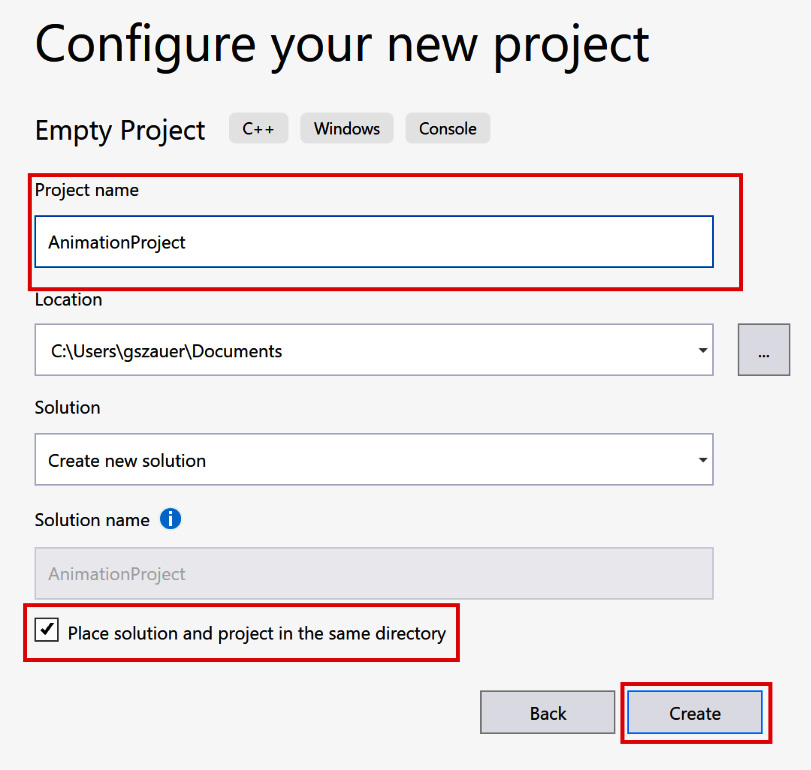
Figure 1.3: Specifying a new project name
If you have followed the preceding steps, you should have a new blank project. Throughout the rest of this chapter, you will add an application framework and an OpenGL-enabled window.