
Turning off full justification
Though commonly your text will look fine if full justification is used, there may be occasions when it's not optimum. For instance, full justification could be displeasing if the text lines are short; in such a case, it could be sufficient to justify only to the left side. We shall see how to put this into practice, plus how to right-justify and how to get centered lines.
Creating ragged-right text
Remember the first parbox example, which was fully justified but had those big gaps between the words? In this example, we shall give up justification to the right side to avoid such gaps:
- Create a new document containing these lines:
\documentclass{article} \begin{document} \parbox{3cm}{\raggedright TUG is an acronym. It means \TeX\ Users Group.} \end{document} - Click on Typeset and look at the output:

Figure 2.18 – Left-justified text
We inserted the \raggedright declaration. From this point onward, the text will be ragged-right. In other words, the text will be moved to the left margin—"flushed-left." There won't be hyphenation.
Because we used this declaration inside a box, it's only valid there, like inside environments. After the box, the text will be fully justified again.
If we want the whole document to be ragged-right, we just need to use \raggedright in our preamble.
Creating ragged-left text
There might be occasions when we would like to achieve the opposite effect: flushing the text to the right margin. We can do this similarly by inserting the \raggedleft declaration. You're able to control where lines are broken by inserting \\.
Centering text
Text can also be horizontally centered in the middle of the page. We will try centering with a few example lines.
We will manually create a nice-looking title for our document; it should contain the title, the author, and the date, all of which will be centered:
- Write a document containing this code:
\documentclass{article} \pagestyle{empty} \begin{document} {\centering \huge\bfseries Centered text \\ \Large\normalfont written by me \\ \normalsize\today } \end{document} - Click on Typeset to see the output:

Figure 2.19 – Centered text
Because only the title should be centered, we opened a group to limit the centering. With the \centering declaration, the remaining text of this group will be horizontally aligned to the center. We also inserted a paragraph break with an empty line; it's recommended to do this before ending the group to apply our centering to the fully contained paragraph. By using the closing brace, we ended the group. If you complement some text after the closing brace, it will be typeset normally, not centered.
\centering is commonly used when pictures or tables are inserted, or further on title pages and sometimes for headings, but rather as part of logical command definitions.
Using environments for justification
There's a predefined center environment that centers text and prints it in a displayed paragraph at the same time.
Let's test it. We will reuse the fragment of the Edgar Allen Poe poem. This time, we shall center all verses:
- Start a new document:
\documentclass{article} - Now, let's load the
urlpackage so that we can also print a hyperlink at the end:\usepackage{url} - Begin the document with some text:
\begin{document} \noindent This is the beginning of a poem by Edgar Allan Poe: - Now, write text in a
centerenvironment:\begin{center} \emph{Annabel Lee} \end{center} - Again, write text for the body of the poem:
\begin{center} It was many and many a year ago,\\ In a kingdom by the sea,\\ That a maiden there lived whom you may know\\ By the name of Annabel Lee \end{center} - Add some text, including a URL pointing to the poem on the internet, and finish:
The complete poem can be read on \url{http://www.online-literature.com/poe/576/}. \end{document} - Click on Typeset and see the output:
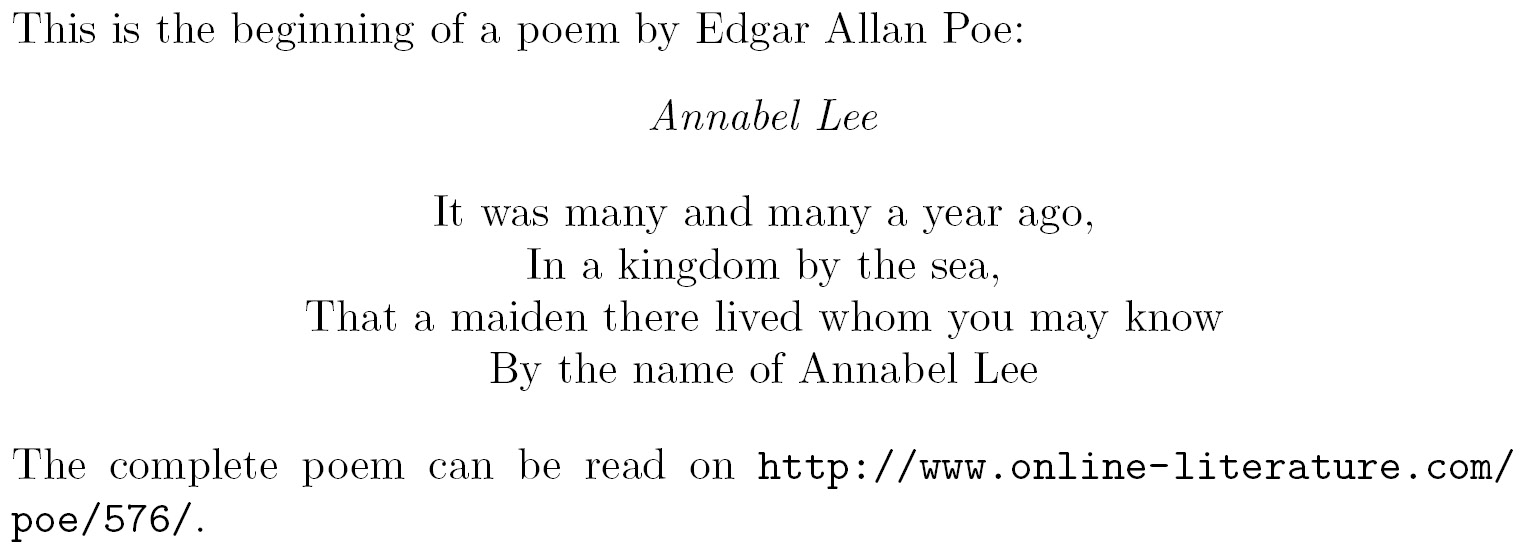
Figure 2.20 – A centered poem within text
We began with \noindent again, avoiding the paragraph indentation. \begin{center} started the center environment, which begins a new paragraph, leaving some space for the preceding text. \end{center} ended this environment. We used the center environment a second time, where we inserted \\ to end the verses. After the center environment ended, some space followed, and the next paragraph began at the left margin.
There's not only an environment for centering. The corresponding environment for ragged-right text is called flushleft; that is, everything within the environment is pushed to the left and ragged at the right side, and, similarly, for ragged-left text, it's flushright.
Centering, as previously, is one way to emphasize some text. Another way is to indent it a bit and to add some vertical space before and after the text. This is a common way to display a quotation. Let's see how to do that.