Book Image

Workflow Automation with Microsoft Power Automate - Second Edition

By : Aaron Guilmette
4 (2)
Book Image

Workflow Automation with Microsoft Power Automate - Second Edition

4 (2)
By: Aaron Guilmette

Overview of this book

MS Power Automate is a workflow automation tool built into MS 365 to help businesses automate repetitive tasks or trigger business processes without user intervention. It is a low-code tool that is part of the Microsoft applications framework, the Power Platform. If you are new to Power Automate, this book will give you a comprehensive introduction and a smooth transition from beginner to advanced topics to help you get up to speed with business process automation. Complete with hands-on tutorials and projects, this easy-to-follow guide will show you how to configure automation workflows for business processes between hundreds of applications, using examples within Microsoft and including third-party apps like Dropbox and Twitter. Once you understand how to use connectors, triggers, and actions to automate business processes, you’ll learn how to manage user input, documents, and approvals, as well as interact with databases. This edition also introduces new Power Automate features such as using robotic process automation (RPA) to automate legacy applications, interacting with the Microsoft Graph API, and working with artificial intelligence models to do sentiment analysis. By the end of this digital transformation book, you’ll have mastered the basics of using Power Automate to replace repetitive tasks with automation technology.
Table of Contents (22 chapters)
20
Other Books You May Enjoy
21
Index

Sharing a cloud flow

Now that you’ve got an understanding of what additional features a shared flow provides, let’s work on sharing a flow with some team members.

In this example, we’re going to take the Expense Reports flow we created in Chapter 3, Working with Email, and update it to be a shared flow:

  1. Log in to the Power Automate web portal (https://flow.microsoft.com) and select My flows.
  2. Select the Expense Reports flow you created in Chapter 3, Working with Email, and then click the share icon. You can also click the ellipsis and select Share from the context menu:

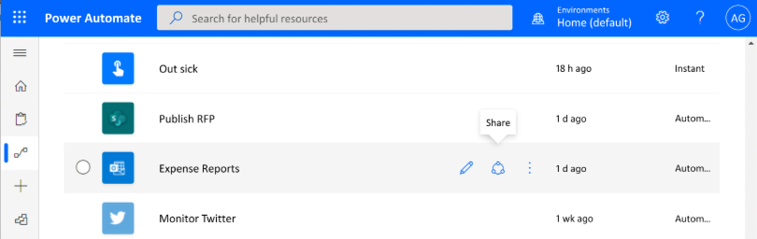
Figure 7.1: Sharing a flow

  1. In the Owners section, under Users and groups, begin entering the name or address of a user or group to whom you will grant access and click to select it:

Figure 7.2: Adding co-owners to a flow

  1. When adding new members, you’ll be prompted to click OK to acknowledge what access to the connectors...