

At the time of writing, the Vue CLI has the requirements of Node version 8.9 or above (8.11.0+ is recommended), so we need to make sure you have that set up on your development computer first.
To check if you already have it installed, perform the following steps:
- Open up a Terminal (also known as a command line!)
- Execute the node -v command
If you get back an output with a version tag, then you have it installed, and you can skip ahead.
If you don't have Node already, head over to the following link in your browser: nodejs.org.
You should be presented with a Home screen and two big green download buttons. We will be using the one labeled Current, as shown in the following screenshot:
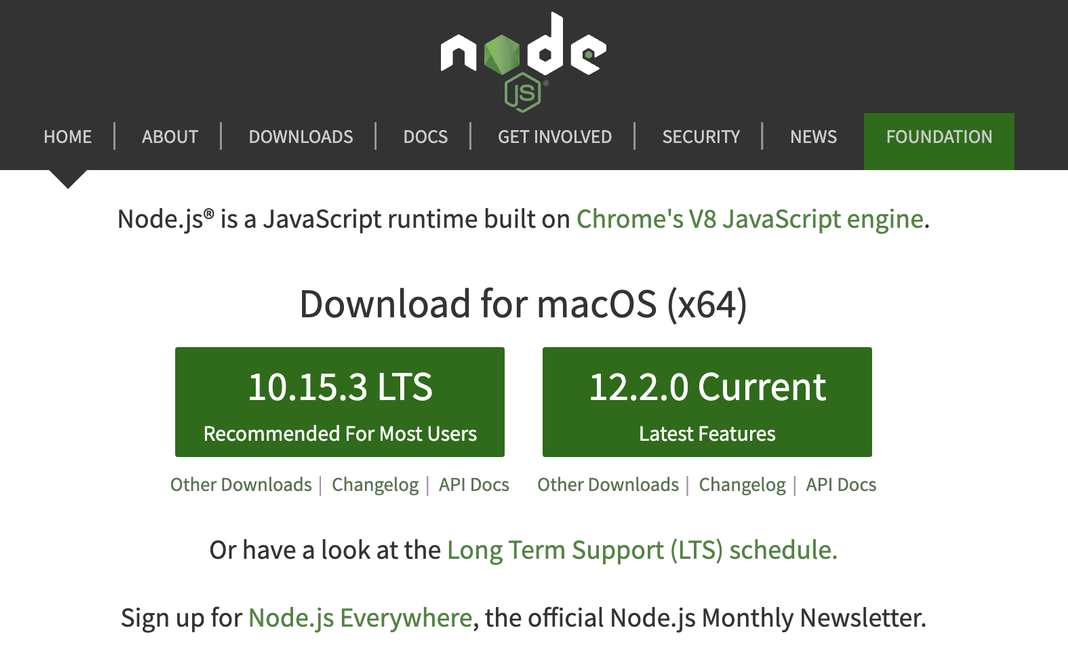
So, go ahead and click on the button and follow the installation instructions for your own OS.
Once the installation is complete, verify that everything is working correctly:
- Open your Terminal
- Execute the node -v command
You should get an output similar to v12.2.0, verifying that the node has correctly been installed to your system.
To actually get Vue CLI installed to our system, however, we still need to make use of a package manager.
Now, when you installed Node, you actually got a copy of npm installed on your system for free. You can verify this by typing npm -v in your Terminal, and, as before, you will get a version number as output.
Be aware that the Vue CLI requires Node version 8.9 or above (8.11.0+ recommended) at the time of writing, but make sure you check the following link for the exact version number for the moment you follow this book: vuejs.org/guide/installation.html.
Finally, it is time to actually get things up and running. Fire up your Terminal once again, and run the following command:
> npm install --global @vue/cli
The Terminal will go ahead and download all of the required files onto your computer and set them up in a globally accessible path so you can use this CLI tool anywhere on your computer. Neat, right?
Note the --global flag on this command. What this means is that you're installing this package globally on your computer. In short, this means that you will be able to use the commands from anywhere inside your filesystem, without having to navigate to a specific folder.
For future reference, you can also use the shorthand for --global, which is simply -g.
Once more, let's check that everything was installed properly by running vue --version on the Terminal. You should get back the version number of Vue CLI.
Now that we have our CLI set up, we can start with creating our new project. Let's dive deeper into how to do this in the following section.