-
Book Overview & Buying
-
Table Of Contents

Mastering Windows Server 2019 - Third Edition
By :
Mastering Windows Server 2019
By:
Overview of this book
Written by a nine-time Microsoft MVP award winner with over twenty years of experience working in IT, Mastering Windows Server 2019 is a hands-on guide for anyone looking to keep their skills up to date.
This third edition comes with four new chapters to provide you with the in-depth knowledge needed to implement and use this operating system in any environment.
Centralized management, monitoring, and configuration of servers are key to an efficient IT department.
This book delves into multiple methods for quickly managing all your servers from a ‘single pane of glass' — the ability to monitor different servers across a network using Server Manager, Windows PowerShell, and even Windows Admin Center — from anywhere. Despite the focus on Windows Server 2019 LTSC, you will still explore containers and Nano Server, which are more related to the SAC of server releases. This additional coverage will give you insights into all aspects of using Windows Server 2019 in your environment.
This book covers a range of remote access technologies available in this operating system, teaches management of PKI and certificates, and empowers you to virtualize your datacenter with Hyper-V. You will also discover the tools and software included with Windows Server 2019 that assist in the inevitable troubleshooting of problems that crop up.
Table of Contents (19 chapters)
Preface

Getting Started with Windows Server 2019
 Free Chapter
Installing and Managing Windows Server 2019
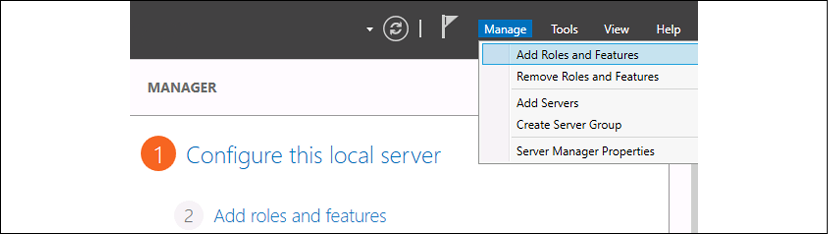
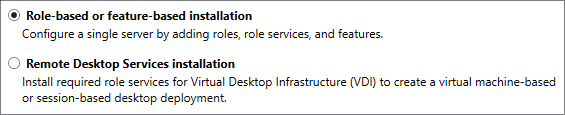
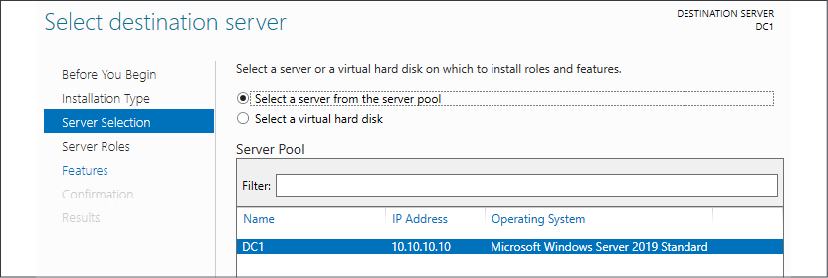
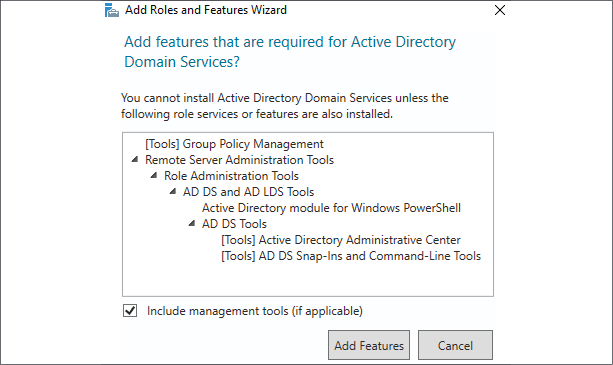
Active Directory
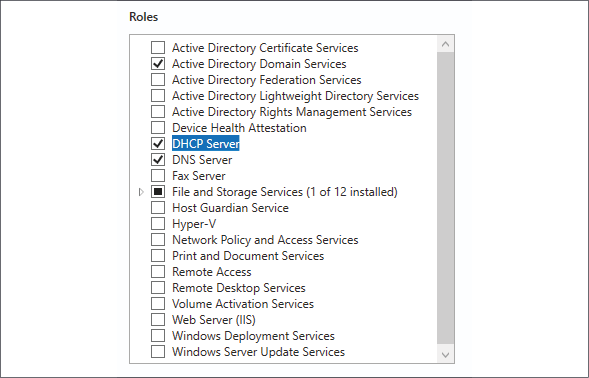
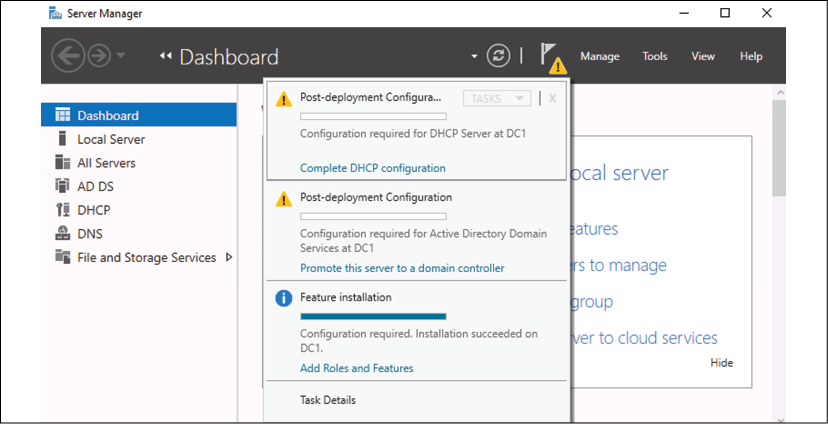
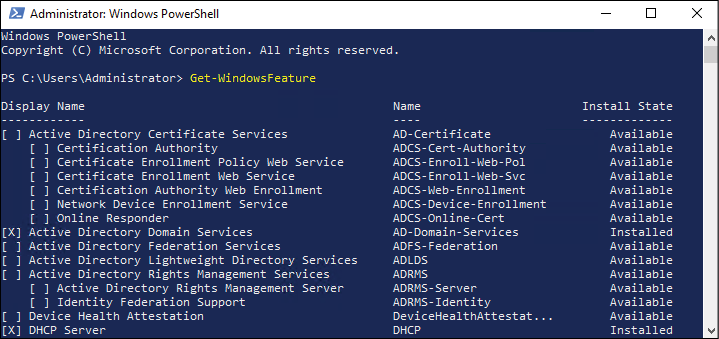
DNS and DHCP
Group Policy
Certificates in Windows Server 2019
Networking with Windows Server 2019
Remote Access
Hardening and Security
Server Core
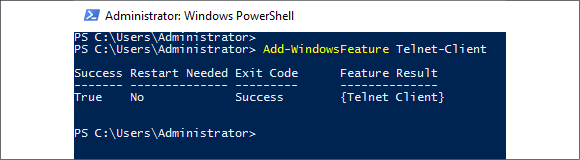
PowerShell
Redundancy in Windows Server 2019
Containers and Nano Server
Hyper-V
Troubleshooting Windows Server 2019
Other Books You May Enjoy
Index
Appendix: Answers to the end-of-chapter Questions