-
Book Overview & Buying
-
Table Of Contents

The Docker Workshop
By :
The Docker Workshop
By:
Overview of this book
No doubt Docker Containers are the future of highly-scalable software systems and have cost and runtime efficient supporting infrastructure. But learning it might look complex as it comes with many technicalities. This is where The Docker Workshop will help you.
Through this workshop, you’ll quickly learn how to work with containers and Docker with the help of practical activities.?
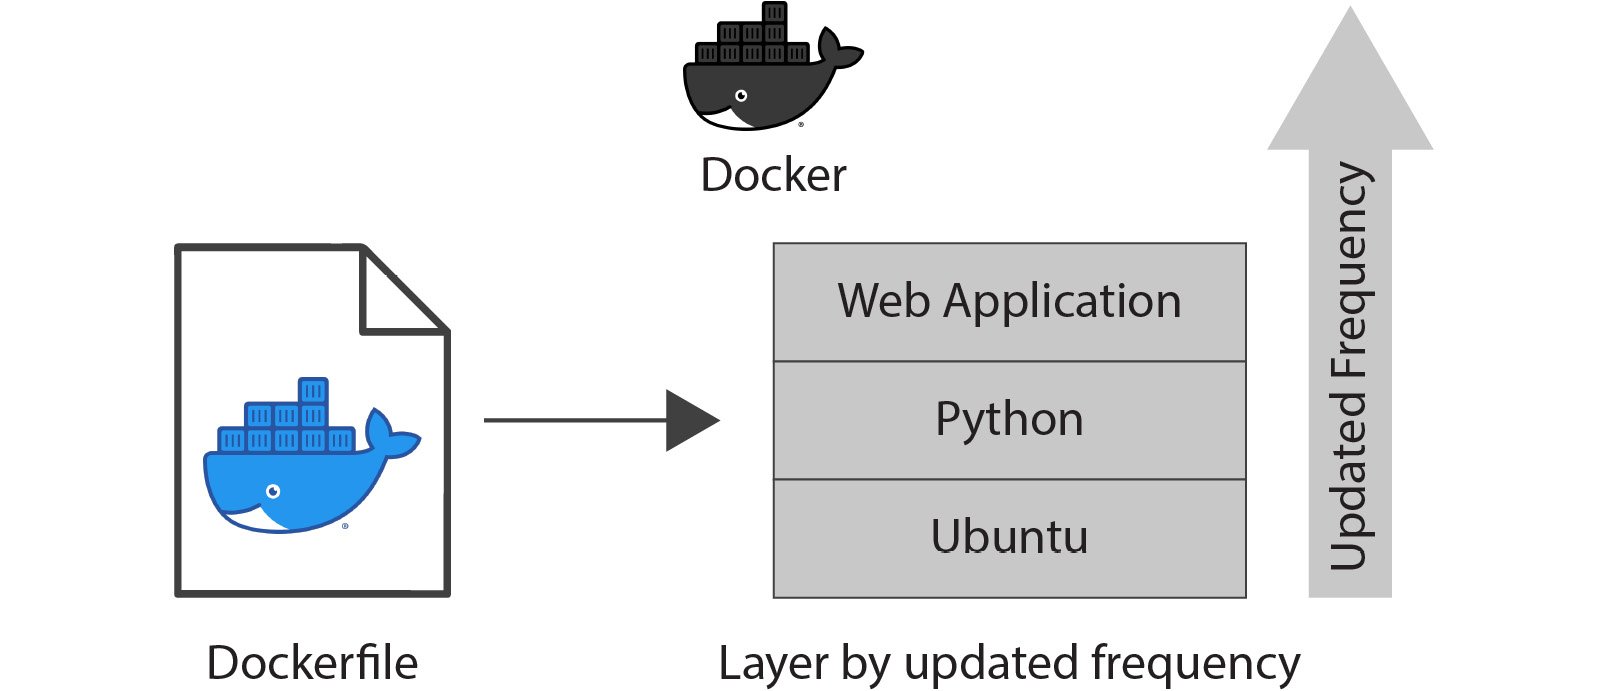
The workshop starts with Docker containers, enabling you to understand how it works. You’ll run third party Docker images and also create your own images using Dockerfiles and multi-stage Dockerfiles. Next, you’ll create environments for Docker images, and expedite your deployment and testing process with Continuous Integration. Moving ahead, you’ll tap into interesting topics and learn how to implement production-ready environments using Docker Swarm. You’ll also apply best practices to secure Docker images and to ensure that production environments are running at maximum capacity. Towards the end, you’ll gather skills to successfully move Docker from development to testing, and then into production. While doing so, you’ll learn how to troubleshoot issues, clear up resource bottlenecks and optimize the performance of services.
By the end of this workshop, you’ll be able to utilize Docker containers in real-world use cases.
Table of Contents (17 chapters)
Preface

1. Running My First Docker Container
 Free Chapter
2. Getting Started with Dockerfiles
3. Managing Your Docker Images
4. Multi-Stage Dockerfiles
5. Composing Environments with Docker Compose
6. Introduction to Docker Networking
7. Docker Storage
8. CI/CD Pipeline
9. Docker Swarm
10. Kubernetes
11. Docker Security
12. Best Practices
13. Monitoring Docker Metrics
14. Collecting Container Logs
15. Extending Docker with Plugins
Appendix