
You are all set, and it's time to create some virtual machines. To do a rapid deployment of virtual machines, we will rely on PowerShell.
Creating a new virtual machine with PowerShell is easy; just open an elevated PowerShell prompt, and run the following command:
New-VM
Without any additional parameters, this will create a new virtual machine with the default parameters. To create a new Generation 2 VM, run the following command:
New-VM –Generation 2
To create a new virtual machine with a specified name, a custom path to store the VM files, and a memory configuration, run the following command:
New-VM –Name VM01 –Path C:\VM01 –Memorystartupbytes 1024MB
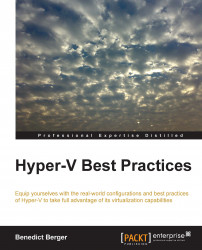
Your newly created virtual machine doesn't have a hard disk yet. Create a new VHDX file by running the following command:
New-VHD -Path C:\vms\vm01\vm01_c.vhdx -SizeBytes 60GB -Dynamic
The new VHD cmdlet
The created VHDX is not yet attached to a virtual machine. Do this by running the following command:
Add-VMHardDiskDrive -VMName VM01 -Path C:\vms\vm01\vm01_c.vhdx
To add a network adapter to our virtual machine, run the following command:
Add-VMNetworkAdapter -vmname "VM01" -switchname "external"
Then, start the VM by running the following command:
Start-VM –Name VM01
You will recognize that the virtual machine now has all the basic hardware parameters but fails to boot due to a missing operating system. There are multiple ways to create an operating system for a standard VM. The most granular way to achieve this is using Virtual Machine Manager templates (see Chapter 7, Management with System Center, for details), but there are great capabilities already included in Windows Server 2012 R2. The approach that is seen most often is to manually install the first virtual machine and include everything you want in each of your virtual machines, such as operating system, updates, and backup agents. Then, sysprep the virtual machine by executing sysprep.exe present at C:\Windows\System32\sysprep\ with the Generalize and OOBE options and shut down the virtual machine. Copy it to a template folder and mark this as read only. With Windows Server 2012 R2, you can even copy and export running virtual machines.
If you need a new virtual machine, just copy the Template folder, rename it to your machine name, and a preinstalled operating system with all your previous created configurations are still available. If you even want to save this first manual installation, there is a free tool for you. In Microsoft's TechNet Gallery, you will find a tool called Convert-WindowsImage that creates a fully functional VHDX template just from the operating system's installation media for you (download it from the shortlink at http://bit.ly/1odCElX):
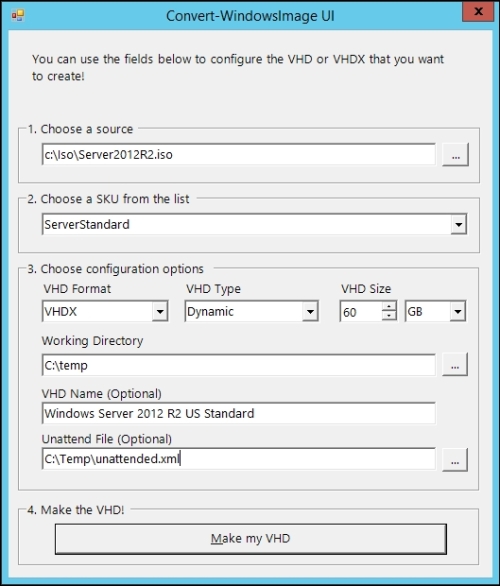
Convert-WindowsImage UI
It is even possible to run your unattended.xml file created with Windows System Image Manager directly through this tool, out of the box.
If you don't like patching all your images and archived VMs manually, you can use a solution to update these VHD/VHDx files offline with Apply-WindowsUpdate.ps1—just another Gem from the TechNet Gallery (download this from the shortlink at http://bit.ly/1o4sczI).
As you have seen in this chapter, I have mainly used Generation 2 VMs. If your guest operating systems are Windows Server 2012 and higher, this should be your default option. Generation 2 VMs allow faster booting, better stability, and smaller attack surface through a greatly reduced set of legacy hardware.