Book Image

Cisco ACI Cookbook

By : Stuart Fordham
Book Image

Cisco ACI Cookbook

By: Stuart Fordham

Overview of this book

Cisco Application Centric Infrastructure (ACI) is a tough architecture that automates IT tasks and accelerates data-center application deployments. This book focuses on practical recipes to help you quickly build, manage, and customize hybrid environment for your organization using Cisco ACI. You will begin by understanding the Cisco ACI architecture and its major components. You will then configure Cisco ACI policies and tenants. Next you will connect to hypervisors and other third-party devices. Moving on, you will configure routing to external networks and within ACI tenants and also learn to secure ACI through RBAC. Furthermore, you will understand how to set up quality of service and network programming with REST, XML, Python and so on. Finally you will learn to monitor and troubleshoot ACI in the event of any issues that arise. By the end of the book, you will gain have mastered automating your IT tasks and accelerating the deployment of your applications.
Table of Contents (17 chapters)
Title Page
Credits
About the Author
About the Reviewers
www.PacktPub.com
Customer Feedback
Preface

Configuring contexts


So far, we have configured a tenant and created a bridge domain and context for it. A context, also known as a VRF (Virtual Routing and Forwarding) is a unique layer 3 forwarding domain. We can have multiple VRFs within a tenant, and VRFs can be associated with more than one bridge domain (but we cannot associate a bridge domain with more than one VRF).
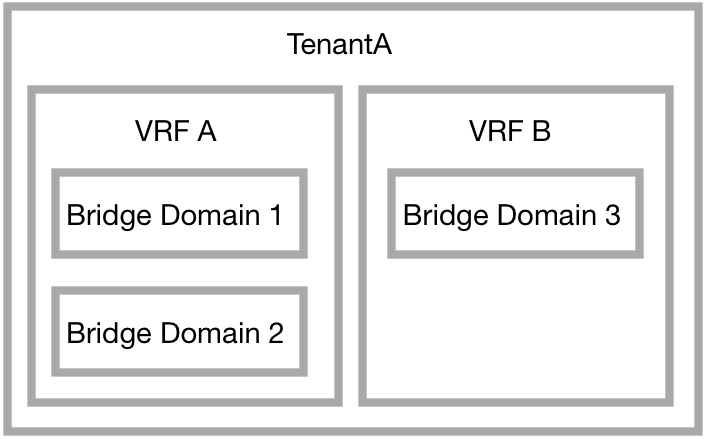
In this recipe, we will create a second VRF under TenantA and a new bridge domain.

How to do it...

  1. From the Networking menu under the tenant, select VRFs.
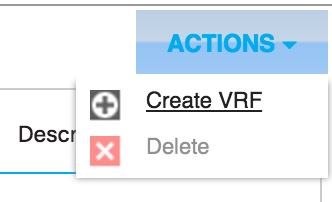
  1. From the Actions menu, select Create VRF.


  1. Give the VRF a name, and select any applicable options. Here, I have chosen to add a DNS label of VRF2. We can create a new bridge domain (this is the default option) at this stage as well.
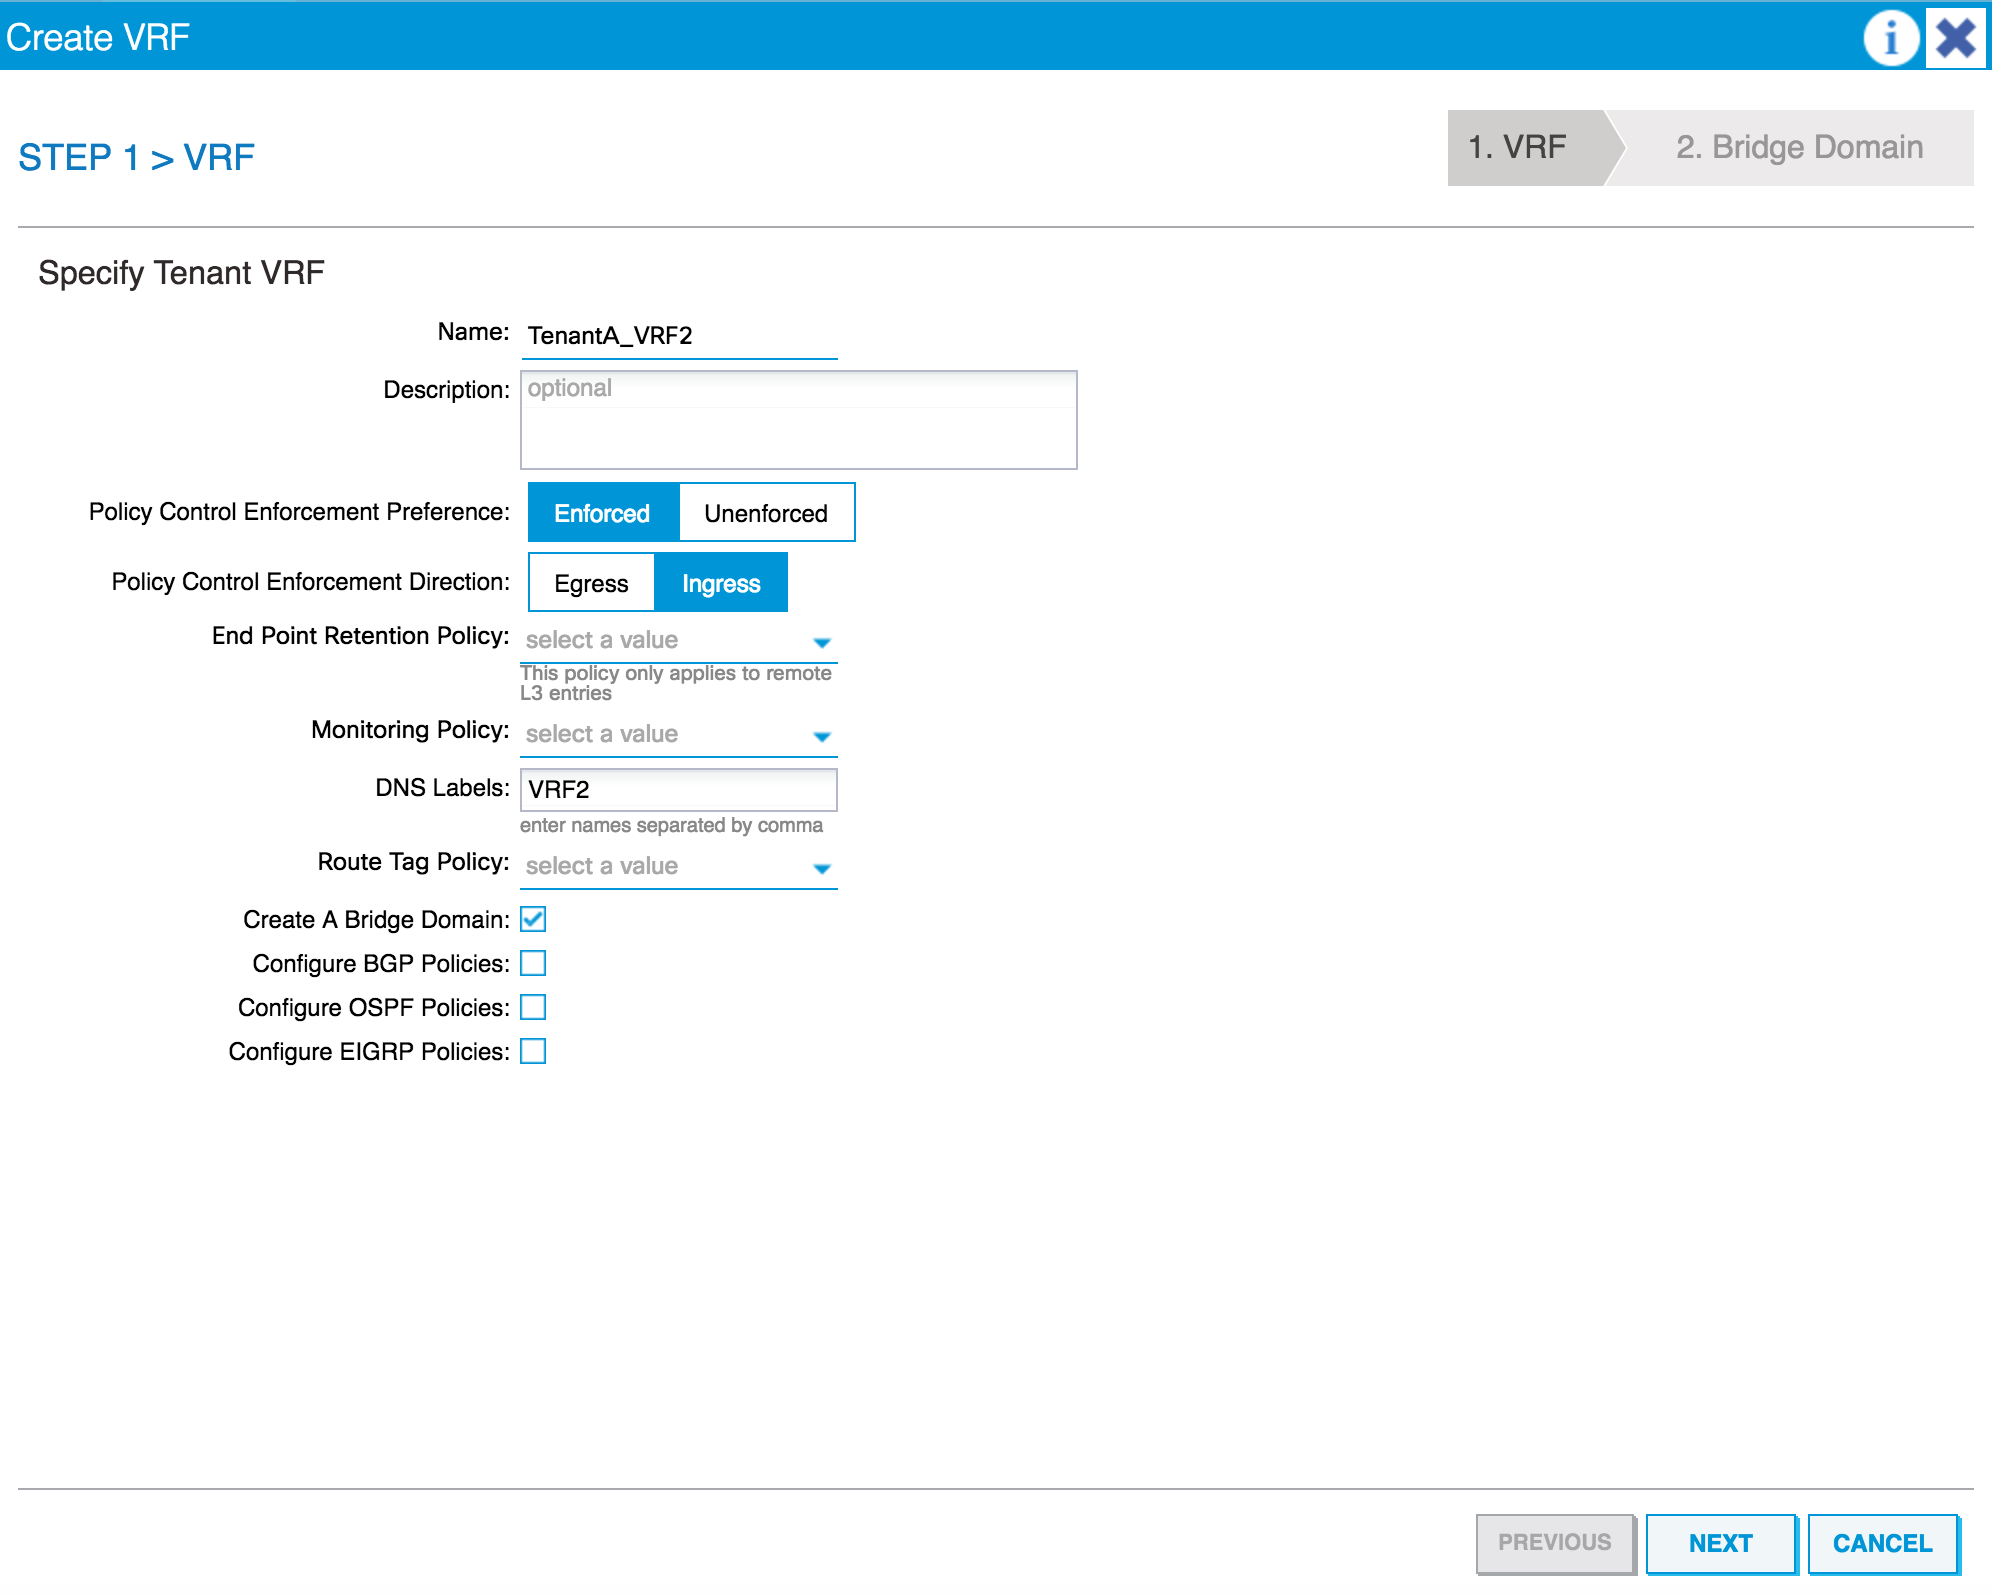


  1. Click on NEXT, select the Forwarding setting (such as Optimize), and change any defaults (which I have not changed here).
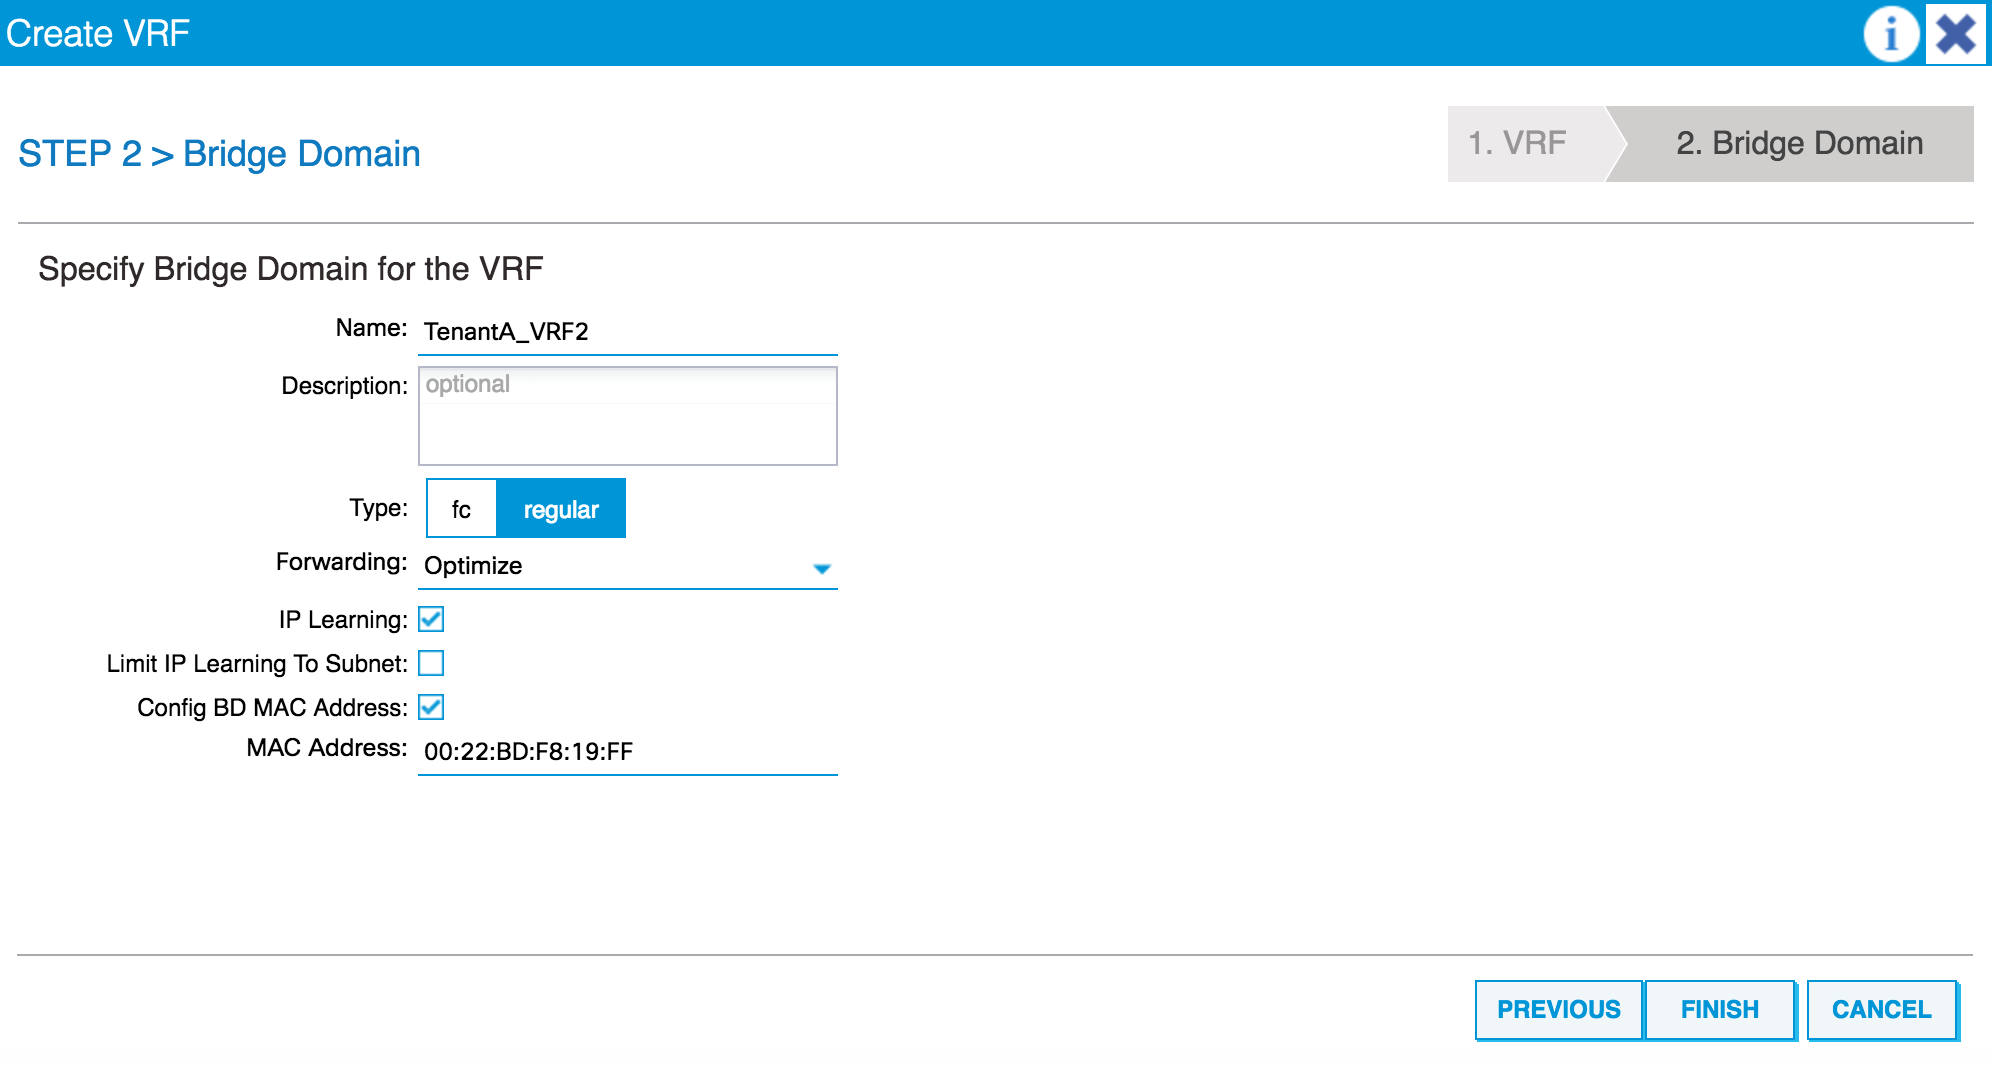
  1. When you have done this, click on FINISH. The new VRF will be shown underneath the first VRF we created.

How it works....