Book Image

Jenkins Essentials - Second Edition

By : Mitesh Soni
Book Image

Jenkins Essentials - Second Edition

By: Mitesh Soni

Overview of this book

<p>In agile development practices, developers need to integrate their work frequently to fix bugs or to create a new feature or functionality. Jenkins is used specifically for Continuous Integration, helping to enforce the principles of agile development. This book focuses on the latest and stable release of Jenkins (2.5 and later), featuring the latest features, such as Pipeline as Code, the new setup experience, and the improved UI. With the all-new Pipeline as Code feature, you will be able to build simple or advanced pipelines easily and rapidly, hence improving your teams' productivity.</p> <p>This book begins by tackling the installation of the necessary software dependencies and libraries you'll need to perform Continuous Integration for a Java application. From there, you'll integrate code repositories, applications, and build tools for the implementation of Continuous Integration.</p> <p>Finally, you will also learn how to automate your deployment on cloud platforms such as AWS and Microsoft Azure, along with a few advanced testing techniques.</p>
Table of Contents (17 chapters)
Title Page
Credits
About the Author
About the Reviewers
www.PacktPub.com
Customer Feedback
Dedication
Preface

Dashboard View plugin


Before creating and configuring build jobs for Java applications, we will install the Dashboard View plugin for better management of builds and to display results of builds and tests.

This plugin provides a portal-like view for Jenkins build jobs. Download it from https://wiki.jenkins-ci.org/display/JENKINS/Dashboard+View. It will be beneficial in showing results and trends. In addition, it also allows users to arrange display items in an effective manner. On the Jenkins dashboard, go to the Manage Jenkins link, click on Manage Plugins, and install the Dashboard View plugin. Verify the successful installation by clicking on the Installed tab.

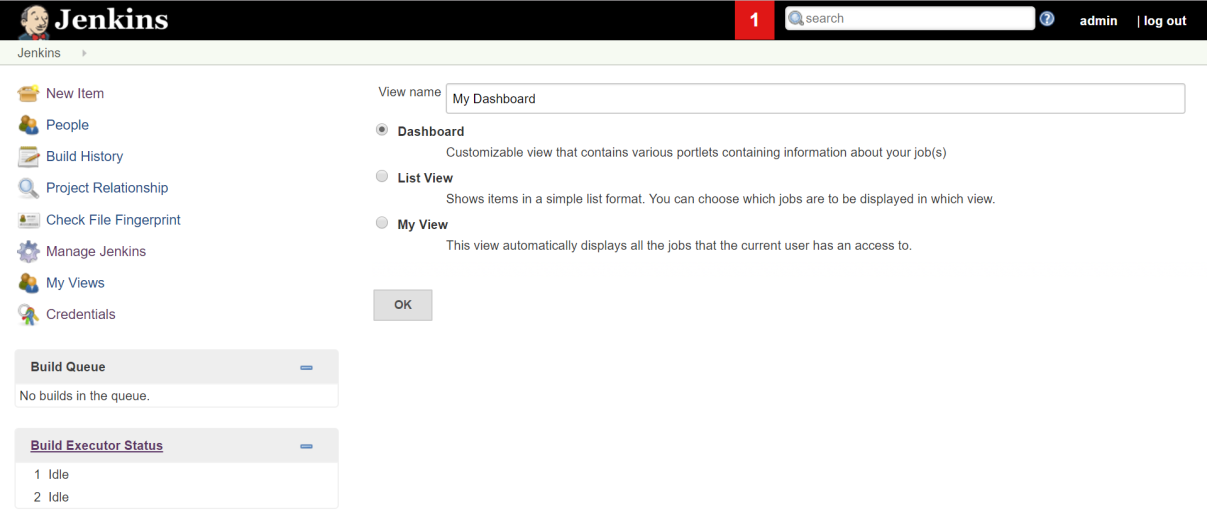
Now go to the Jenkins dashboard and click on the plus sign available on the tab.

Provide a View name, select Dashboard, and click on OK:

Once the Dashboard view is created, we can configure it by selecting Jobs and customizing it as shown in the following screenshot:

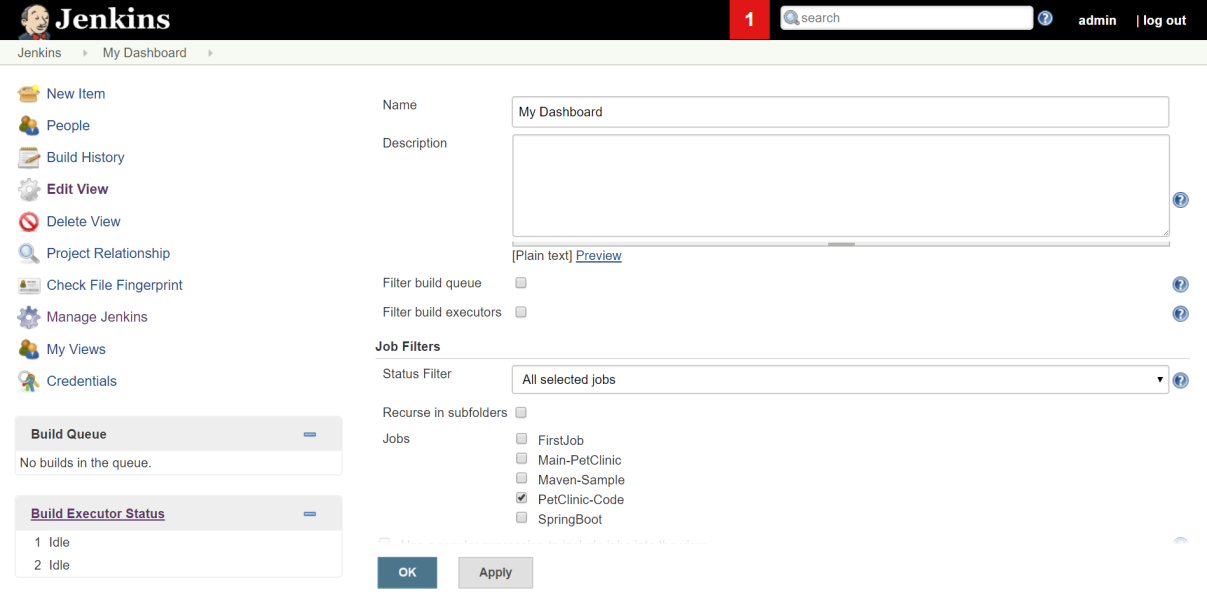
This is what our dashboard looks like. We can configure multiple projects...