Book Image

DevOps for Salesforce

By : Priyanka Dive, Nagraj Gornalli
Book Image

DevOps for Salesforce

By: Priyanka Dive, Nagraj Gornalli

Overview of this book

Salesforce is one of the top CRM tools used these days, and with its immense functionalities and features, it eases the functioning of an enterprise in various areas of sales, marketing, and finance, among others. Deploying Salesforce applications is a tricky event, and it can get quite taxing for admins and consultants. This book addresses all the problems that you might encounter while trying to deploy your applications and shows you how to resort to DevOps to take these challenges head on. Beginning with an overview of the development and delivery process of a Salesforce app, DevOps for Salesforce covers various types of sandboxing and helps you understand when to choose which type. You will then see how different it is to deploy with Salesforce as compared to deploying with another app. You will learn how to leverage a migration tool and automate deployment using the latest and most popular tools in the ecosystem. This book explores topics such as version control and DevOps techniques such as Continuous Integration, Continuous Delivery, and testing. Finally, the book will conclude by showing you how to track bugs in your application changes using monitoring tools and how to quantify your productivity and ROI. By the end of the book, you will have acquired skills to create, test, and effectively deploy your applications by leveraging the features of DevOps.
Table of Contents (14 chapters)
Title Page
Packt Upsell
Contributors
Preface
Index

Branching strategy


Branching is a very useful feature provided by Git. It helps to develop multiple features in parallel. Branching can be useful to define environment specific codes such as develop, test, stage, and production. Usually, the environment to Git branch mapping will be, for example, the code for the development environment stored in the develop Git branch; for the test environment, we use the test Git branch, and so on. For the production environment, we use the master branch, as it is the first default branch created when we create any Git repository.


Let's see how we can create a branch using the web UI:

  1. Log in to GitLab.
  2. Go to your repository, Sample, that we created in the Creating your first project in GitLab section:
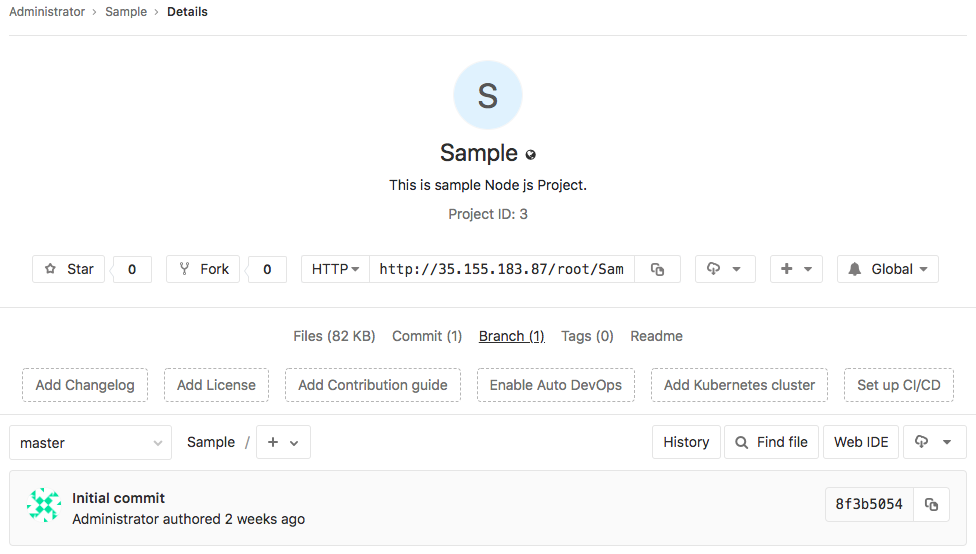
  1. As you see in this screenshot, we have only one branch which is the master, and is the default branch.
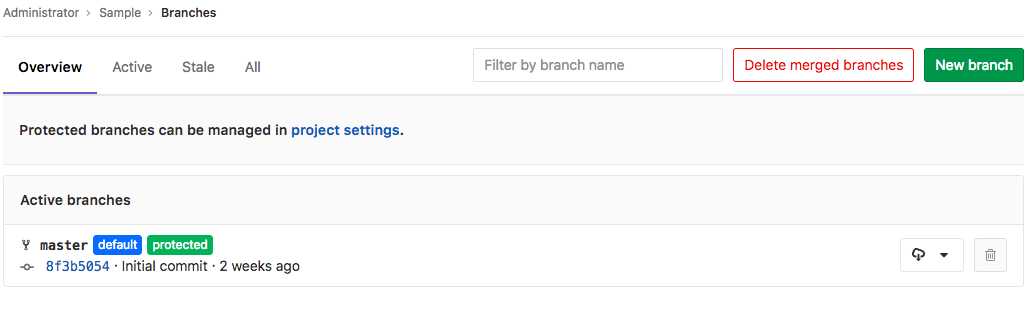
  1. Click on Branch, you will be redirected to a page where you can see all the active branches for this repository. Currently, we have a master branch:
  1. Click on...