
CraftBukkit completely replaces the vanilla Minecraft server (mincraft-server.jar or minecraft-server.exe) which you may have downloaded from minecraft.net. The vanilla server is incapable of running Minecraft plugins. We will start from scratch to set up this new server. If you wish to use a preexisting world, you will be able to do this after creating a new CraftBukkit server. To start, let's create a new empty folder named Bukkit Server. We will run the CraftBukkit server from this newly created folder.
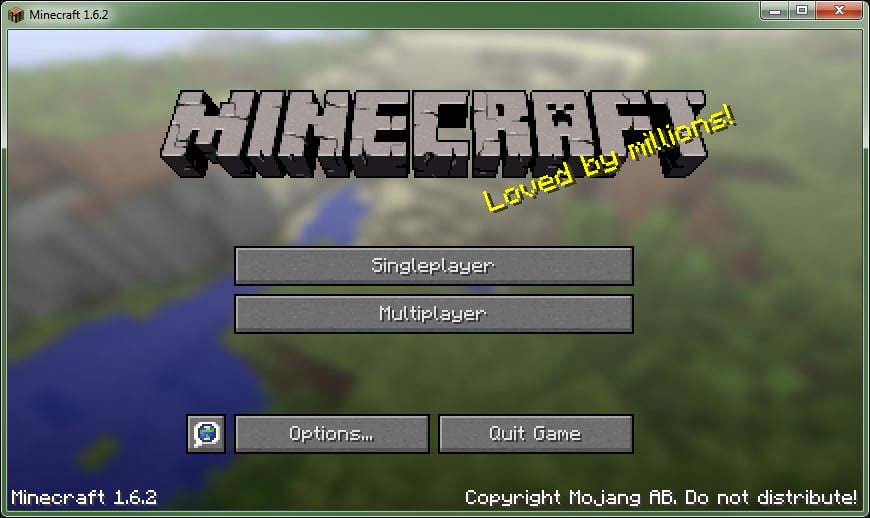
The main file that you will need to start your new server is craftbukkit.jar. A jar file is a Java-executable file. Minecraft, CraftBukkit, and any plugin that we will create are all written in Java and thus are run from a JAR file. The craftbukkit.jar file takes the place of minecraft_server.exe or minecraft_server.jar. The Bukkit team maintains the Bukkit project and releases the updates for the CraftBukkit server, as Minecraft itself is updated to newer versions. The newest version of CraftBukkit is always available for download at dl.bukkit.org/downloads/craftbukkit/. Go to the CraftBukkit download page and you will see the options Recommended Build, Beta Build, and Development Build. You should use Development Build only if another build is not yet available for your version of Minecraft. If you are unsure of your Minecraft version, it is displayed in the left corners of the Minecraft client. The client is the program that you use to play Minecraft, as shown in the following screenshot:
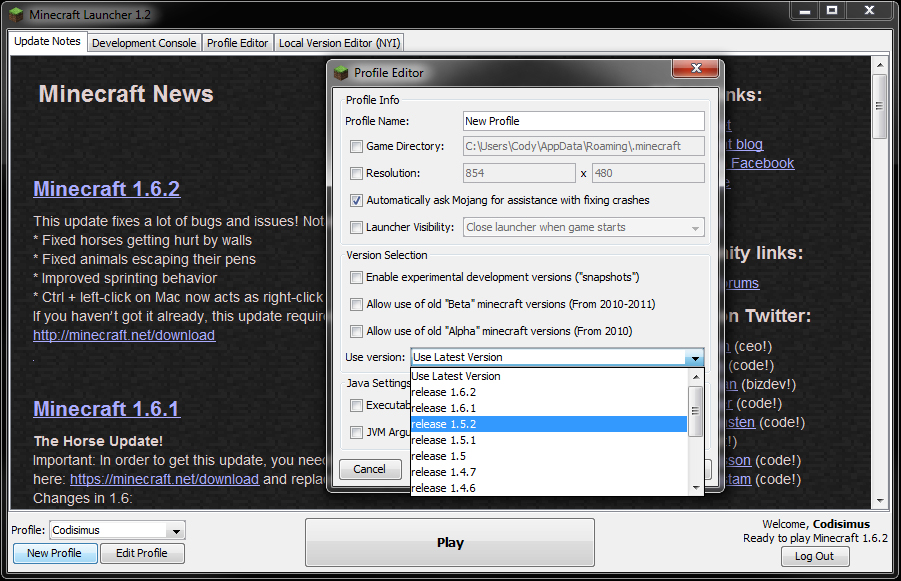
You can choose which version of Minecraft you play by creating a new profile in the Minecraft launcher, as shown in the following screenshot:
Download the craftbukkit JAR file and place it in the Bukkit Server folder. Its name may include a version number such as craftbukkit-1.6.2-R1.0.jar. For simplicity, we will rename the file to craftbukkit.jar.
Now we will create a batch file that we can double-click on every time we wish to start the server. In a new text document, type the following two lines:
java -Xms1024M -Xmx1024M -jar craftbukkit.jar
PAUSE
1024 tells how much of the computer's RAM the server will be allowed to use. You can change this number if you want the server to use more or less RAM. craftbukkit.jar is the name of your craftbukkit JAR file. If you did not rename the file earlier, then you will have to edit this batch file every time that you update your CraftBukkit version to ensure that the two names match. The rest of the previous lines will not concern you and should remain unchanged.
Save the text document as Start Server.bat, and be sure that it is in the same folder as craftbukkit.jar. Now you are able to run the server. Double-click on the batch file that you just created. It will then open up the command prompt and start creating the server files. It will look similar to the following screenshot:
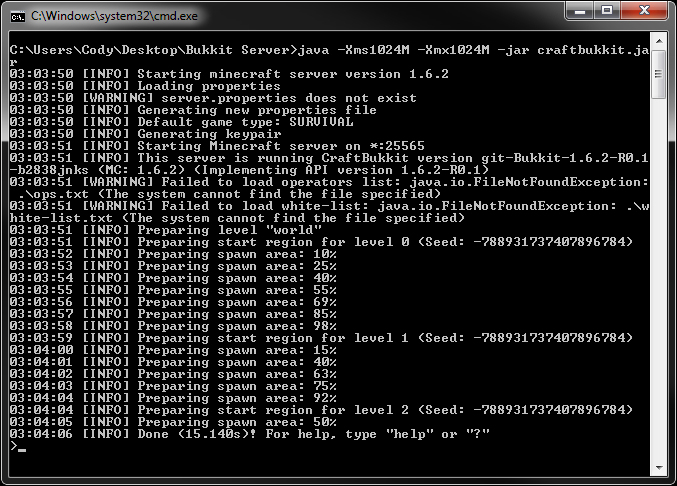
There is no need to worry about the warnings that are printed at this time, as they are expected when you first start a new server.
If a window like the previous screen does not appear, then make sure that your batch file is called Start Server.bat and not Start Server.bat.txt.