

Now that we have our Kali Linux virtual machine installed and updated, let's do a bit of customization.
Understanding the advanced customization and optimization of Kali
Getting ready
Before you start, ensure the following prerequisites:
- Your computer is connected to the internet
- Your installation of Kali is running
- You are logged in as root
How to do it...
There are several customization and advanced settings that we can perform.
Upgrading the Linux kernel
To update the Linux kernel, you will do the following:
- Open a terminal window by selecting its icon on the left tool bar, and enter the following:
apt-get dist-upgrade
- Follow the prompts to complete the installation, and reboot the virtual machine when complete.
Removing unneeded packages
To remove unneeded packages, we will do the following:
- Open a terminal window by selecting its icon on the left tool bar, and enter the following:
 apt autoremove
 exit
Adjusting or disabling the screen lock
During the use of this book, you may find yourself leaving your system to run commands or in between sections. During this time, the screen may lock and force you to login in more frequently than you would prefer. To change this behavior, do the following:
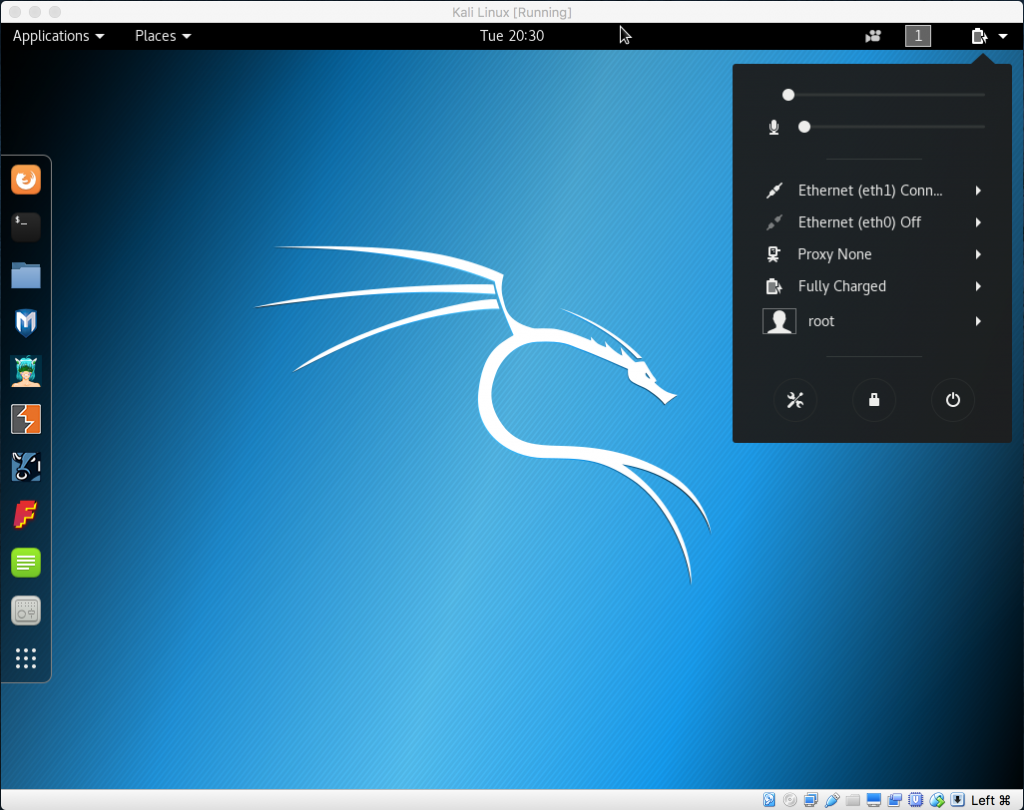
- In the upper right-hand corner of the screen, click on the down arrow, which will provide various pieces of information about the current state of the computer. In the lower left-hand corner of that box, click on the settings icon:

System status box
- From the All Settings screen, click on the purple privacy icon in the first row to display the privacy dialog box, then select the Screen Lock entry:
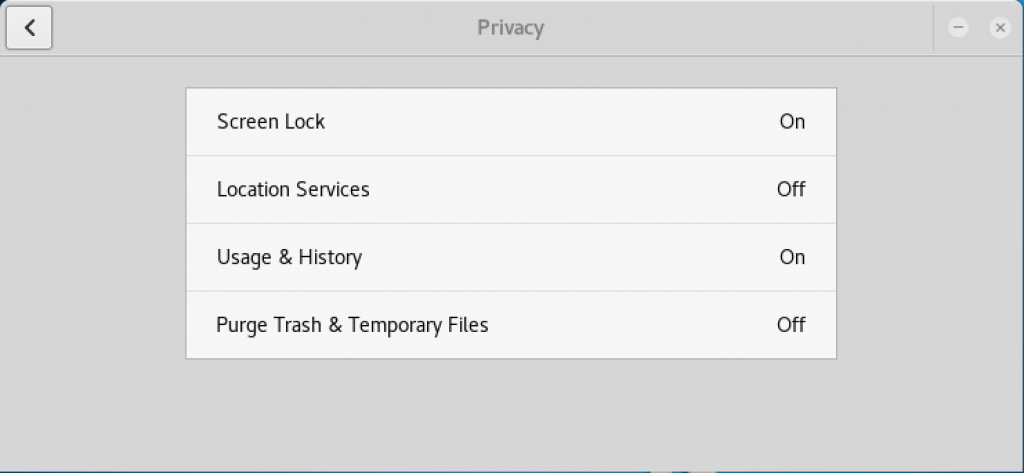
Privacy box
- Adjust the settings as desired; in the following example I have set the timer to 1 hour:
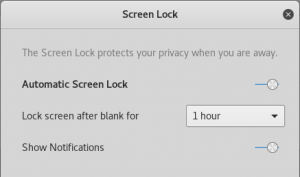
Screen Lock
- Finish by clicking on the Xs at the top until you are back at the main screen.
Correcting the Ethernet interface configuration
Since only one interface can be on at a time, we will set up networking as follows:
- In the upper right-hand corner of the screen, click on the down arrow, which will provide various pieces of information about the current state of the computer. In the lower left-hand corner of that box, click on the settings icon:
System status box
- Next to one of the interfaces, select the arrow icon, which will expose another level of menus. Click on Wired Settings:
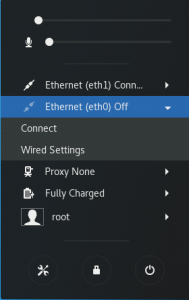
System status box
- Select Add Profile from the bottom:
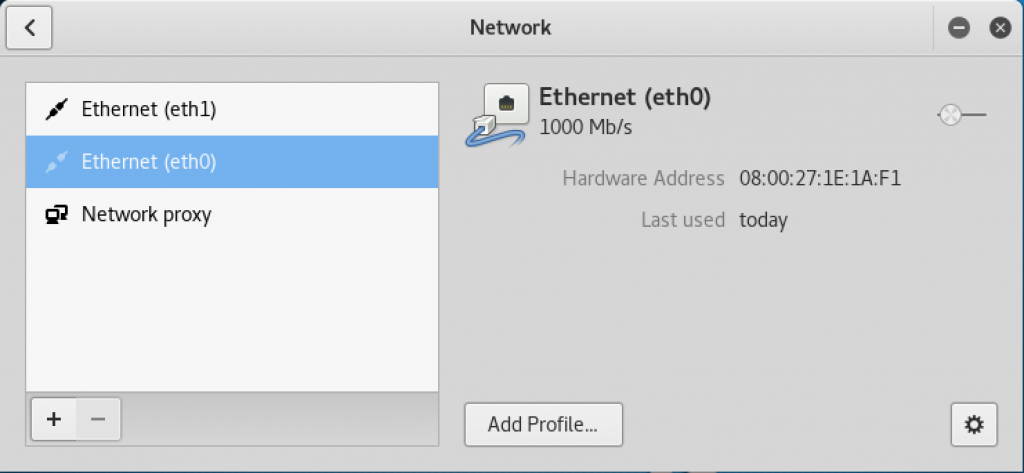
Network window
- From the New Profile window, select Identity on the left; and for Name, enter Host-Only Network:
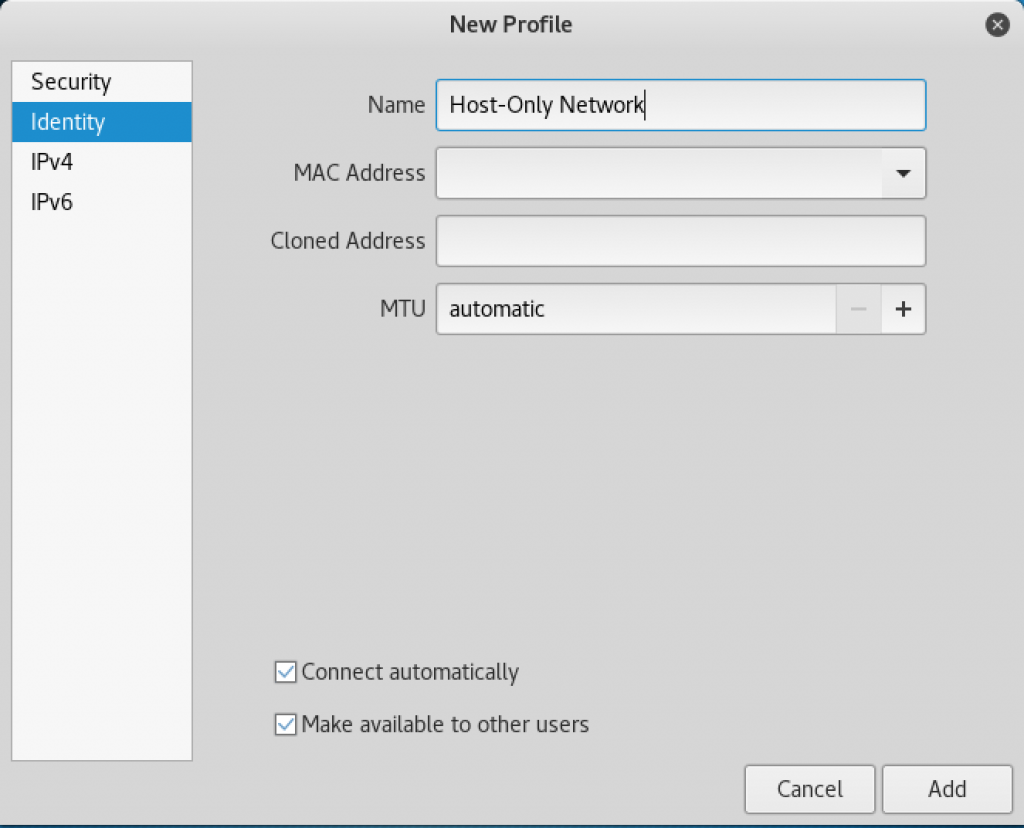
New Profile window
- In the left column, click on IPv4 and scroll all the way to the bottom and put a check in the box labeled Use this connection only for resources on its network, and then click on Add:
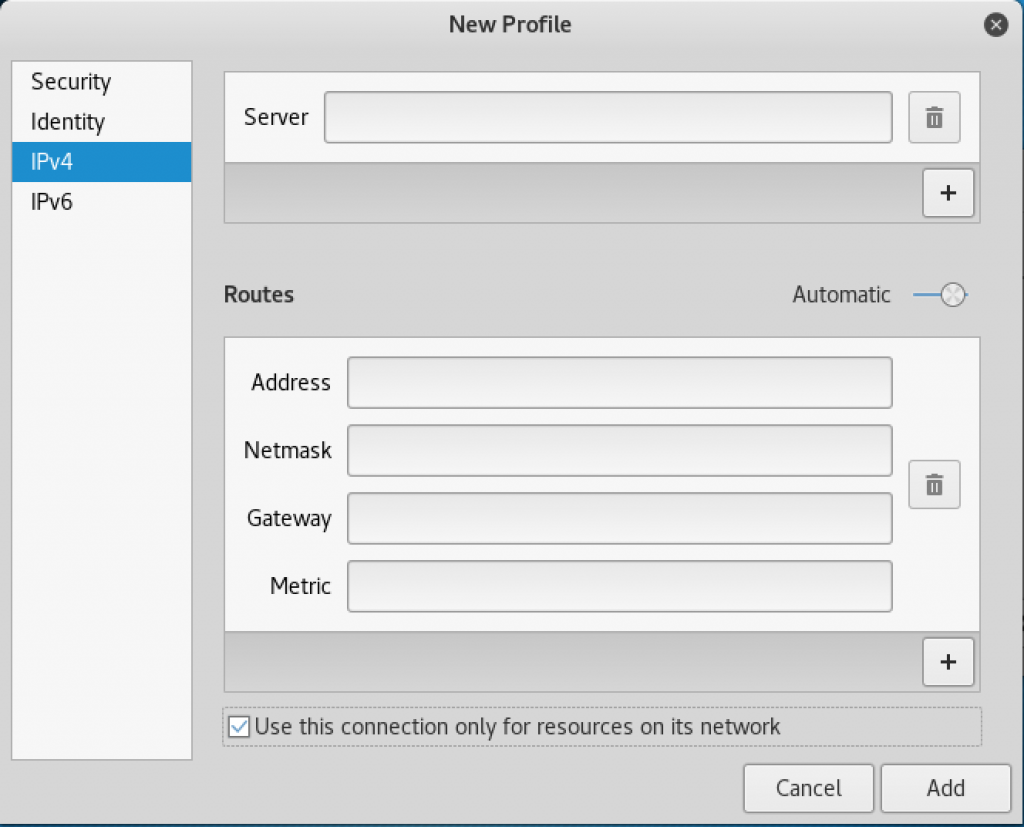
New Profile window
- Assign eth1 to the host-only network that we just created by clicking on eth1 to highlight it. Click on host-only network. Verify that eth0 is assigned to the wired connection network by clicking on eth1. You should now be able to have both interfaces enabled simultaneously:
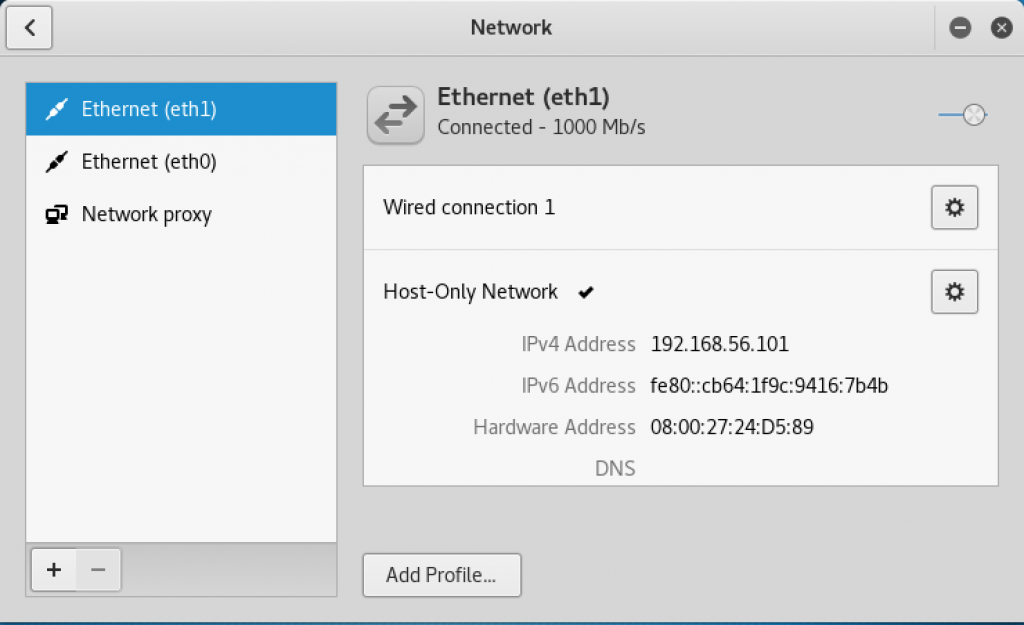
Network window
Connecting and disconnecting Ethernet interfaces
Kali Linux makes it easy to manage network connections using network manager. This is how you will connect and disconnect network interfaces:
- In the upper right-hand corner of the screen, click on the down arrow, which will provide various pieces of information about the current state of the computer:

System status box
- You will see entries for both your eth0 and eth1 interfaces. If you have followed our guide, the eth0 network is connected to the NAT network and allows access to the internet and networks outside of your virtual machine. The eth1 interface is the host-only network, which connects to your test machine. You can toggle these on and off as required.